Bleeding The Fiat's X1/9's Clutch System - Forget About It...
But I got it though. Man, this took me weeks. I needed weeks! Weeks to figure out what kind of dance I needed to get that to happen. It’s because of the angle, the height where the fluid and air are going to sit. But hey, read on and save yourself that time. In the last 15min of my process it became fun. And then…I got to have clutch again too…
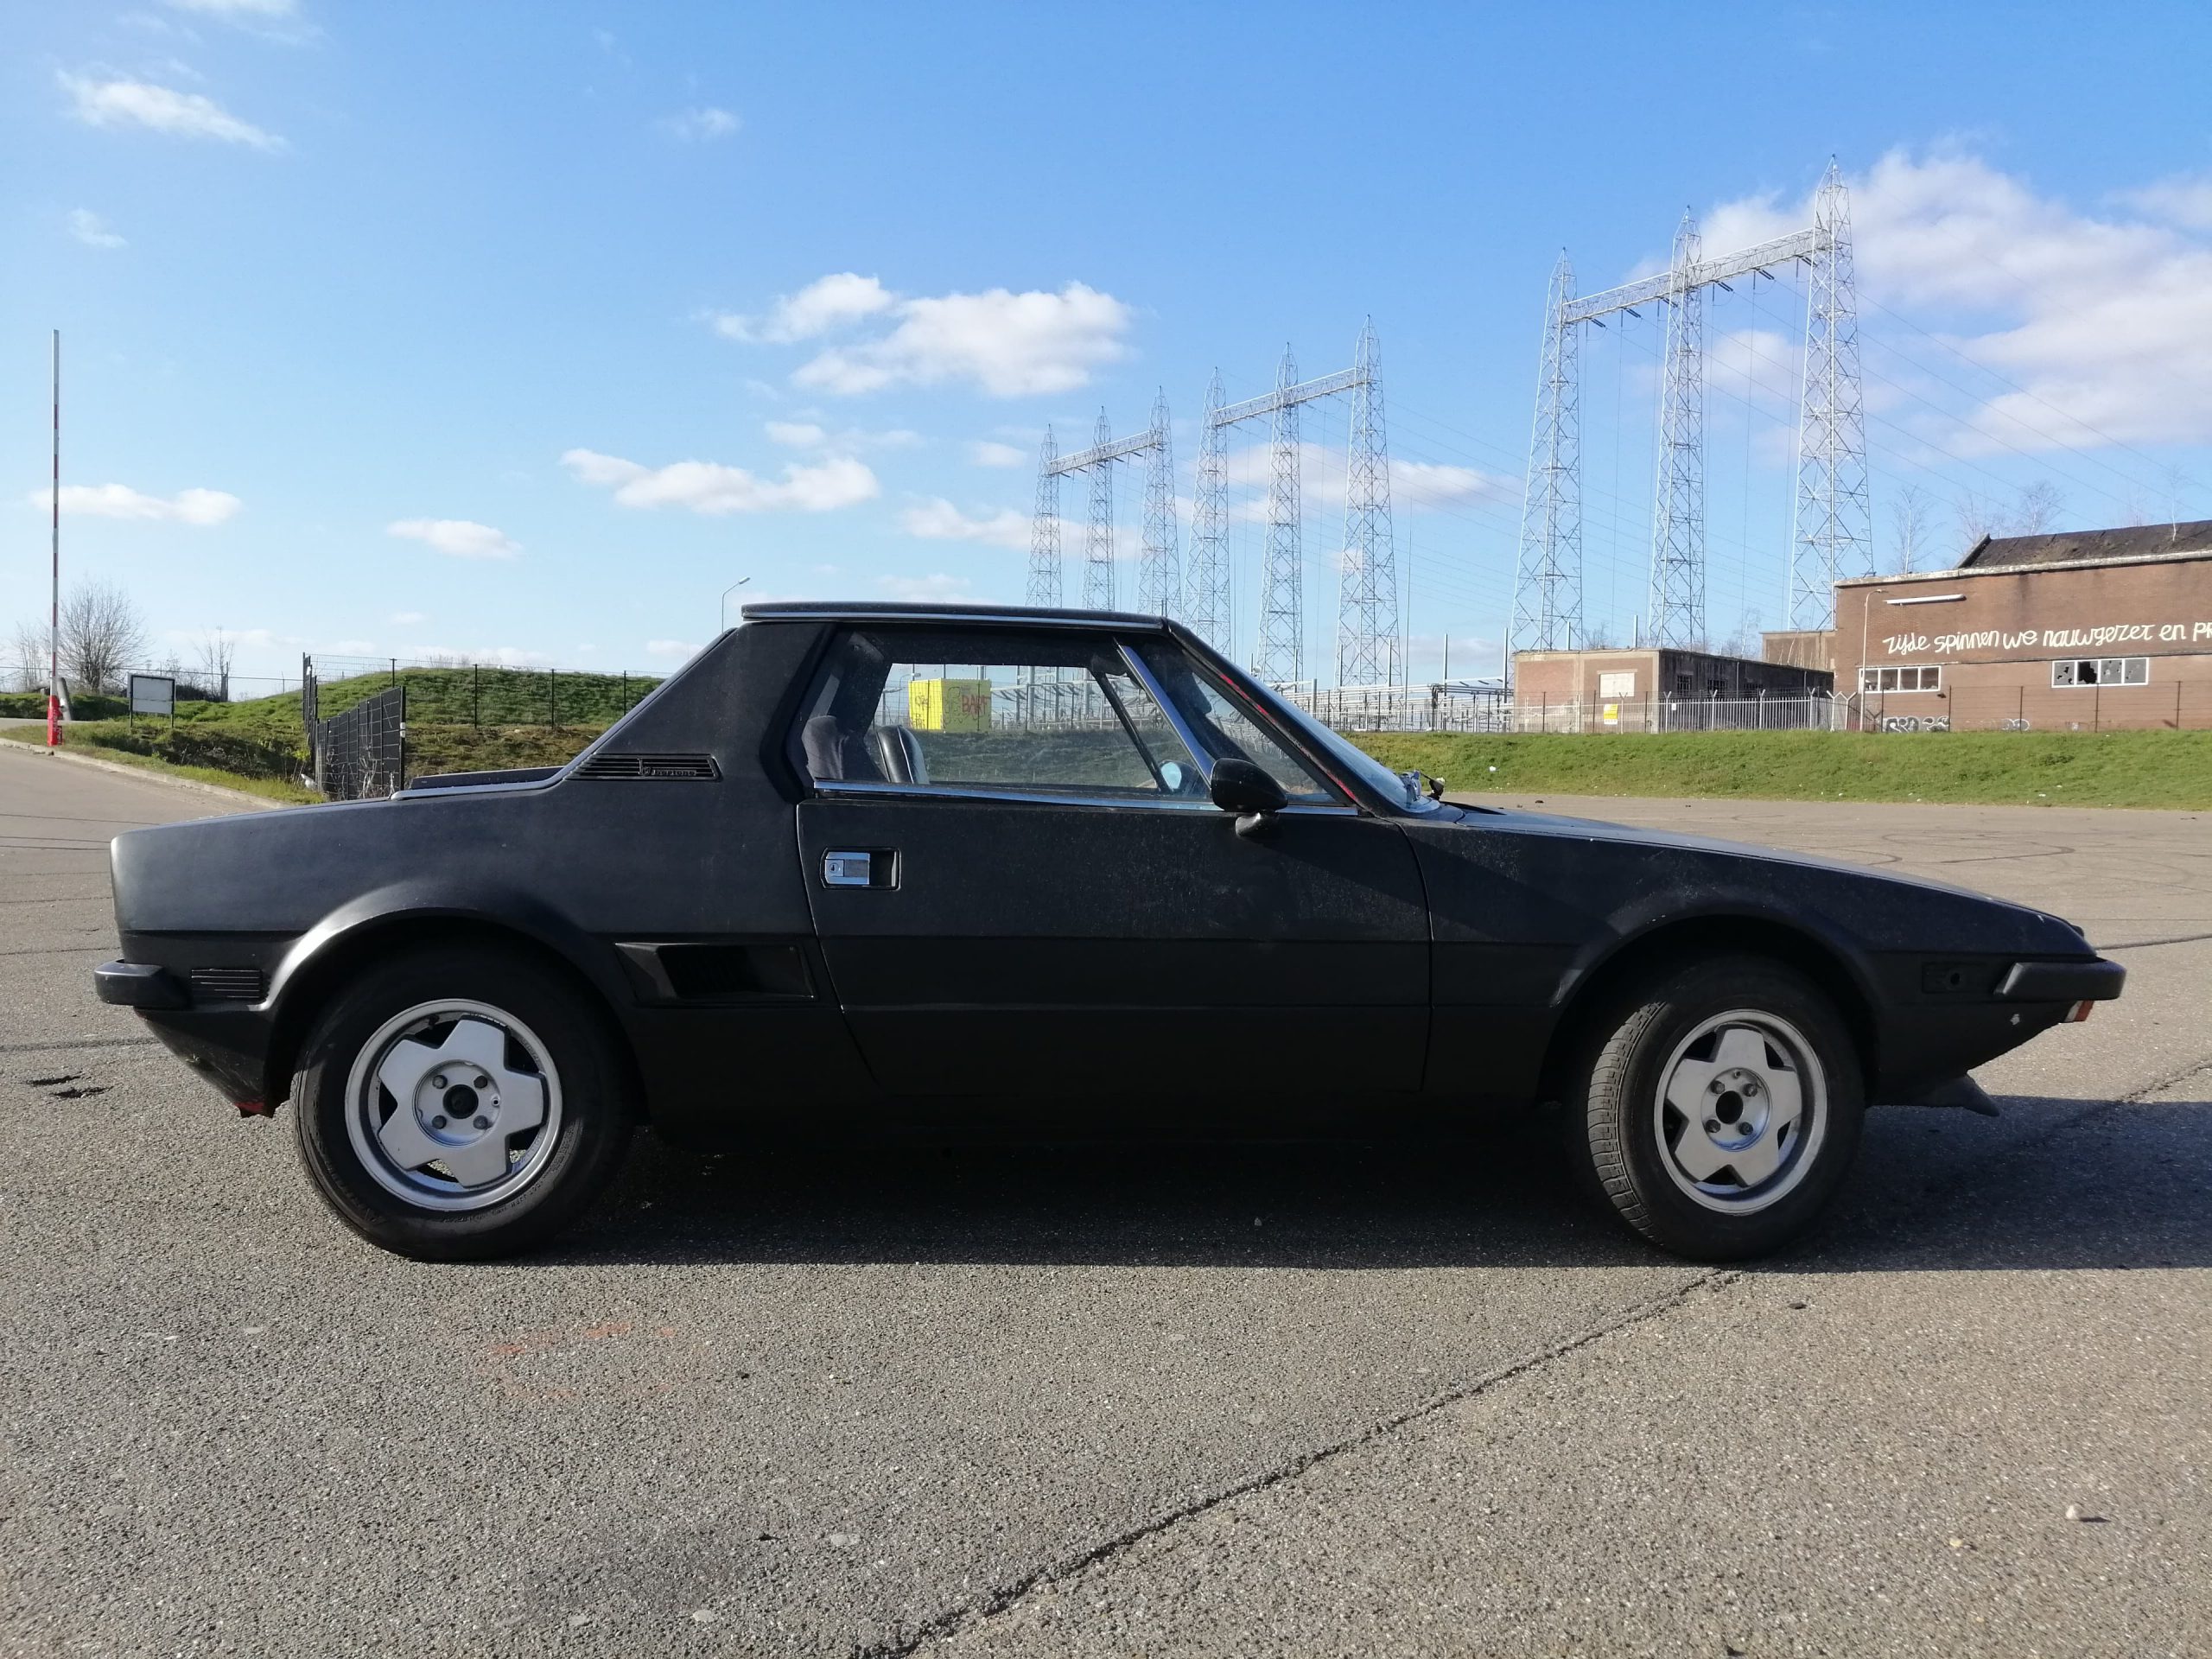
Man, I miss this car sometimes…I don’t miss owning it though.
This 1 car broke me as a person.
The Challenge
When you’re an idiot like me, who just likes to figure out everything yourself, bleeding the Fiat X1/9’s clutch system can be challenging.
Makes you have interesting dreams too. Replacing both of the clutch cilinders is a pretty straight forward bolt on-bolt off job. But the layout of the car makes air in the system basically stuck in the line under the car. Lifting the backside up might help, doing oldscool pumping, trying to drink the fluid out of it, but unfortunately it wasn’t the right flavor. If you do this alone, because your friends and professionals had enough as well, it seems impossible.
Anyway, I did it and I’ll try to explain the method so you can do it too. Here’s the steps in the process.
Replacing the master cylinder
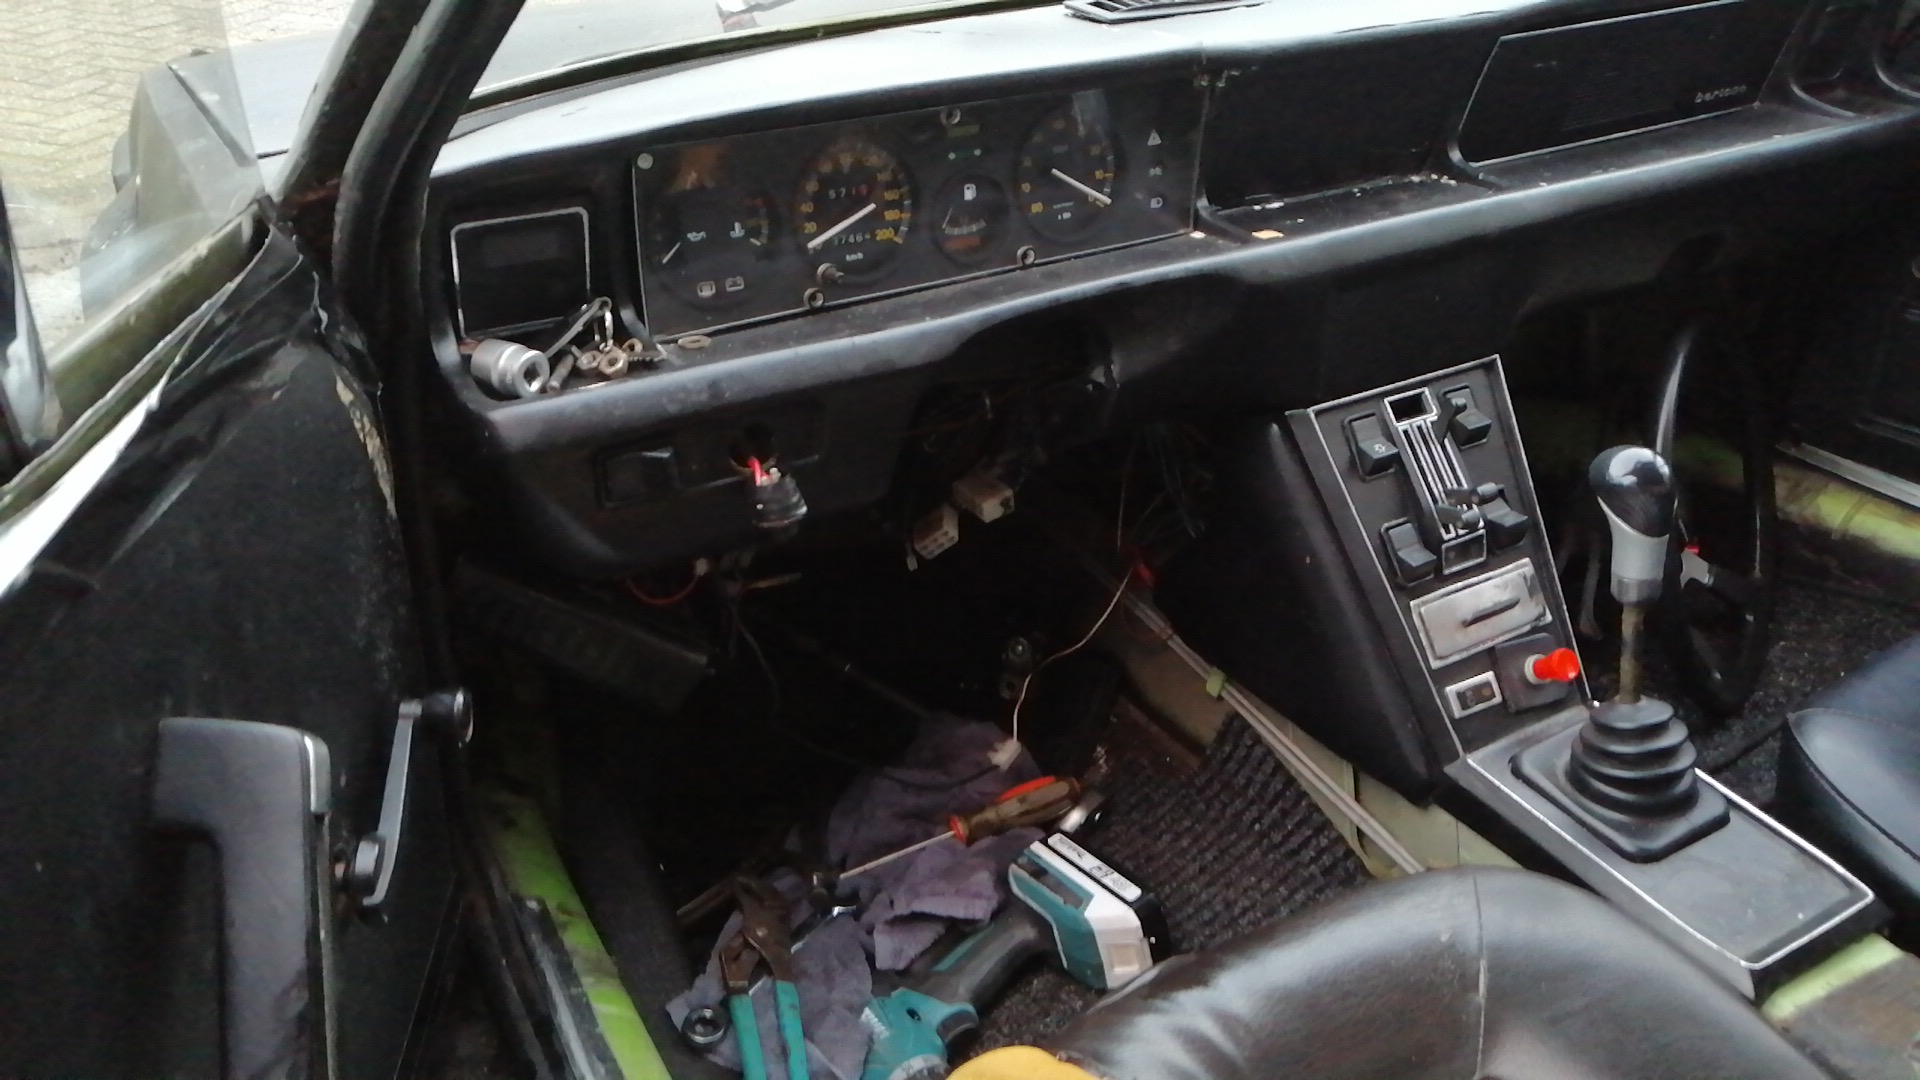
Disassembly of the steering wheel, and axle and of that crap. You can now reach for the pedal box. It may be better to disconnect the clutch line going to the back of the car when it’s still in place. I’m a bit of an idiot, so I confidently disassembled everything and then went to the clutch line. It’s a happy place under the wheel. No, it’s not, you’ll brake your back and feel miserable. It’s cool when it rains.
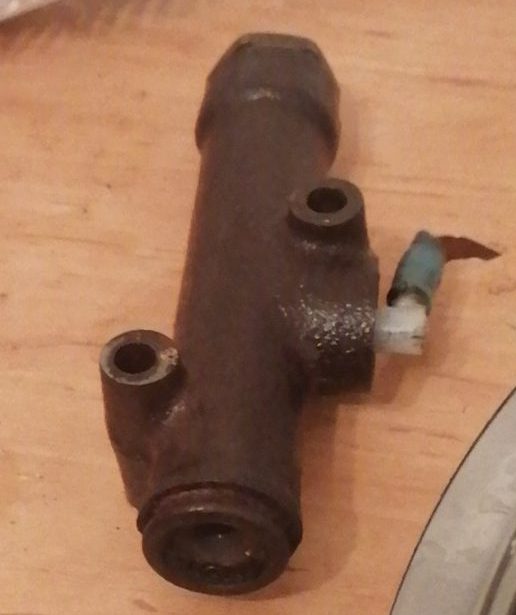
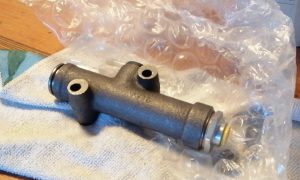
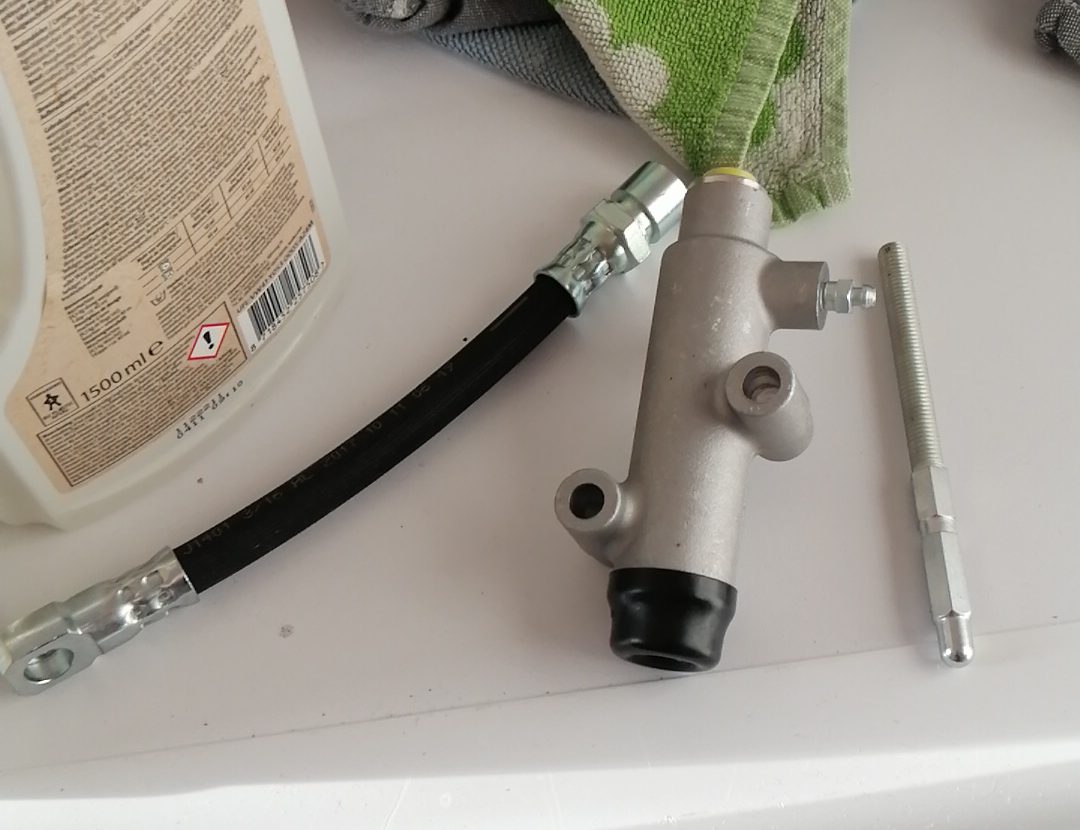
Replaced the clutch master cilinder. You might want to replace your brake master cilinder as well at this point. It’s all cheap. I want to make sure to do this again soon, so I left the 40 year old master cilinder exactly place.
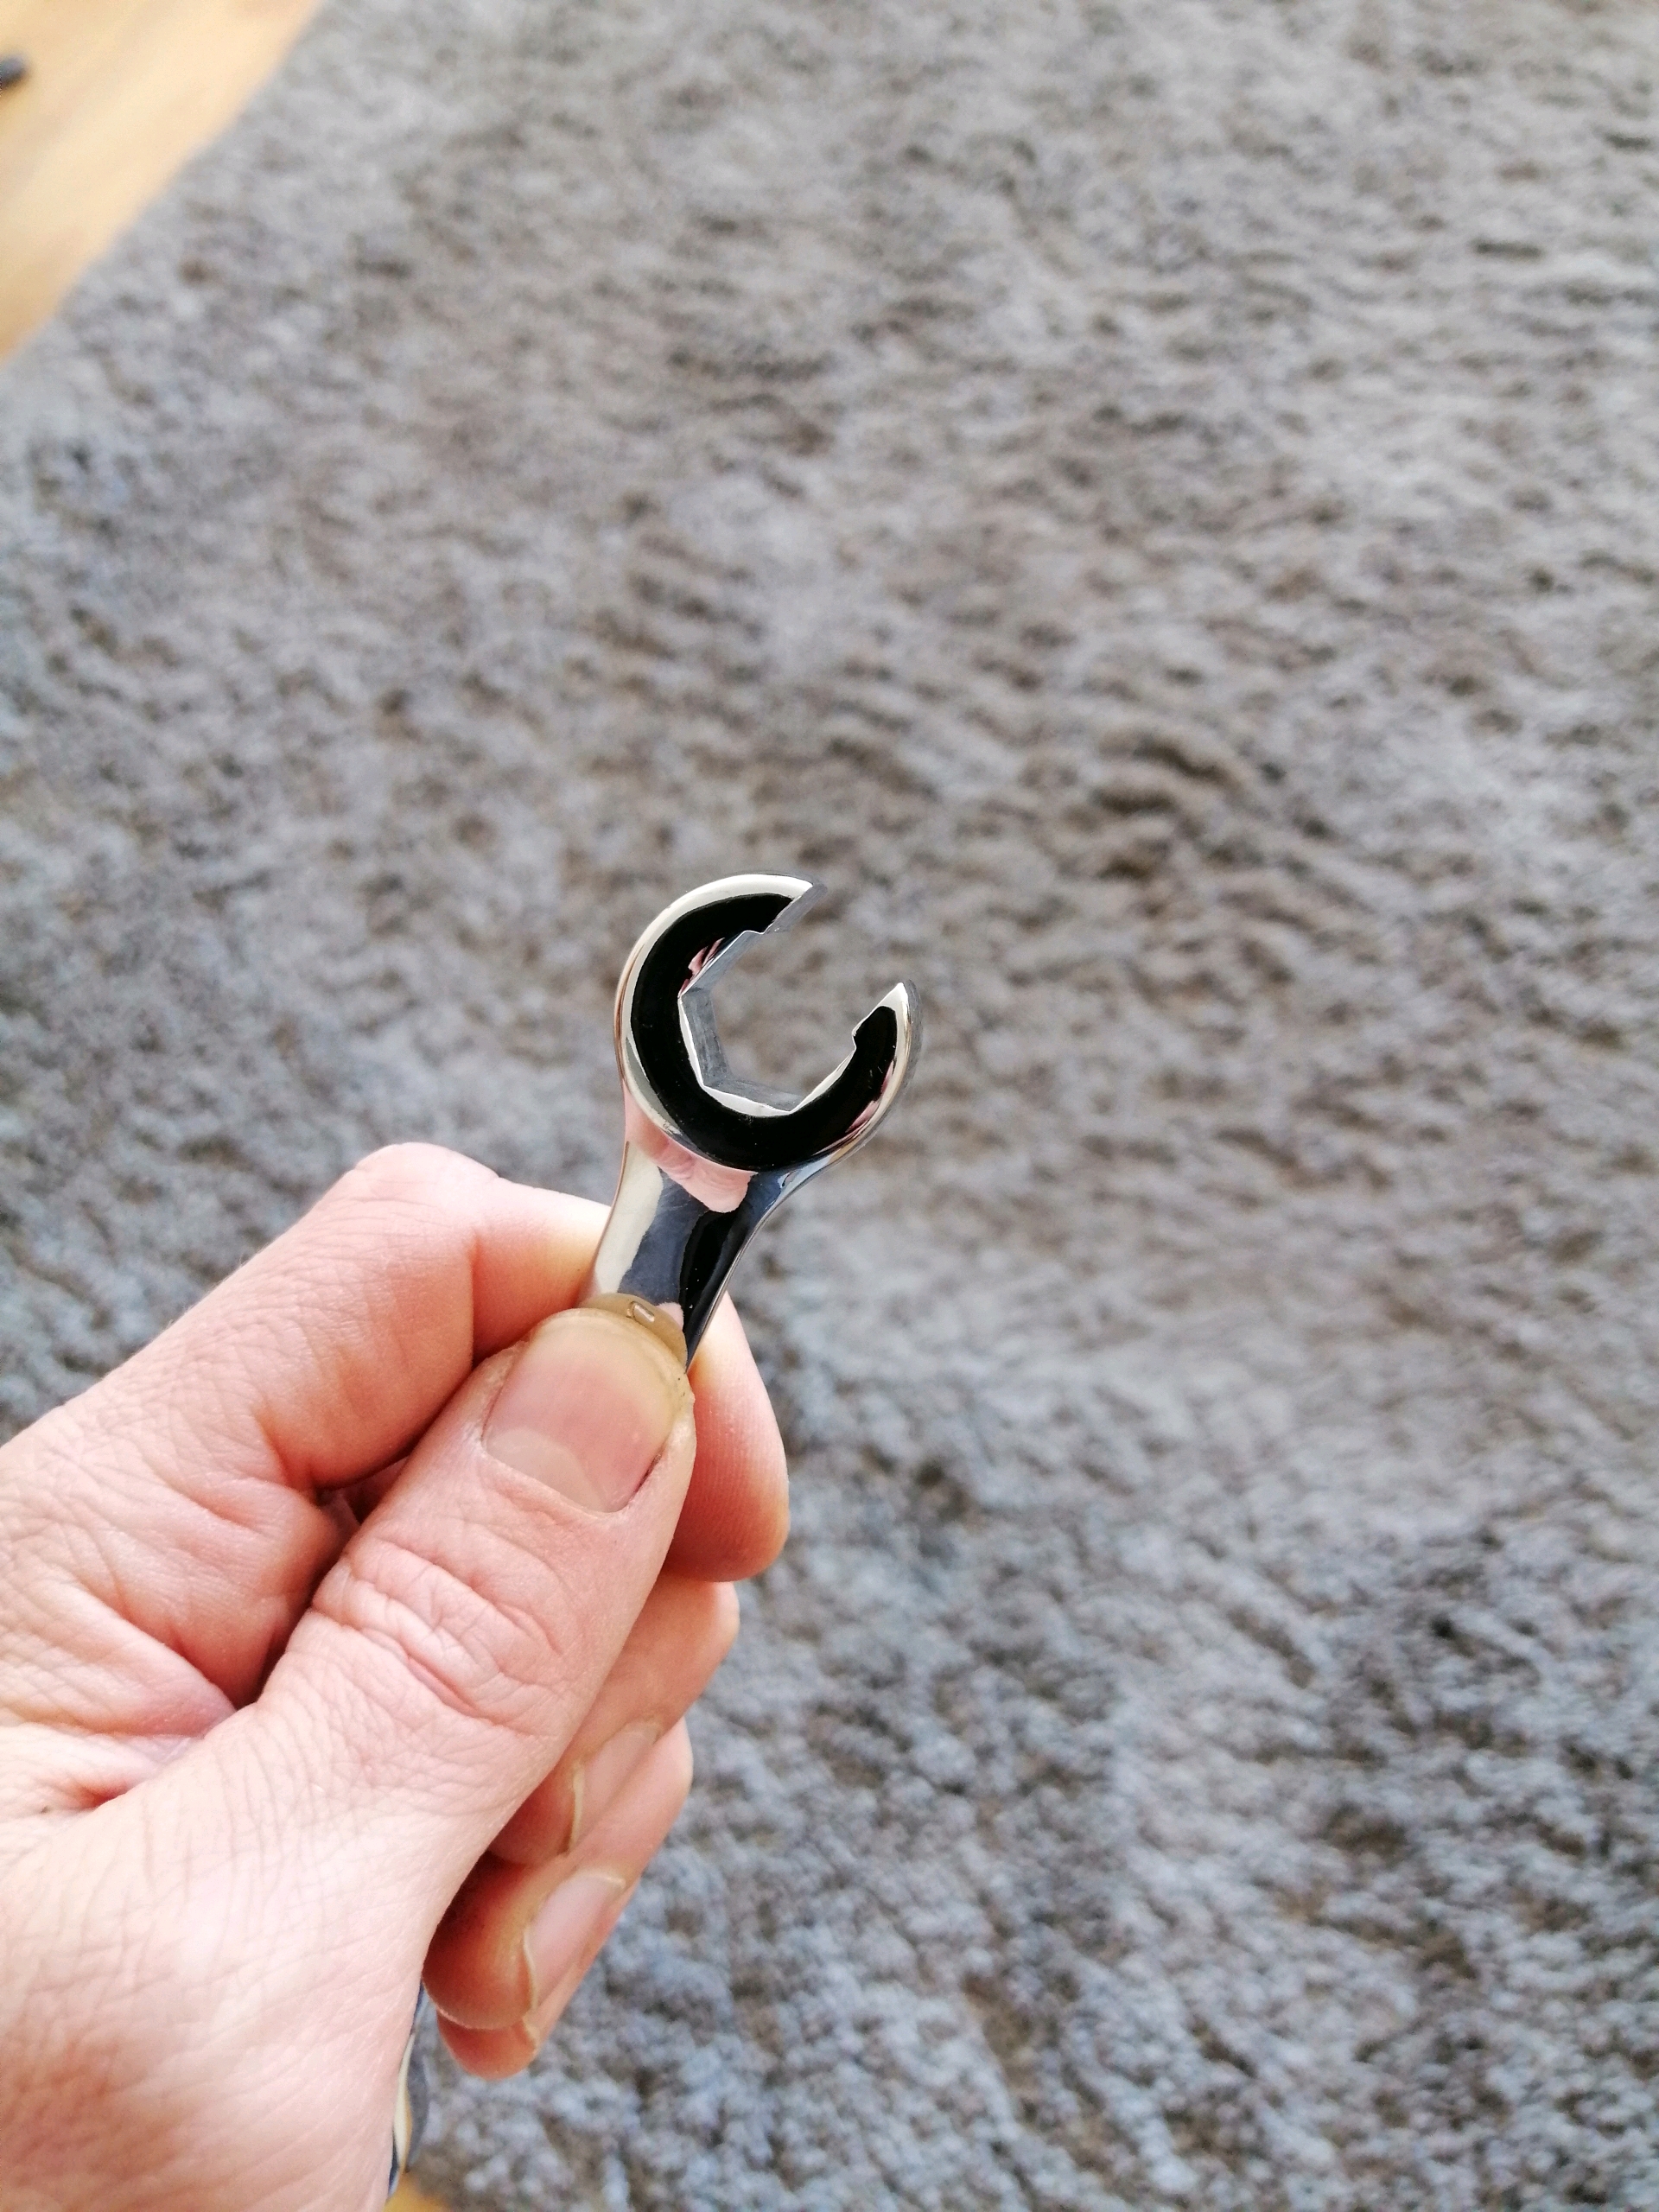
Make sure to use a hexa whatever wrench so you won’t strip the nut. I’m a very tough soul, so I didn’t. I sort of maybe stripped the nut a little bit. About half of its corners, so that’s cool. Bolt everything back in to place, check the steering wheel is still straight.
Replacing the slave cilinder
Back in the engine bay, the connection between the 17mm and the 13mm nuts can be rusted. Spray them with wd40 a day before may help, as well as not trying to losen the 13mm from the clutch line but put the force the 17mm instead. Luckily that worked out. I was very scared, but did use the correct wrench this time. The old one was probably still working fine, but the line was nearly done. Was also rusted shut, so replaced all of that, new copper rings, the lot.
Bleeding the clutch system using a handpump
So the olds cool pumping and bleeding method isn’t going to cut it. The pedal will stick to the floor because of the spring, so that’s good. But by just pumping the pedal the air under the car will prevent the master cilinder from taking enough oil to push the air out the back.
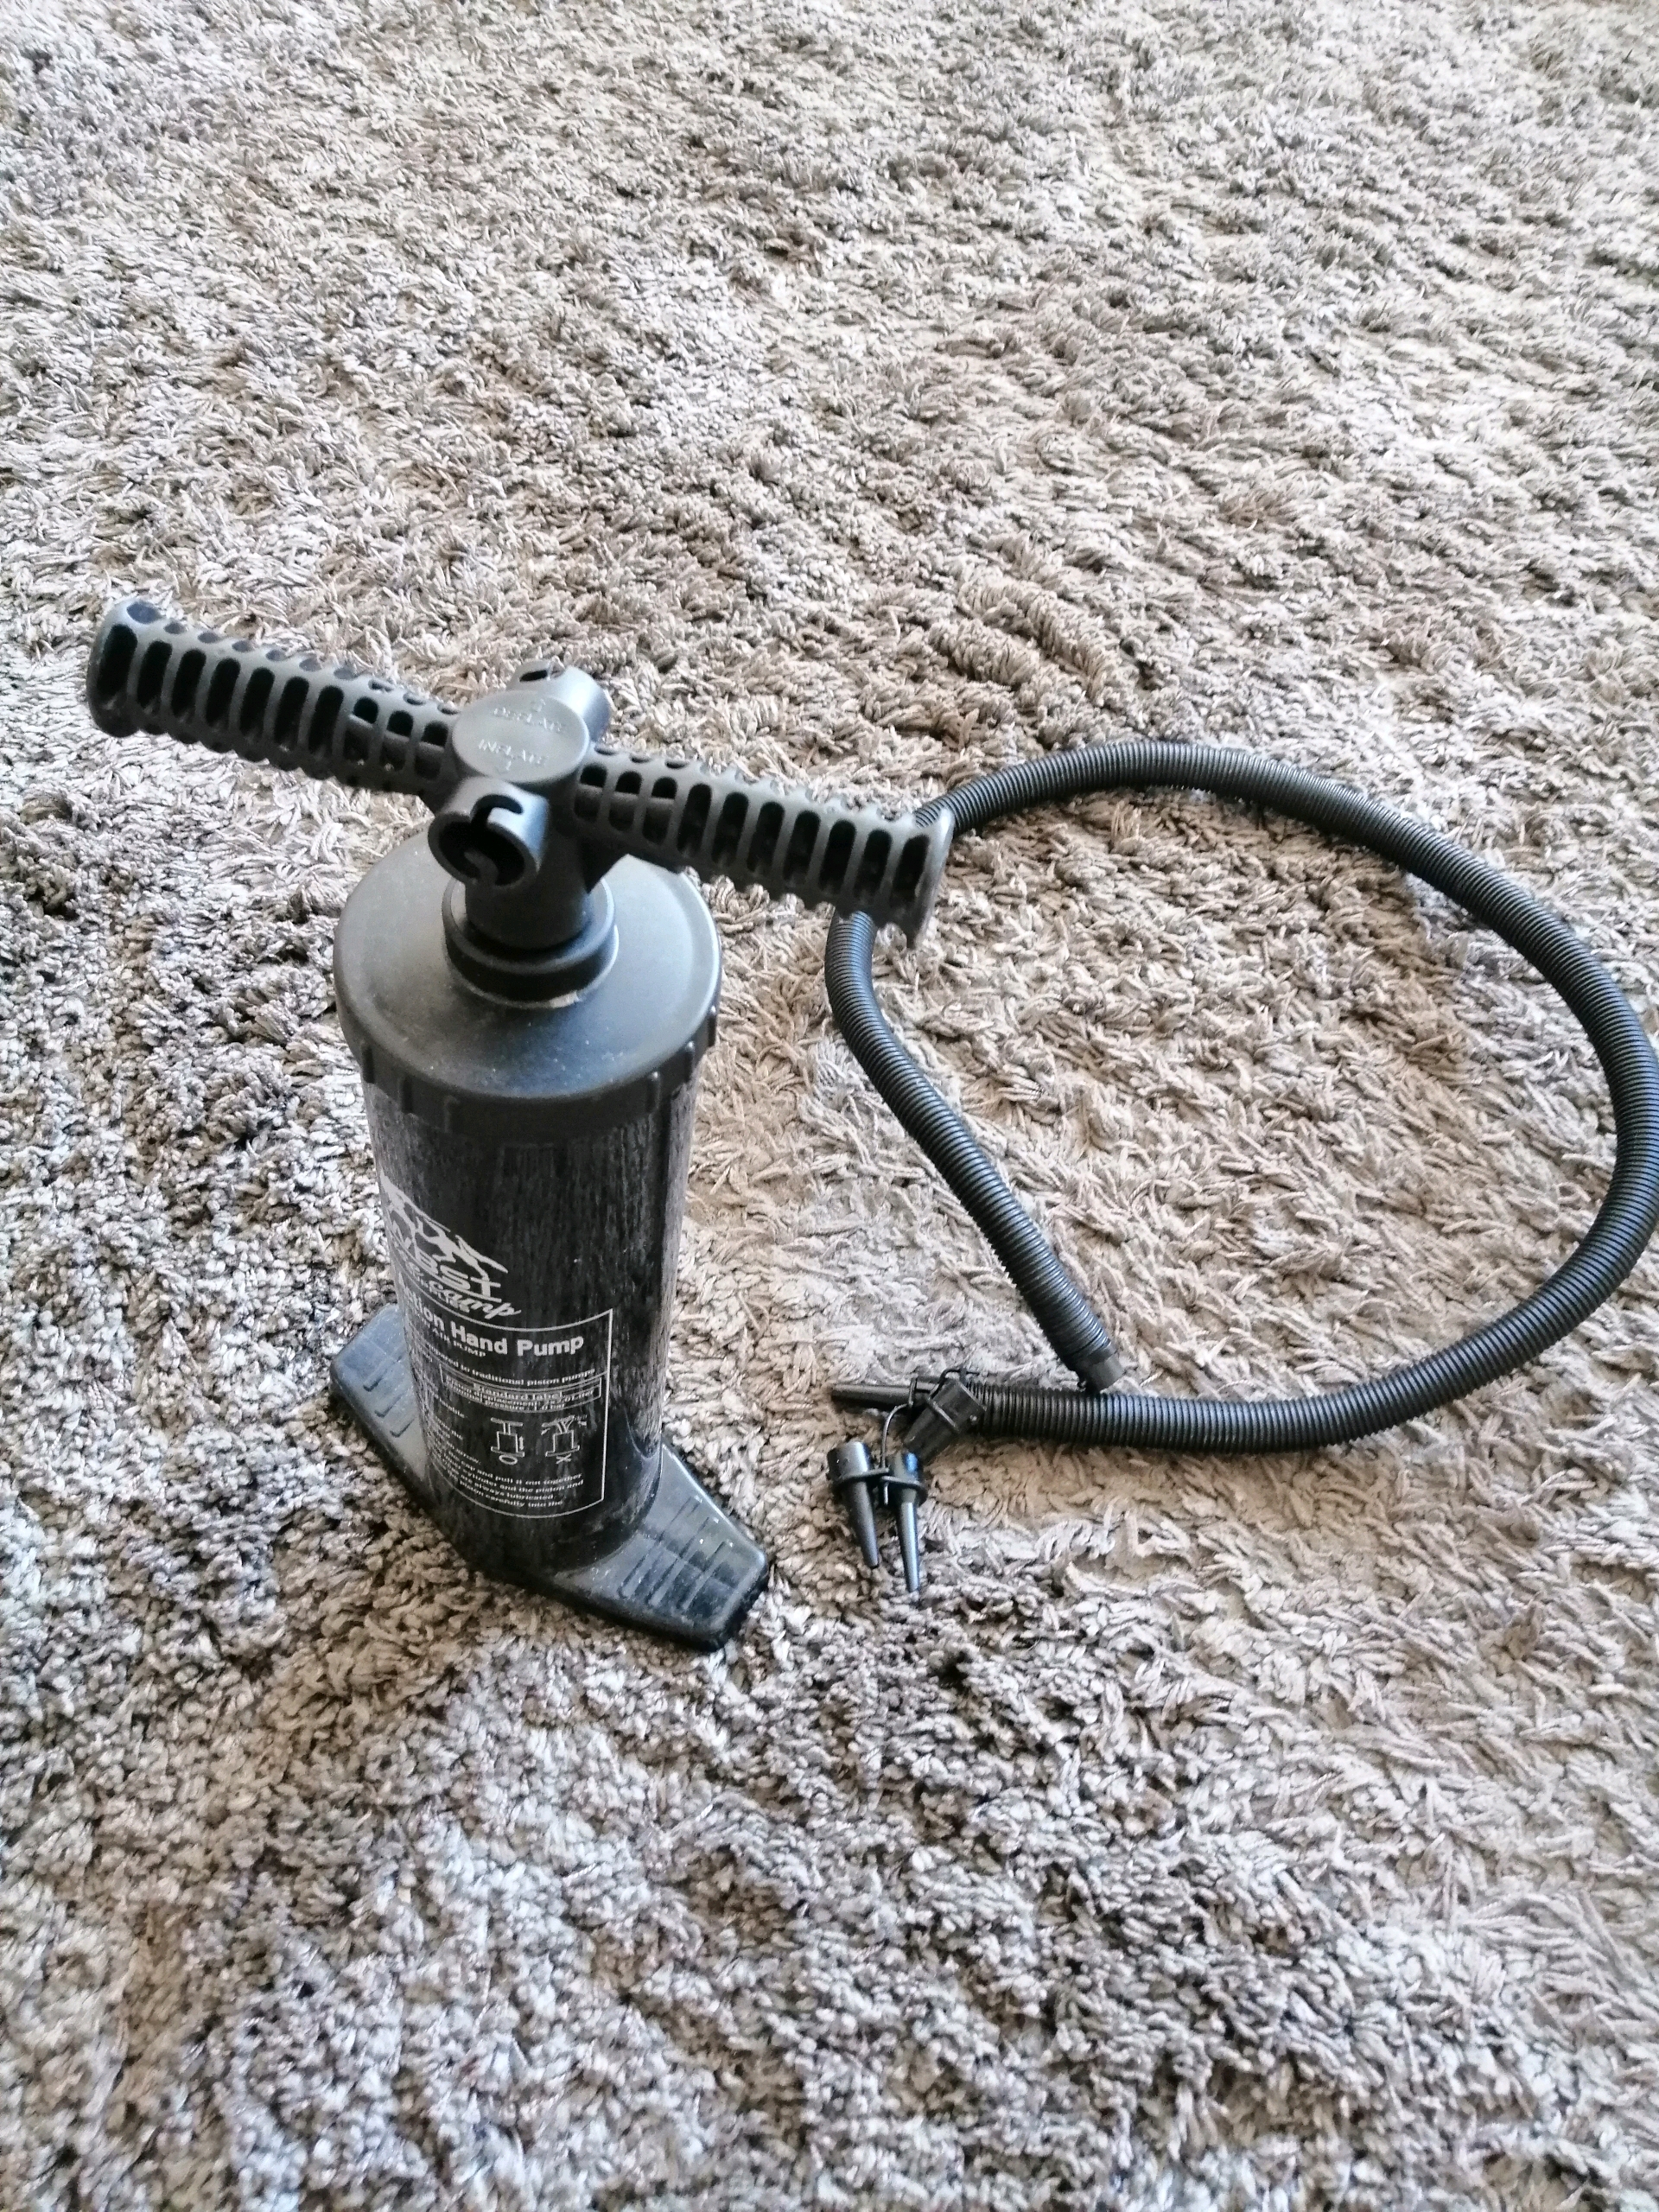
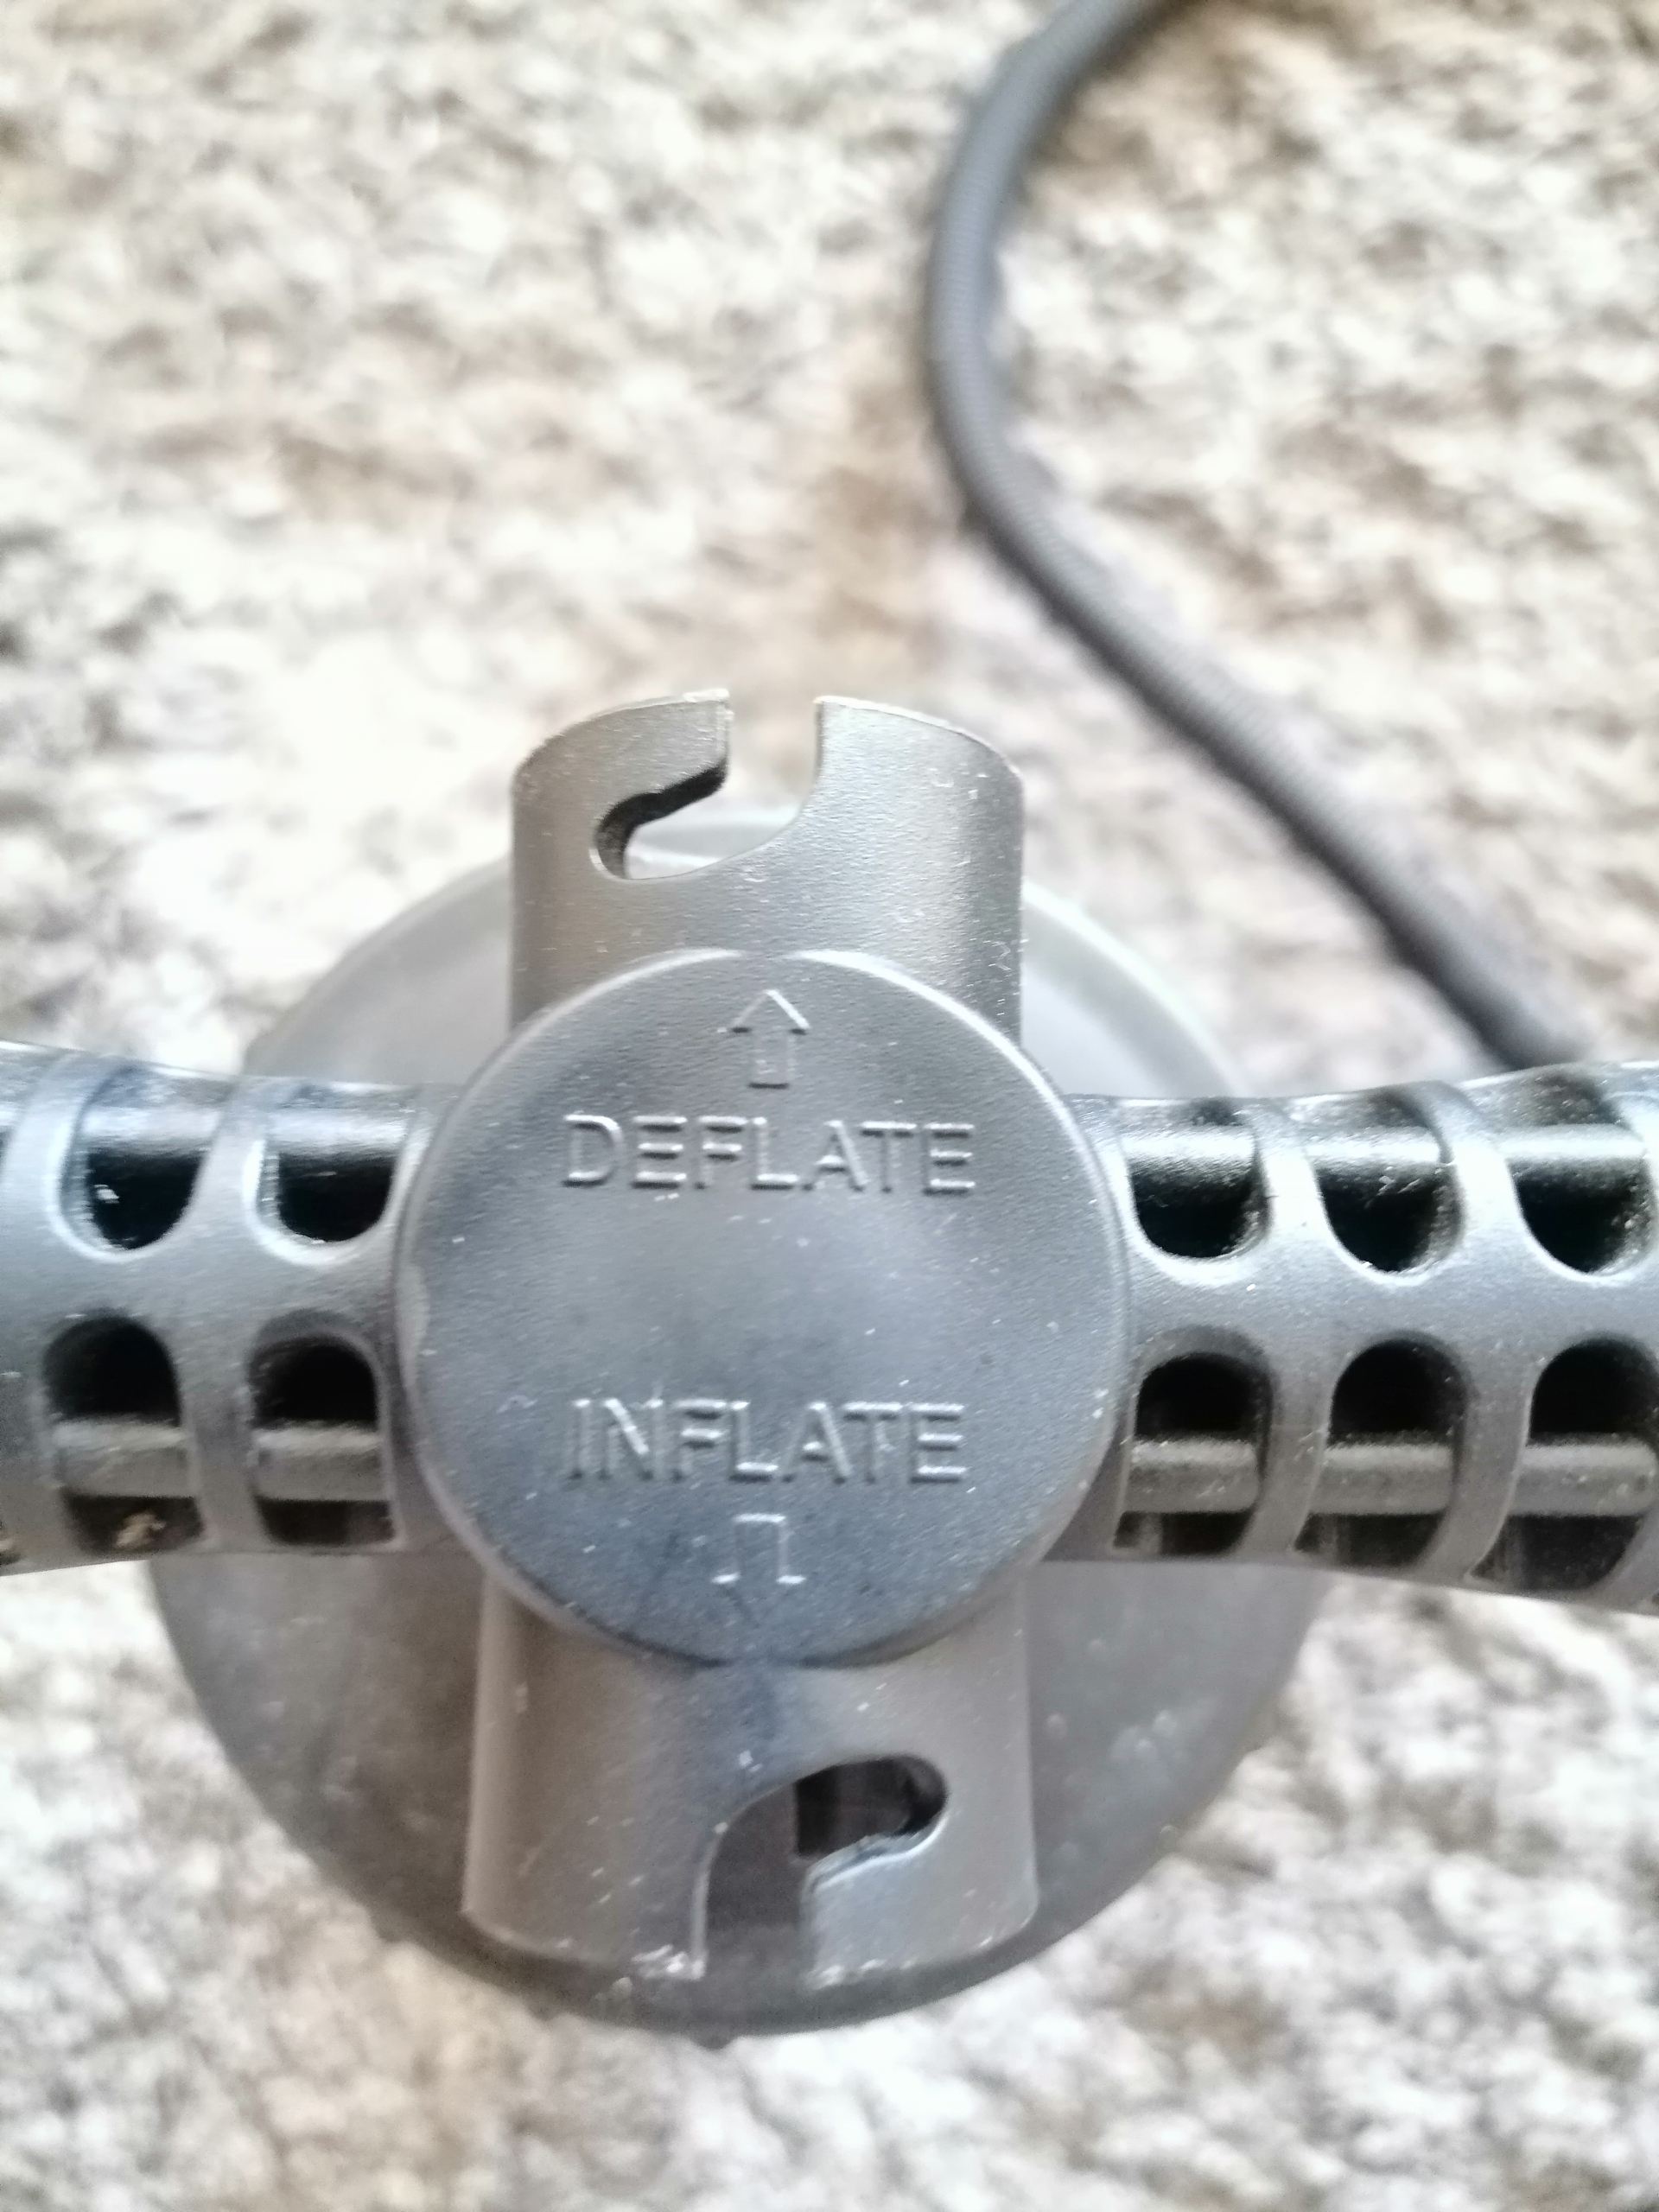
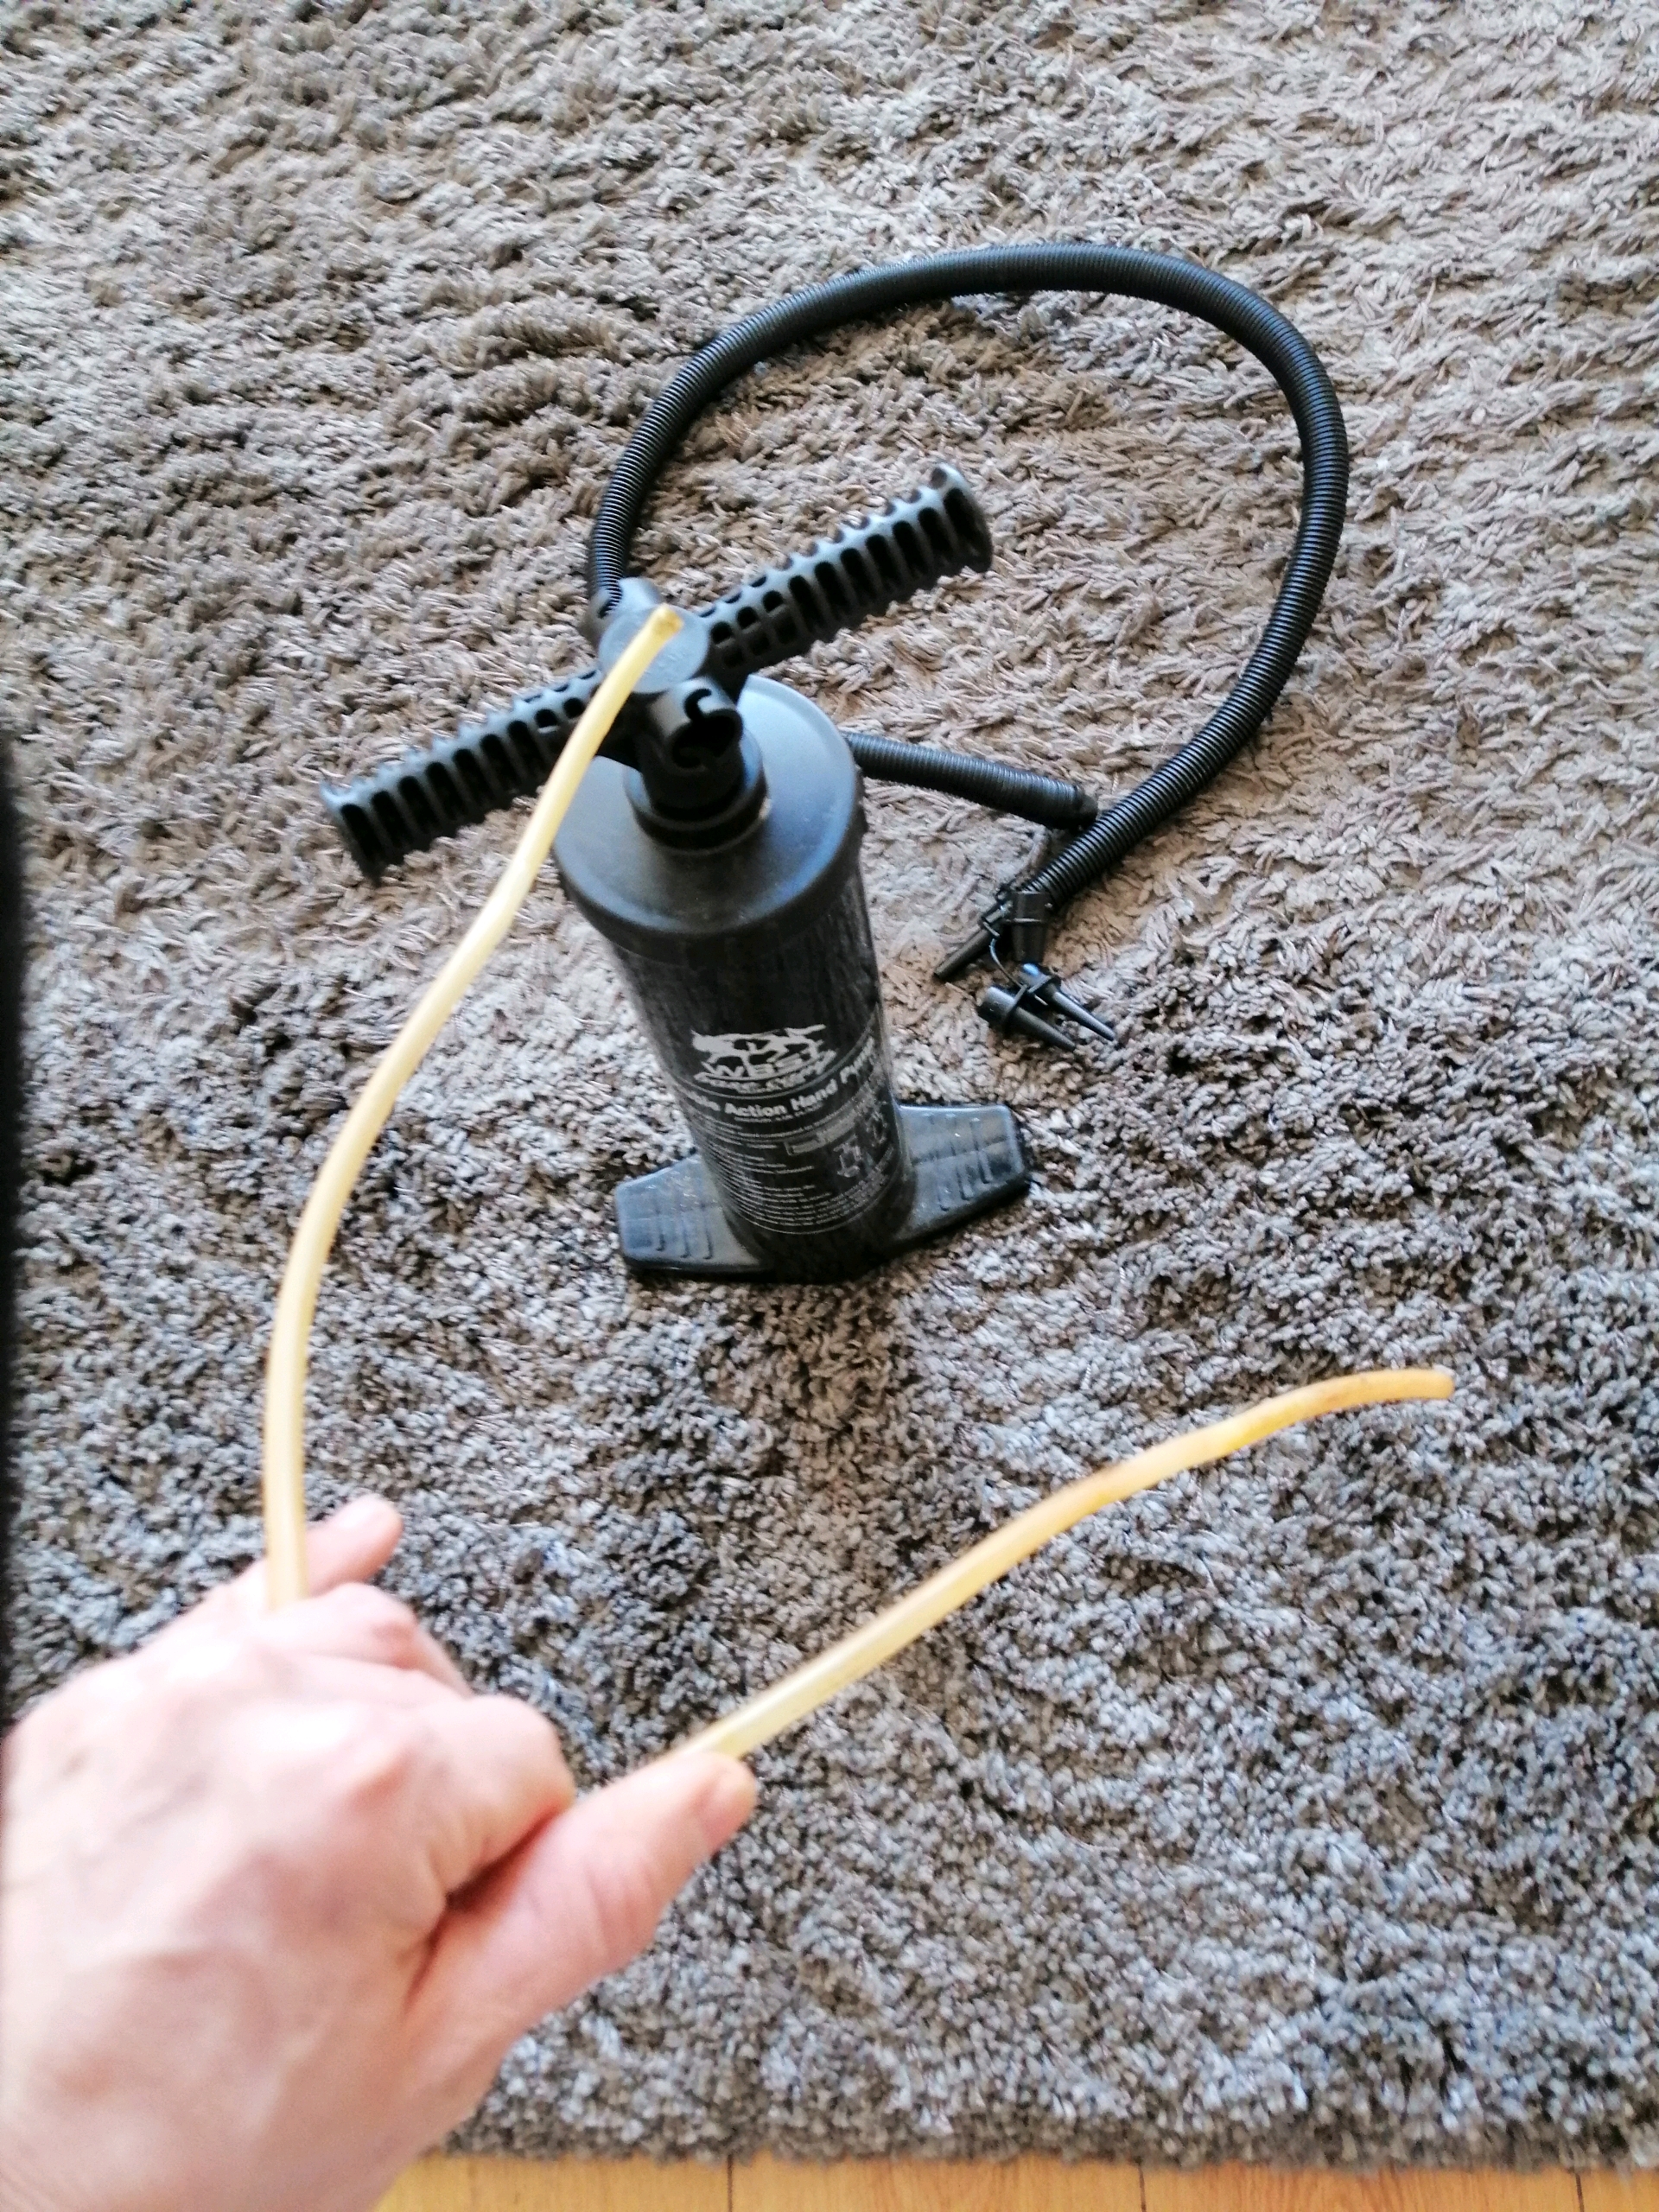
You need to help pump fluid while at the same time maintaining the fluid level at the reservoir full. What I ended up doing is using a hand pump that can ‘deflate’ both ways. I took the little hose from the coolant reservoir and connected that to the pump and the other side to the bleeding valve. Made for it, fits perfectly.
You also have to be fast, but after doing it about 100 times you’ll get the moves. It’s a dance!
IT's A Dance
After filling up the reservoir to the top, pump the pedal fairly quick about 20 times. The clutch pedal sticks to the floor because of it’s spring, but you can make sure it stays there using a piece of wood. Open the bleeding valve with one hand, but with the other one, quickly pump about 5 times and close the valve. Repeat this many times and keep topping up the reservoir. There’s a lot of air in the line, so at first you won’t notice any difference. After a while the pedal becomes a little bit harder at the end. It’s not going to stick by itself anymore. That’s when you can do less of the pumping, let’s say 5 times, then 1 time only. You can probably do the oldscool method with the bottle with fresh oil and pumping the last bit of air into the bottle. But I need to keep that little imperfection. It gives this work character, but it also keeps your mind distracted from your career or proper chess playing.
IMPORTANT!
Now, this made the difference compared to my other attempts to bleed the system. When reassembled keep the 17mm nut that sits again the gearbox fork arm thing turned in towards the clutch cilinder! That way you have slack and you can actually help to pressurize the system after bleeding by turning it back against the fork. So, after you’ve made it through and managed to pressurize the system, turn the nut back to the gearbox lever. Try if you have clutch. Then finetune the pedal’s action with that same 17mm nut.