How To Build Super Cool, and Budget Friendly Acoustic Studio Panels
Step 1. Cutting Planks 'o Wood for the frame
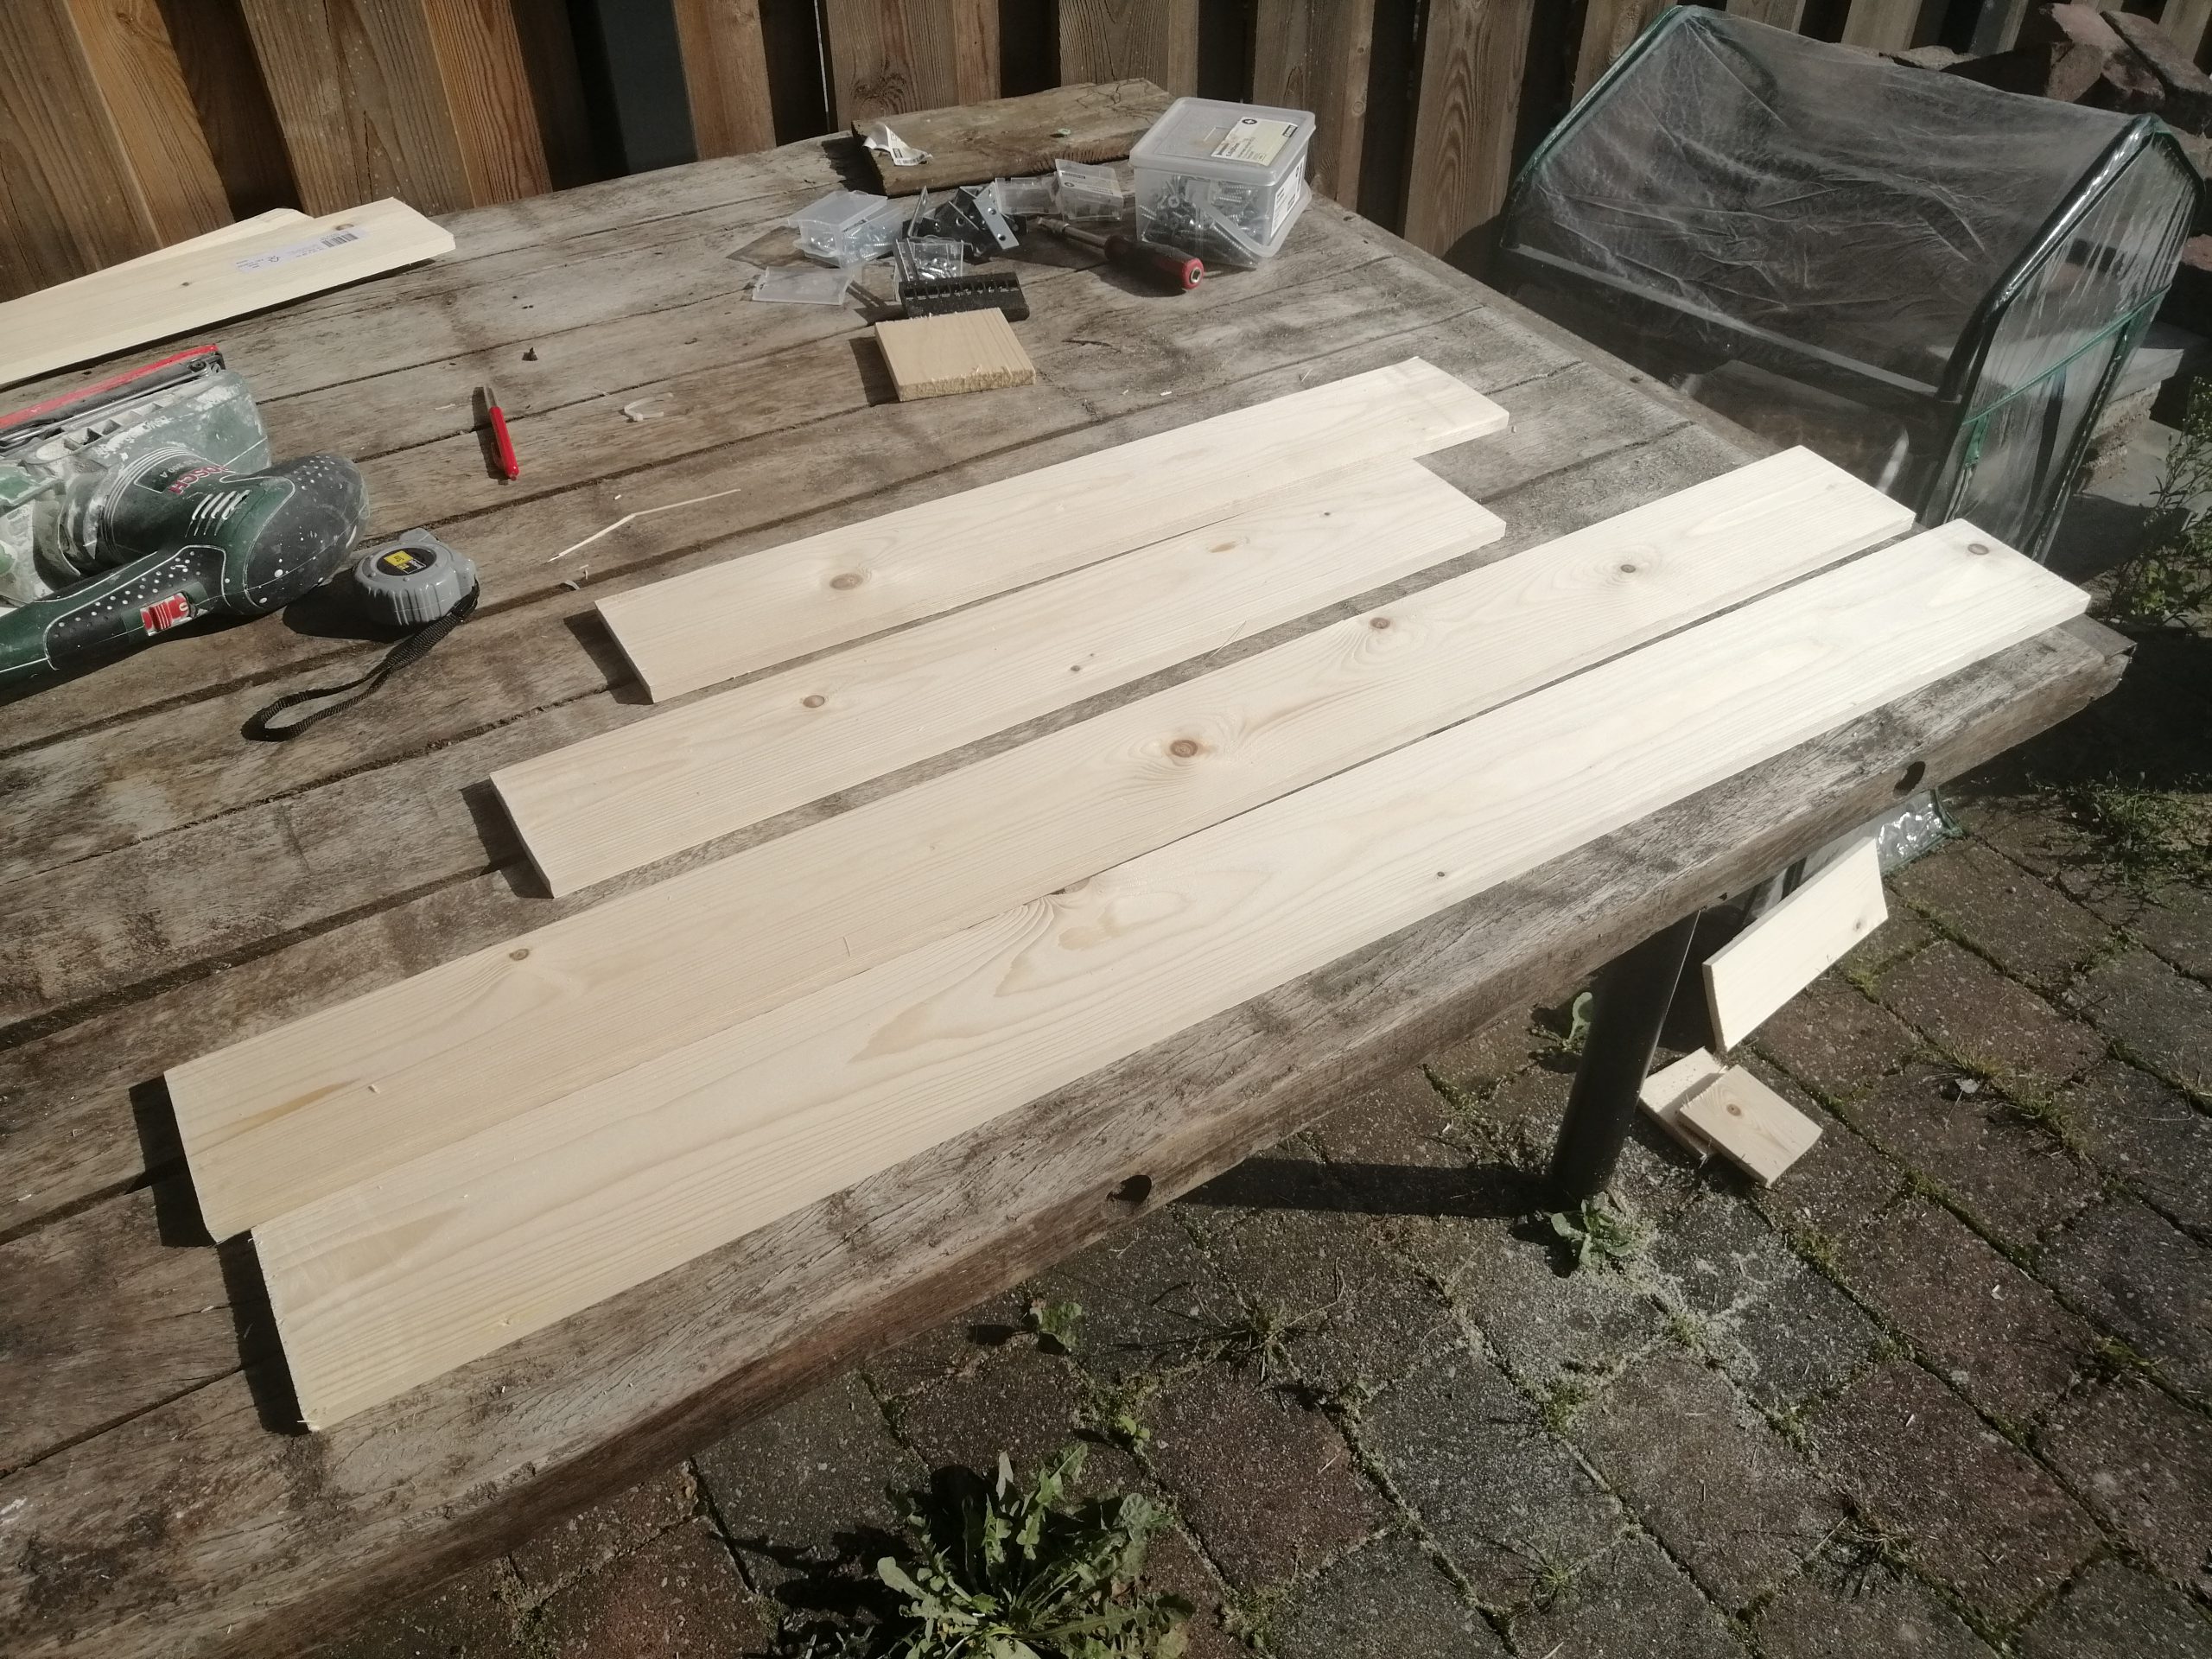
First, I’ve cut 4 pieces of wood out of spruce. Spruce isn’t expensive at all, but it isn’t that strong. Just be aware of that and use some sort of support method you’ll see later.
Dimensions are 100×60 in centimeters. So two 100cm and two 60cm ones. The reason I chose these dimensions is that the panels of Rockwool will fit exactly and don’t need cutting.
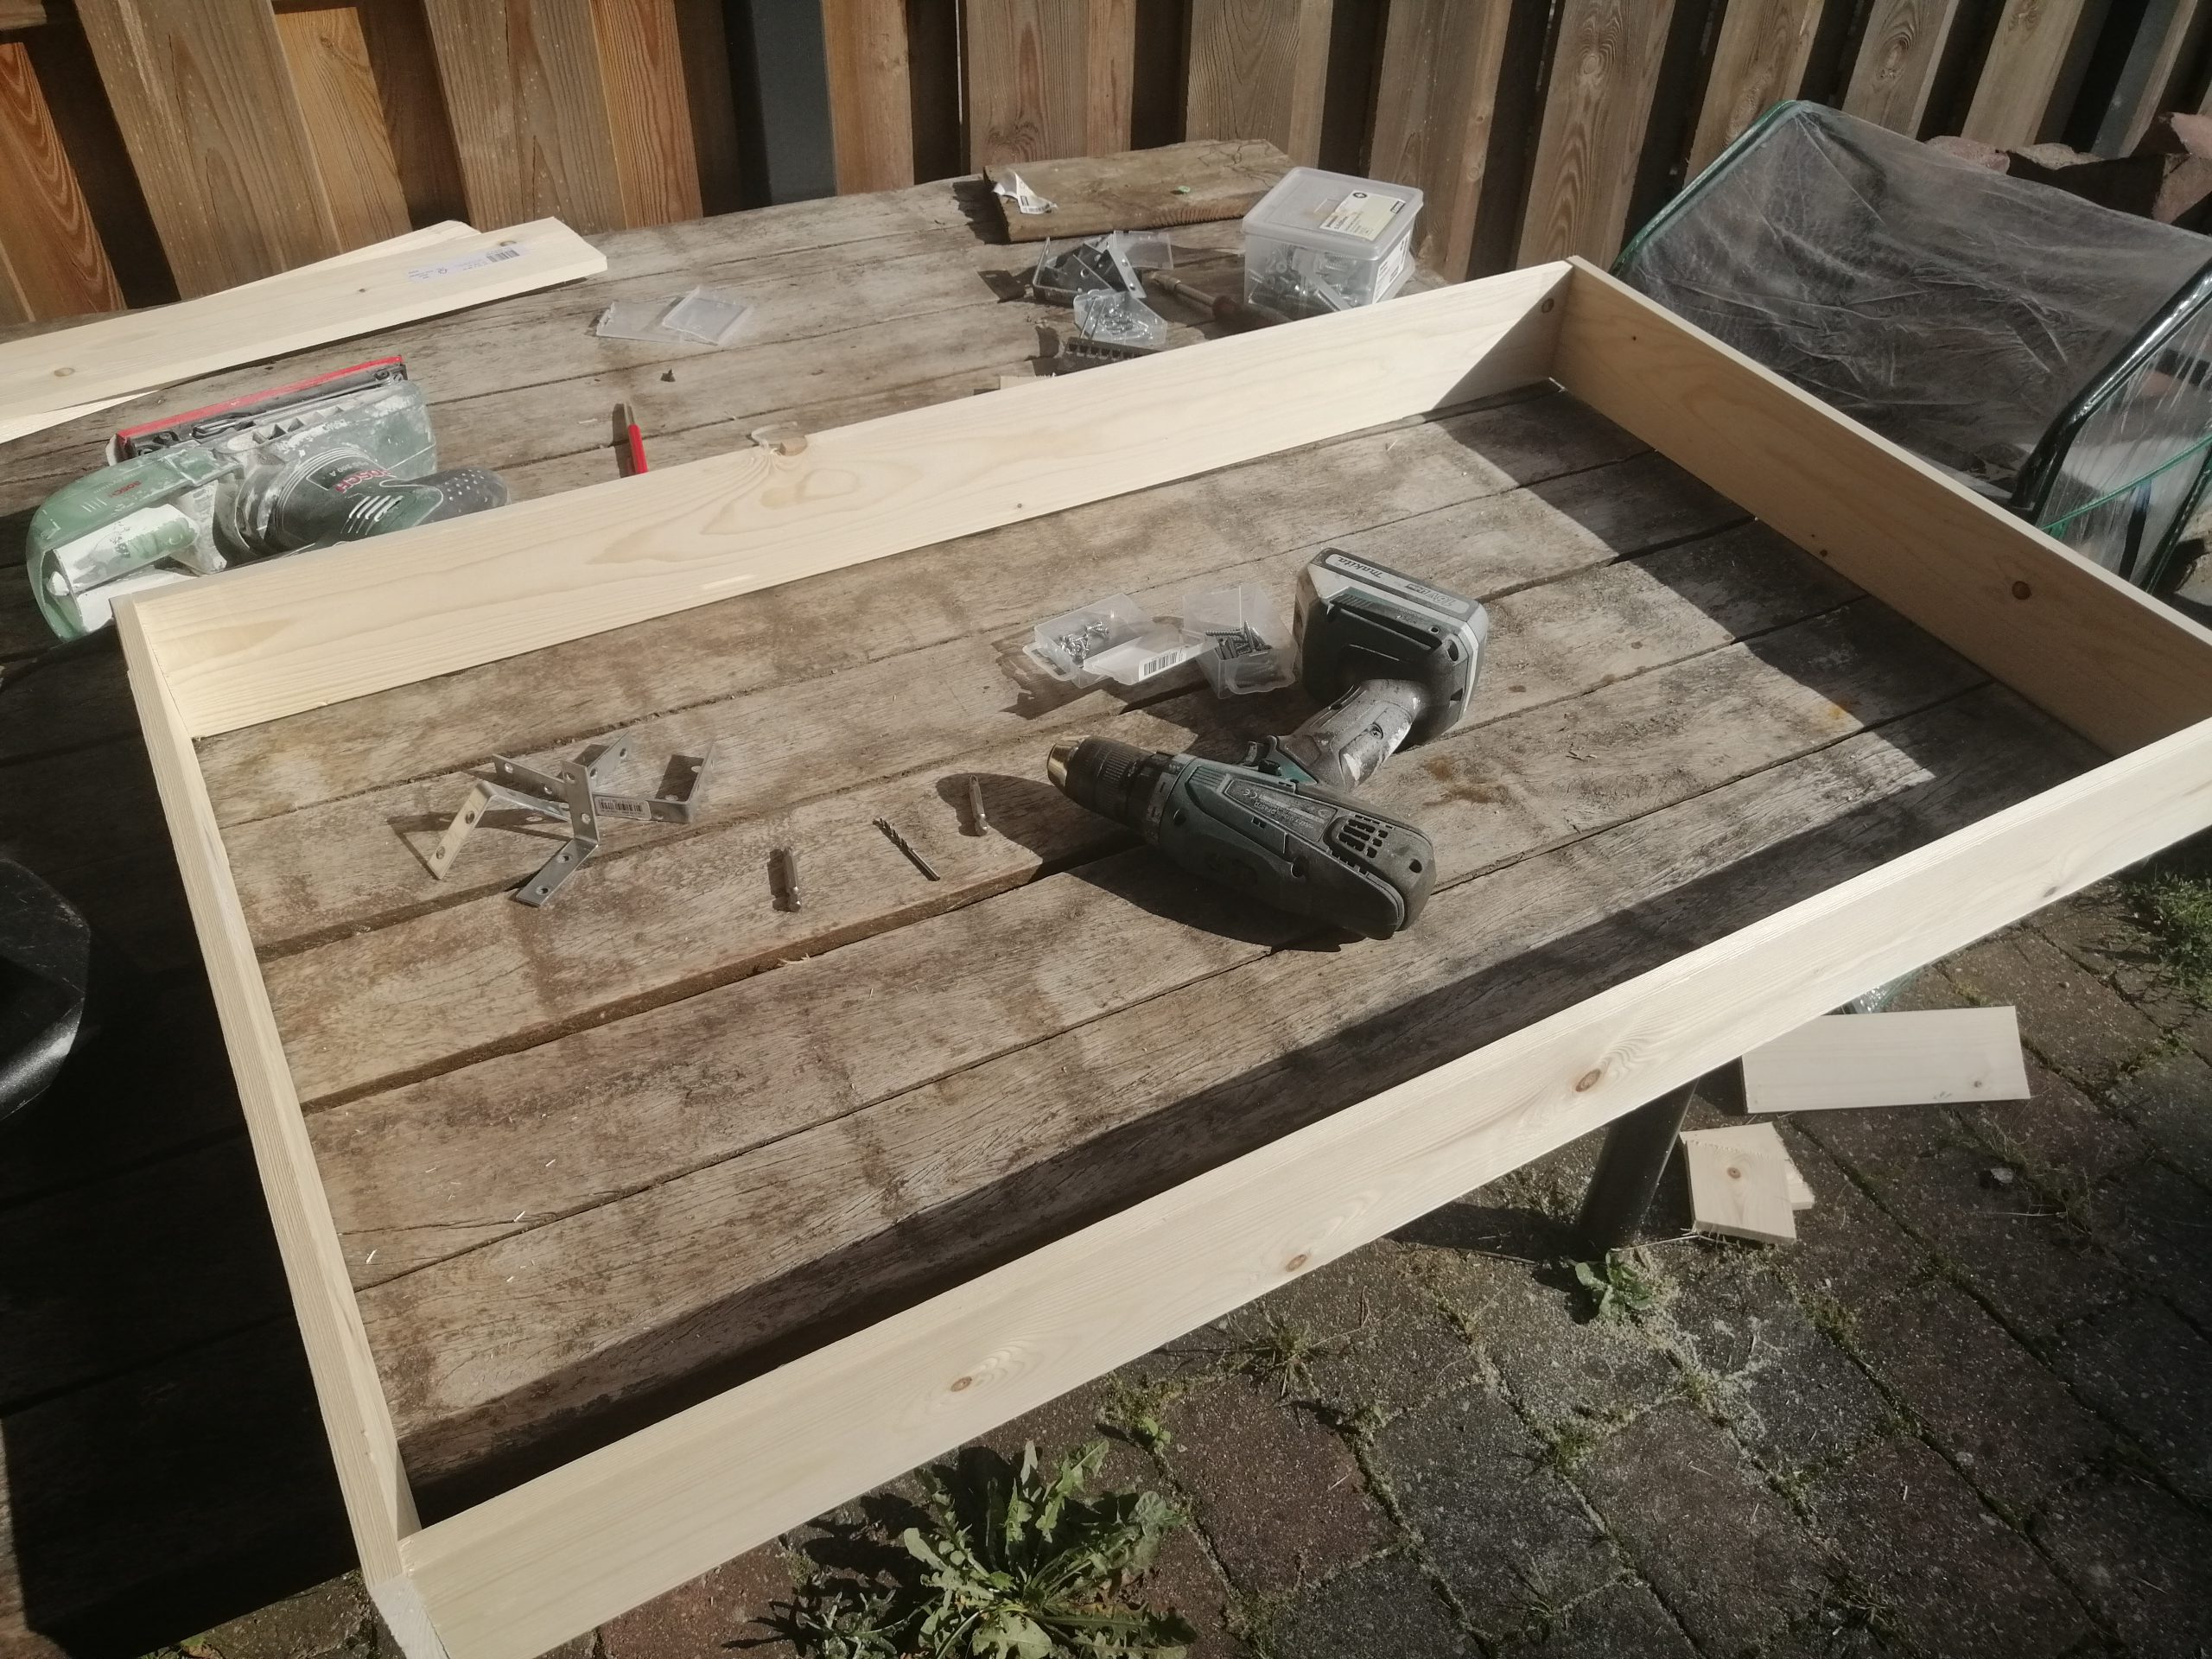
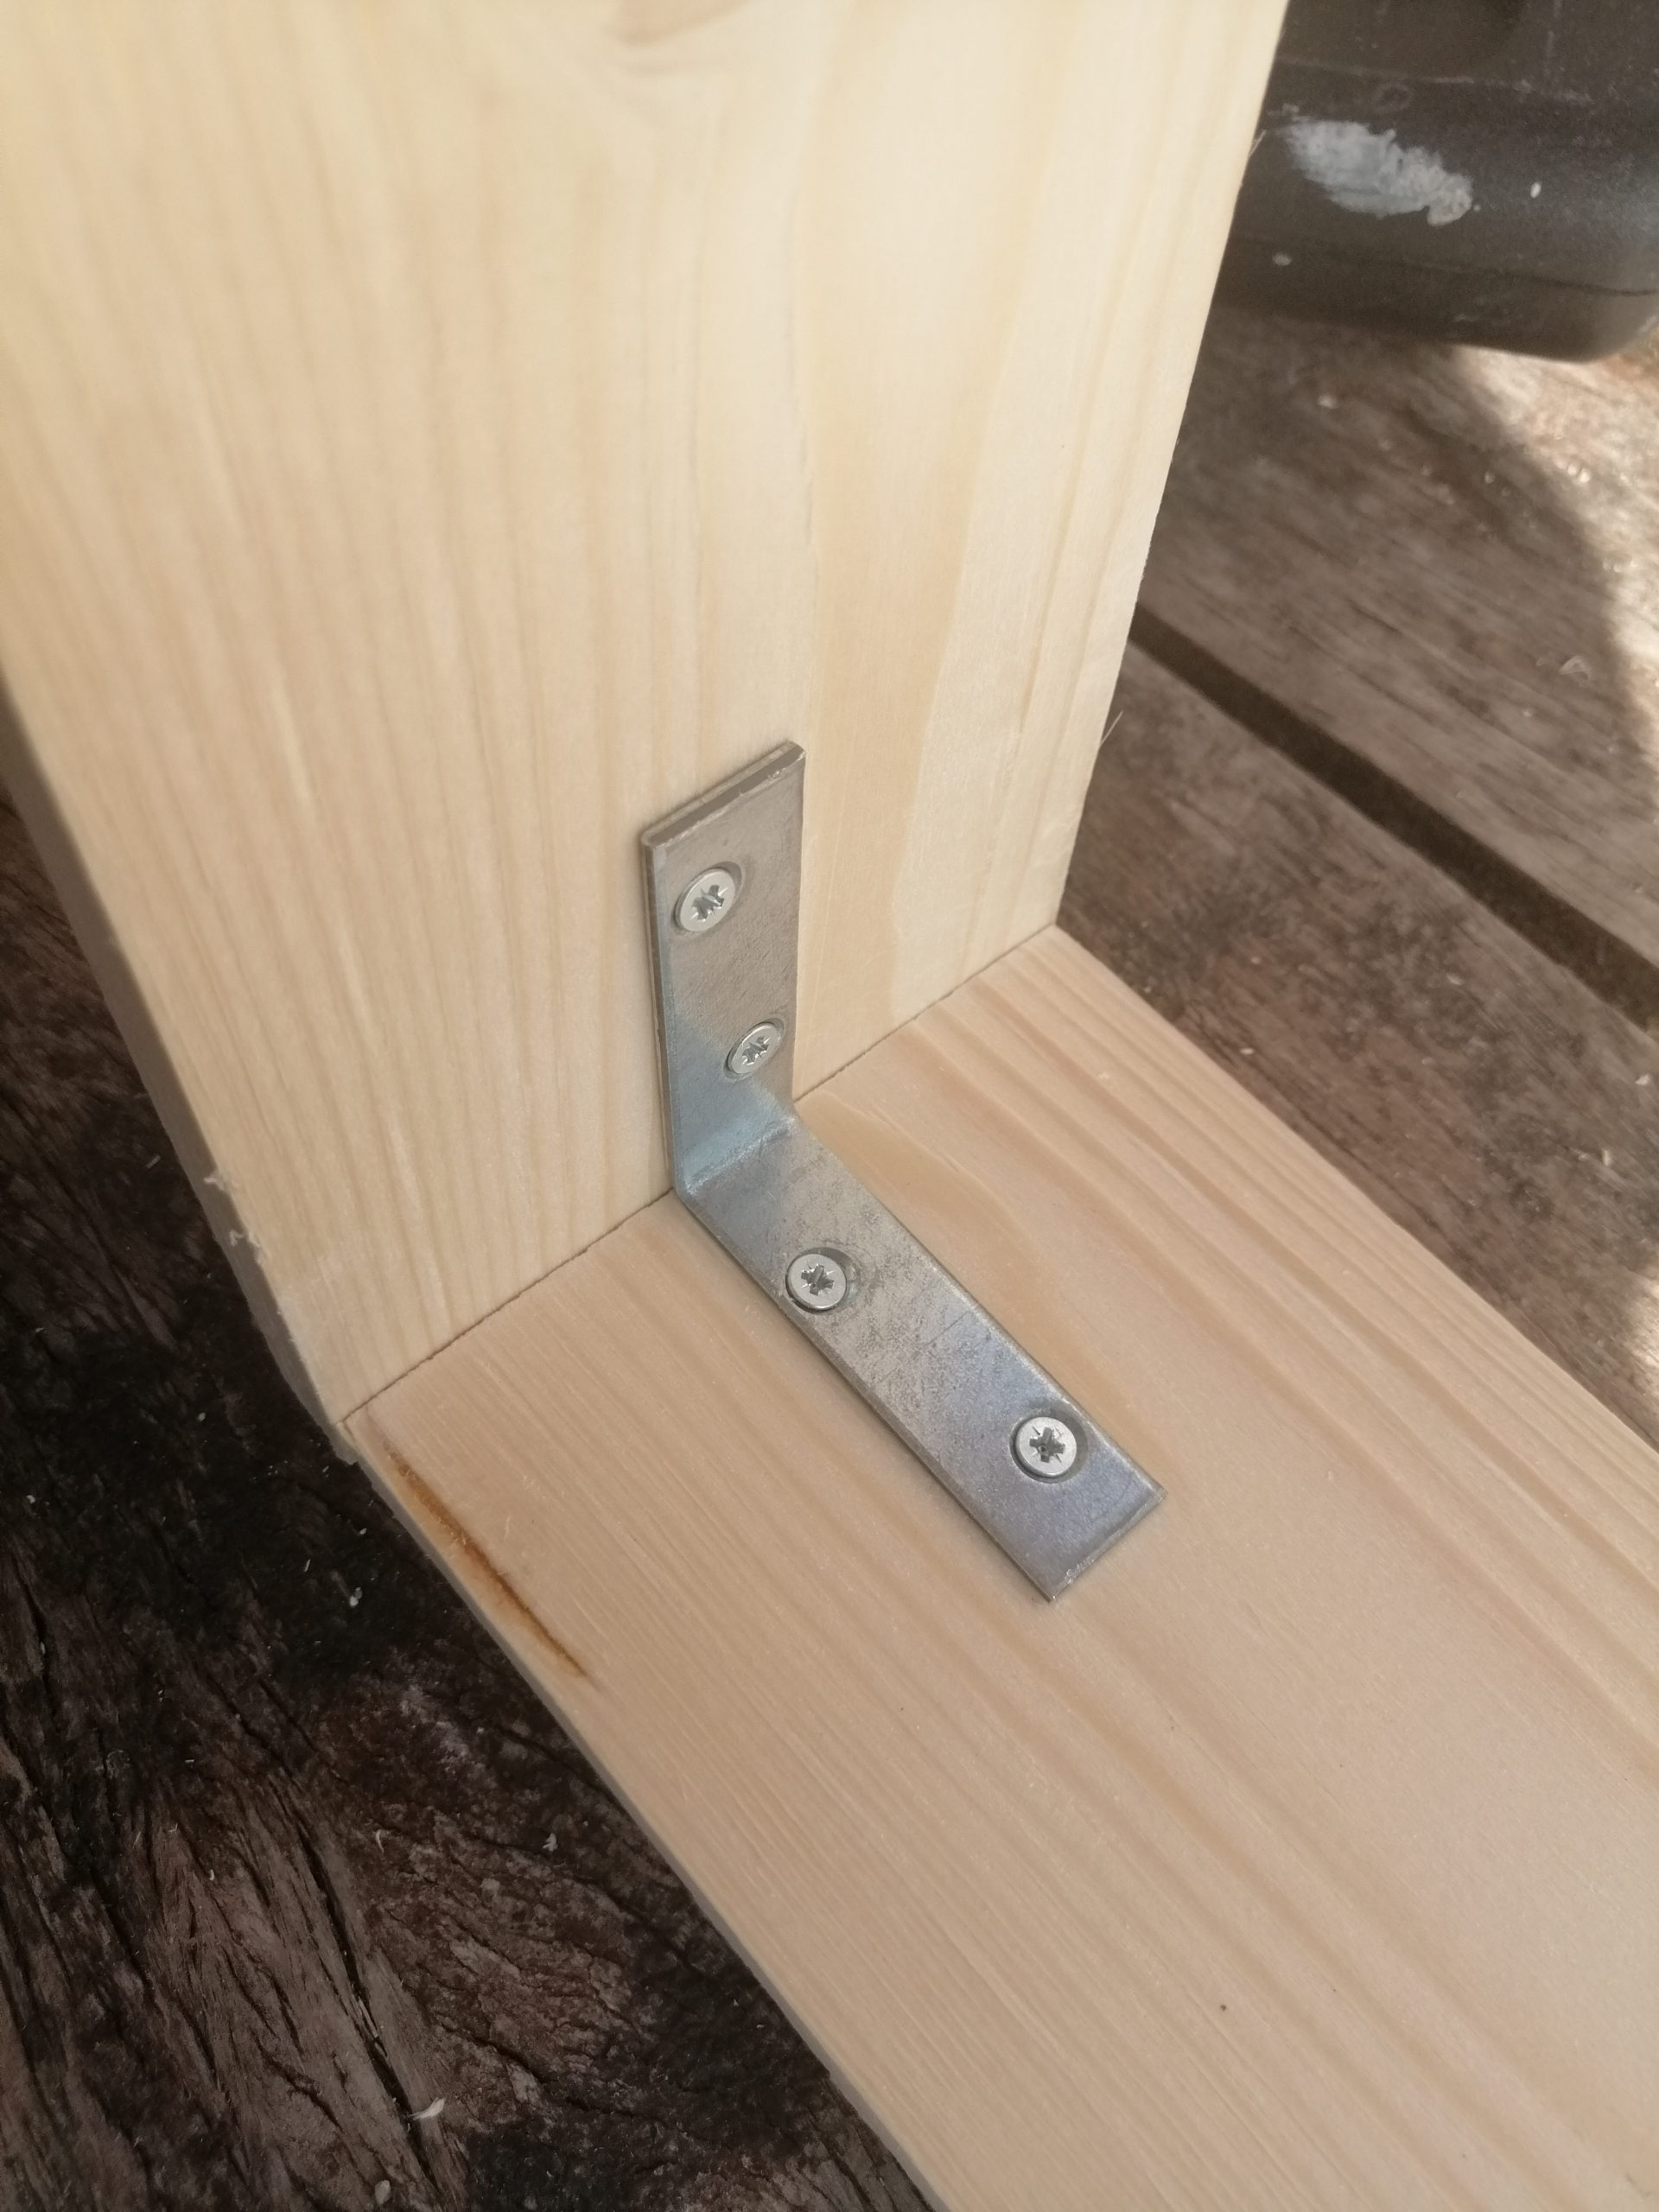
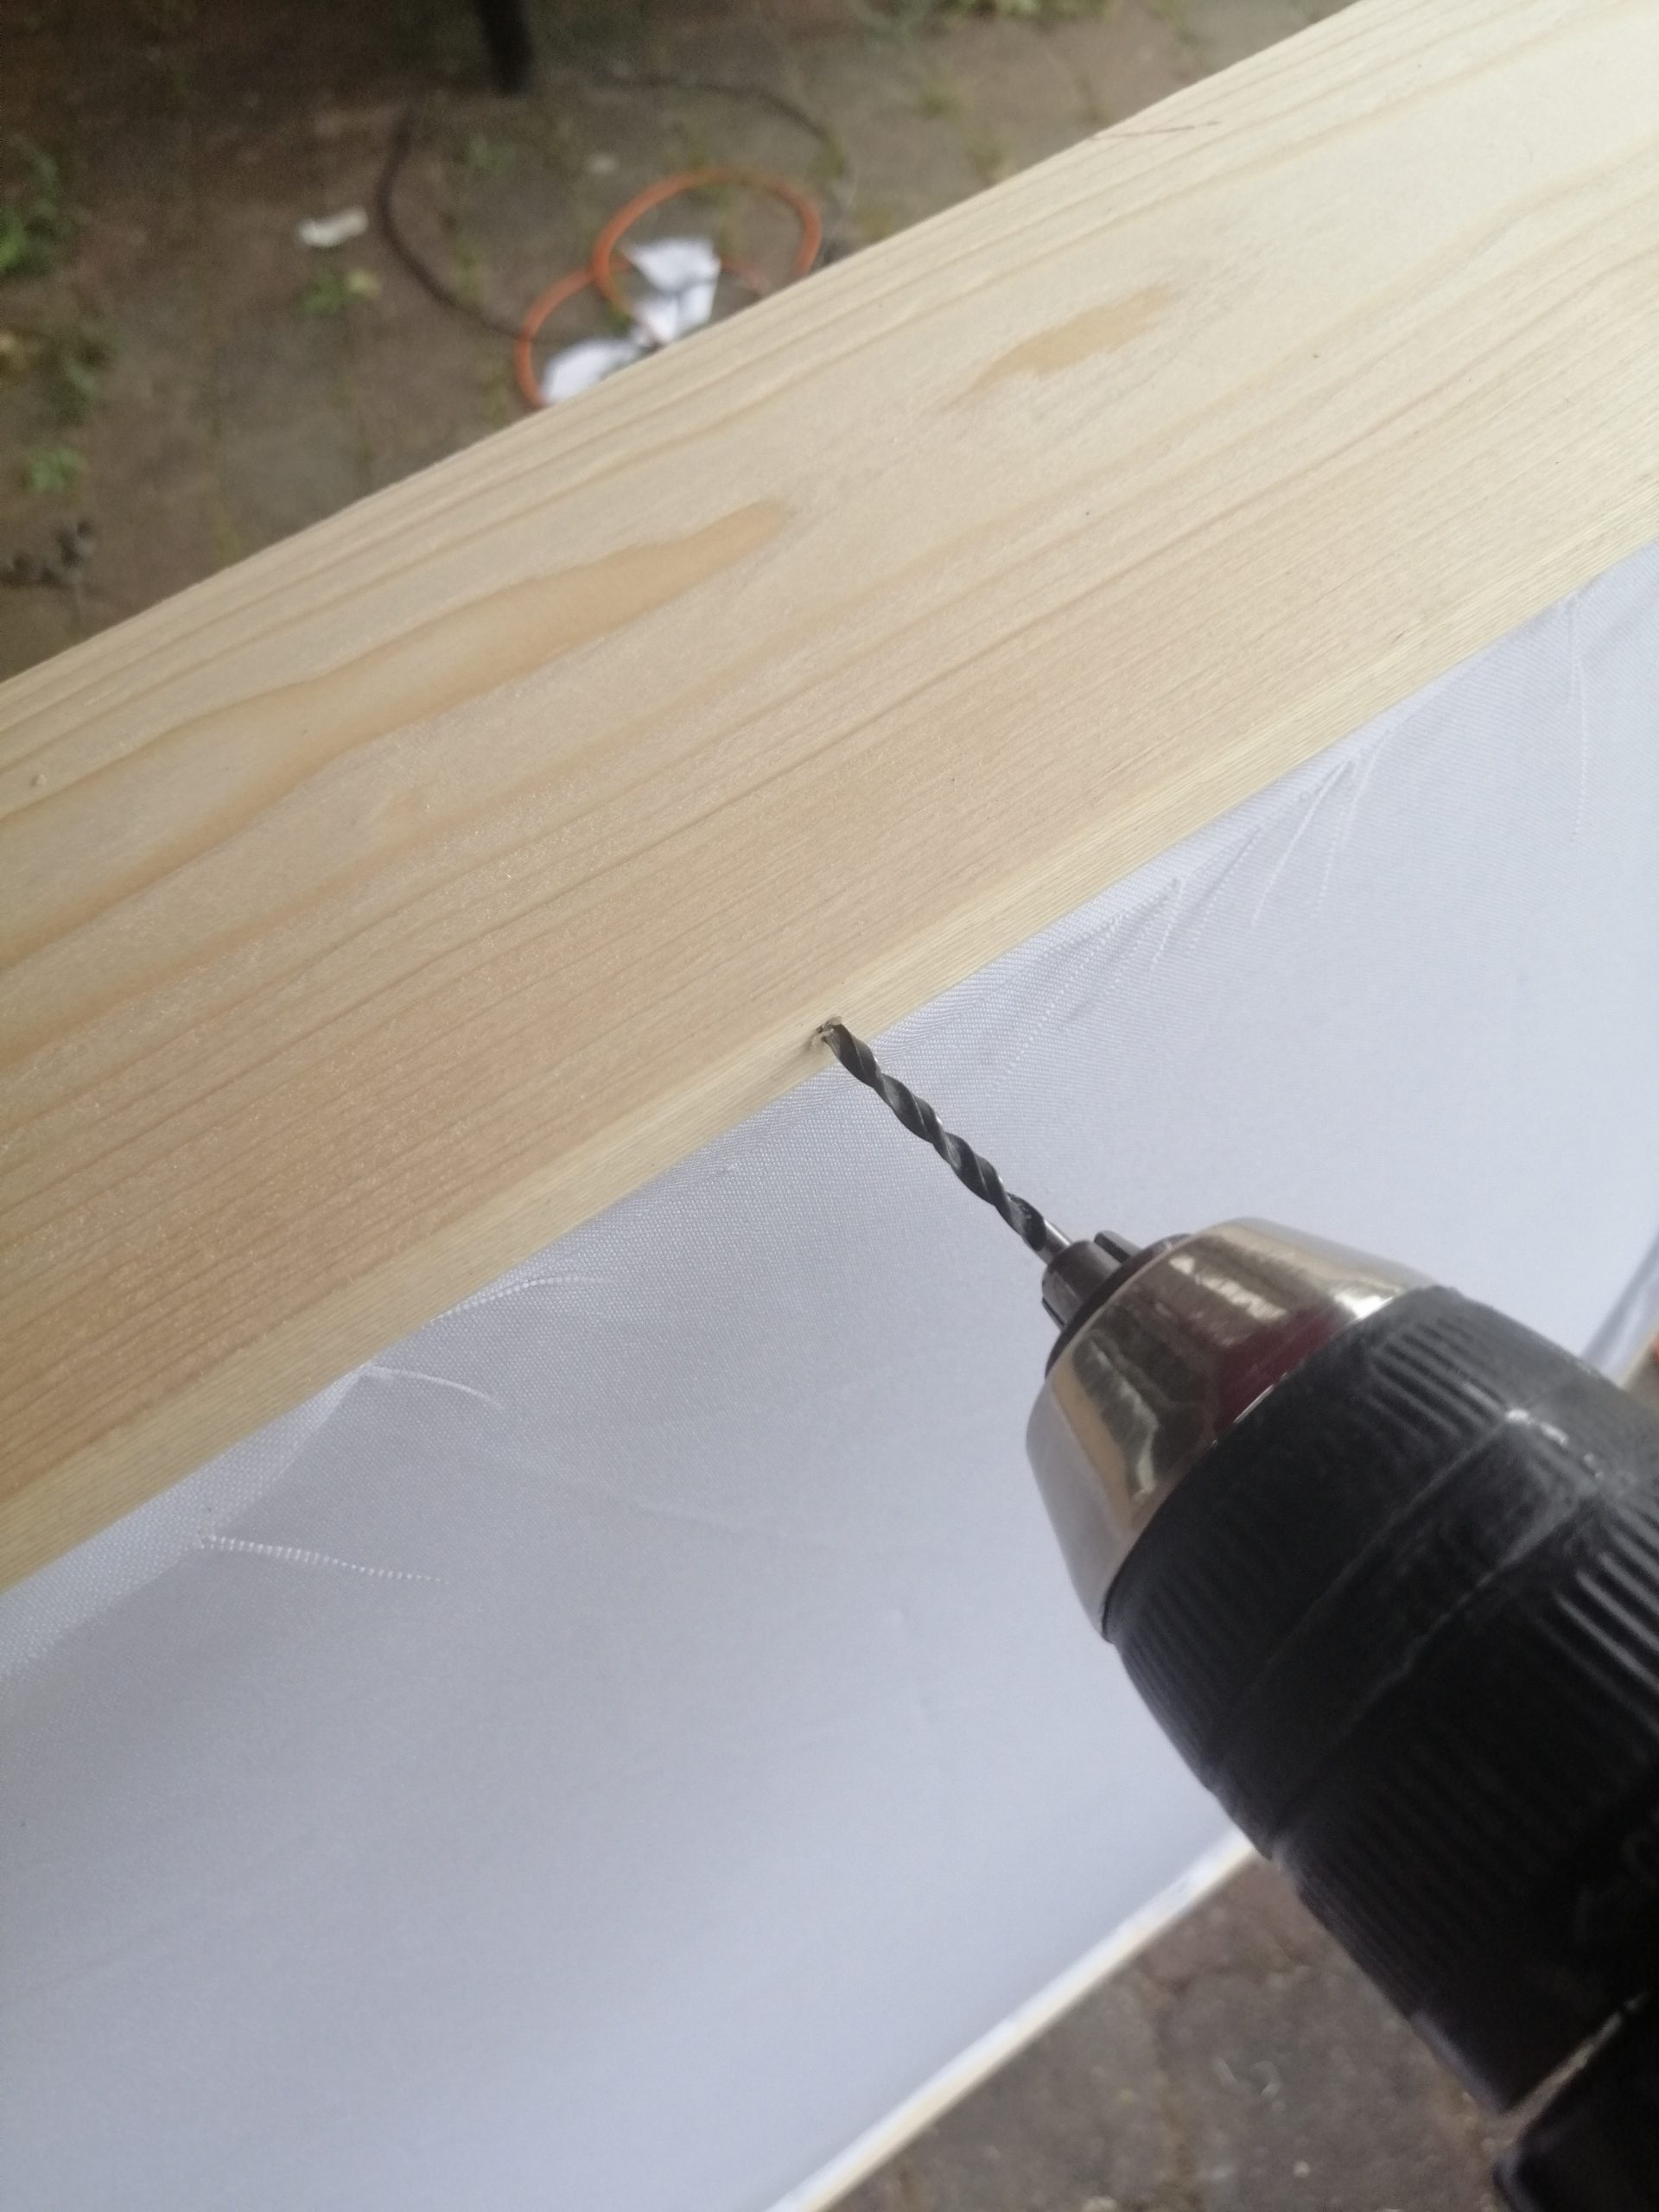
Step 2. Screwing together of the frame and cornersupports
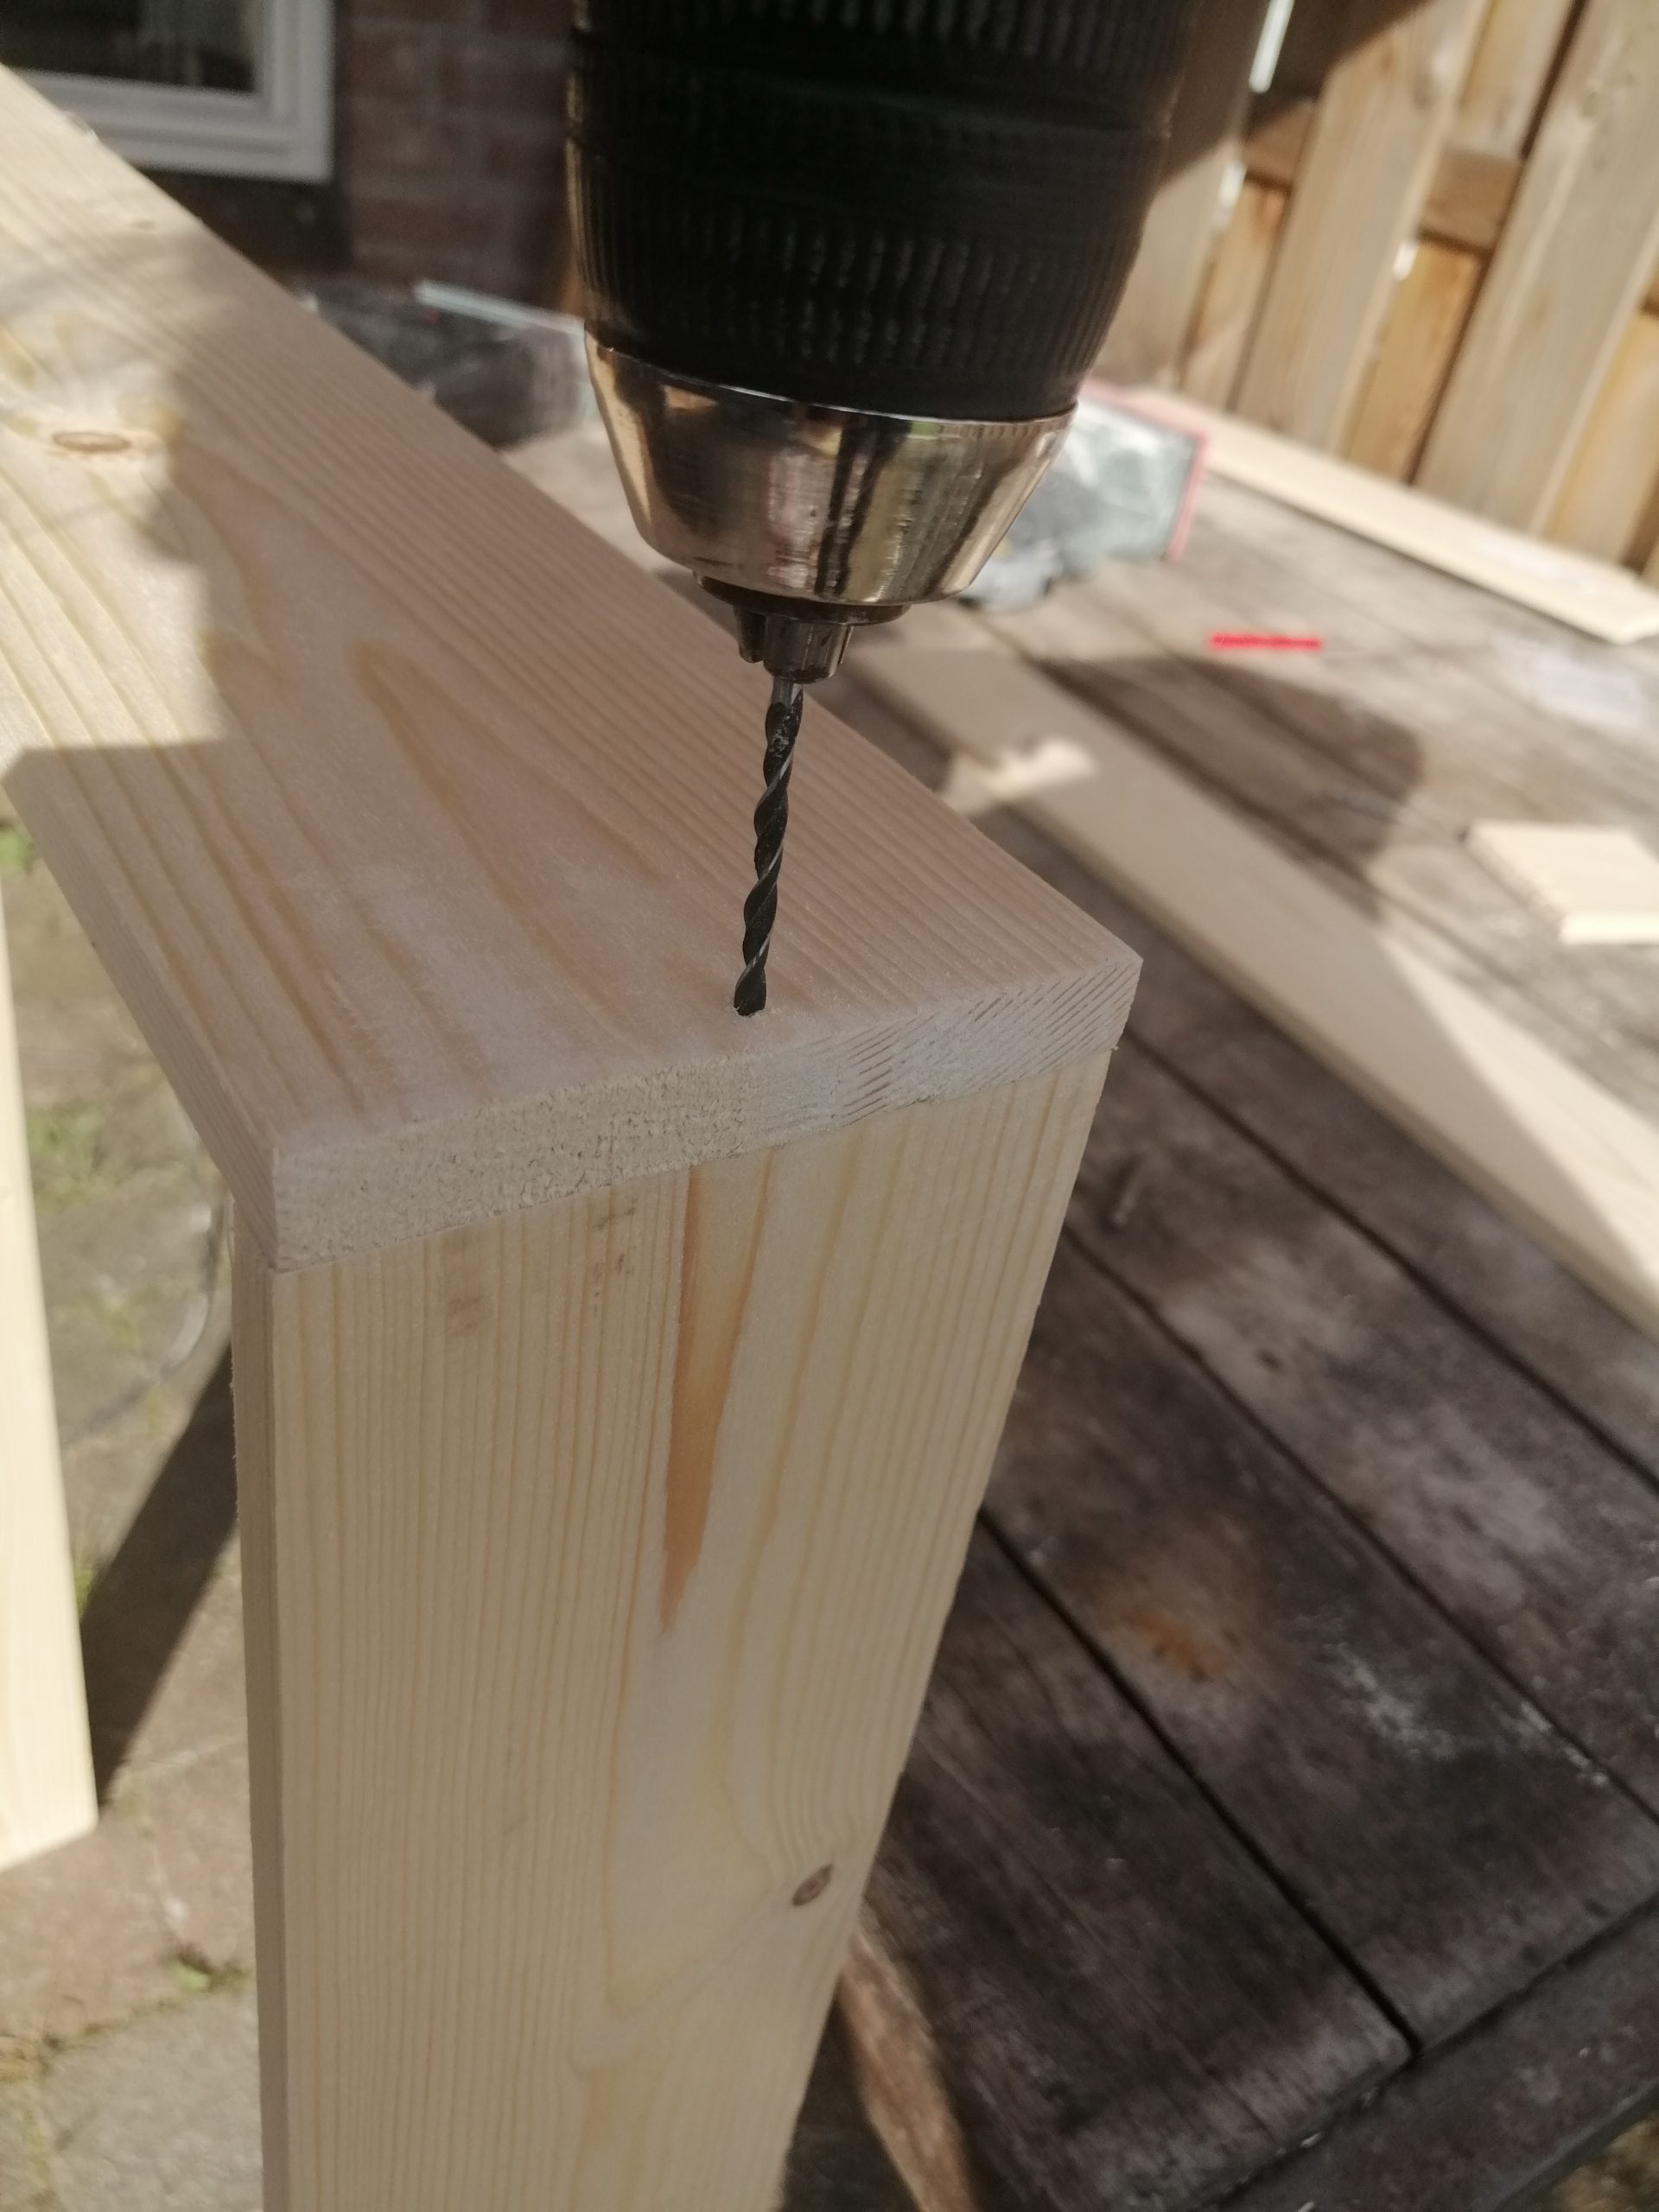
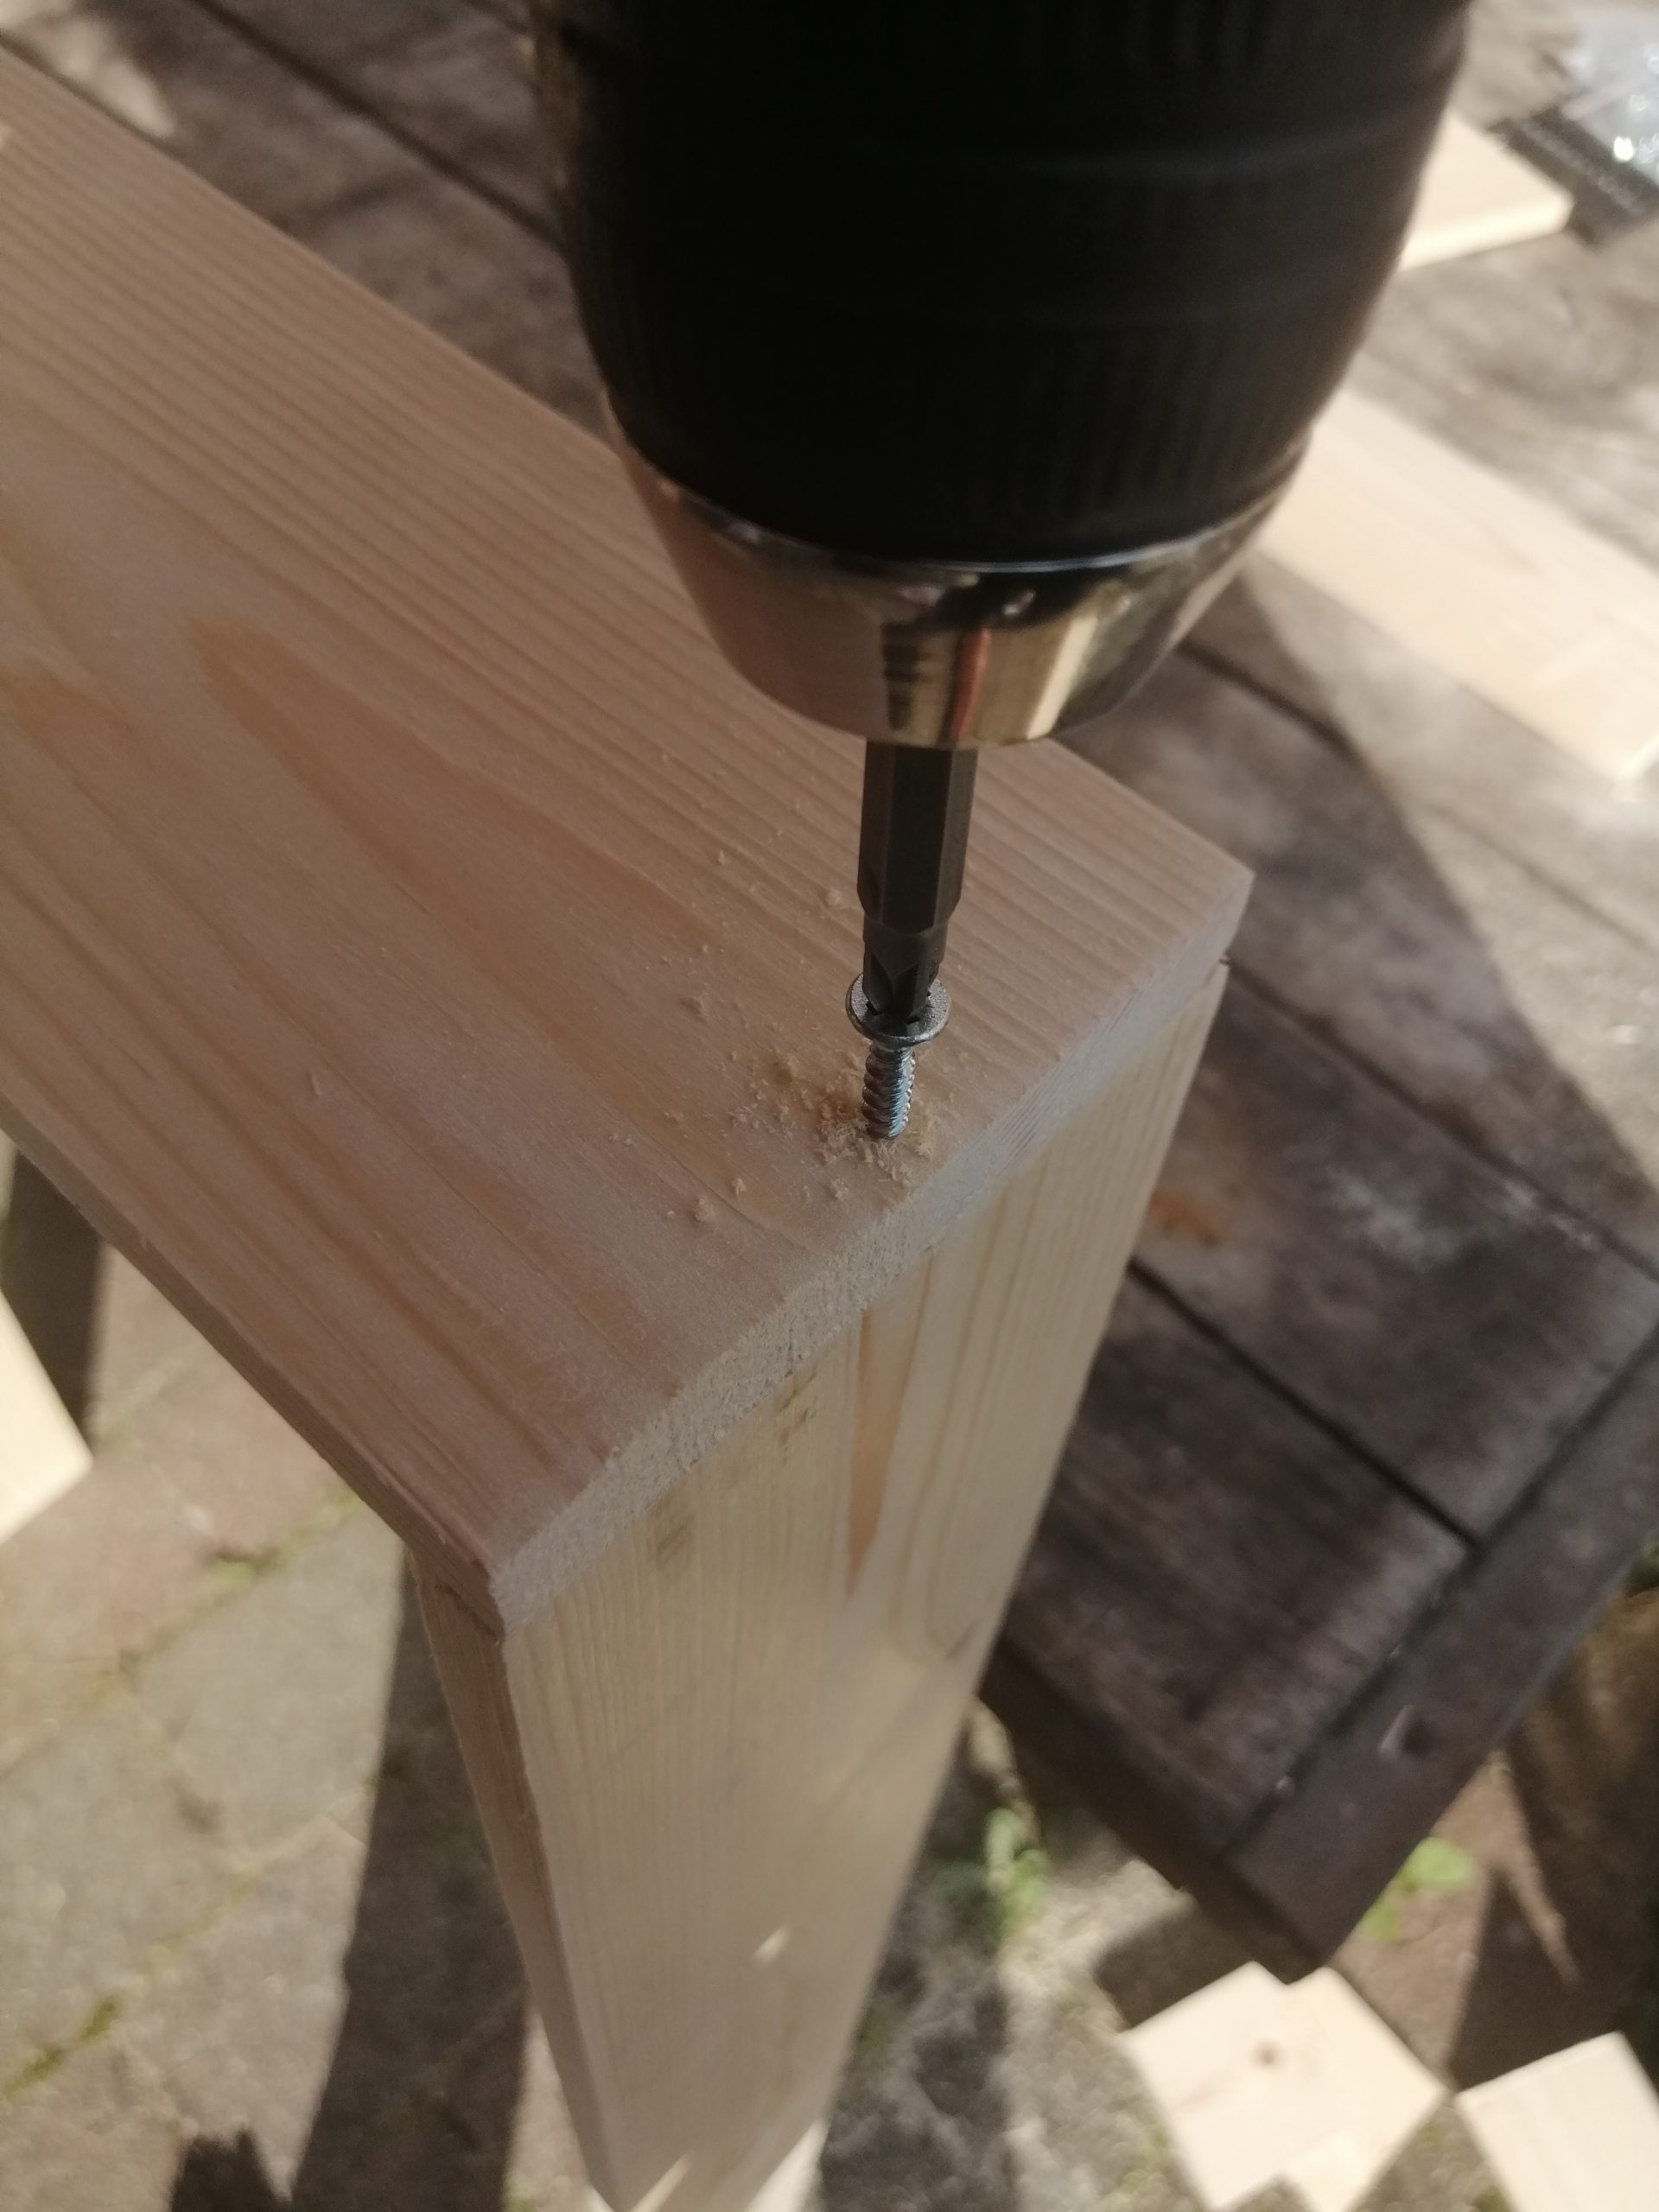
Straight forward process of screwing together the frame, but I did predrill the holes to help prevent the spruce from splicing. After that, corner-supports for each corner of the frame. You can use some tight-bond or other strong wood-glue to make it stronger and such but I felt this would do. It’s faster to not use glue. Unless it breaks and turns out we should have used glue. Then, we are not going to be faster with not using glue. And then, why are you still reading this? Let’s move on…
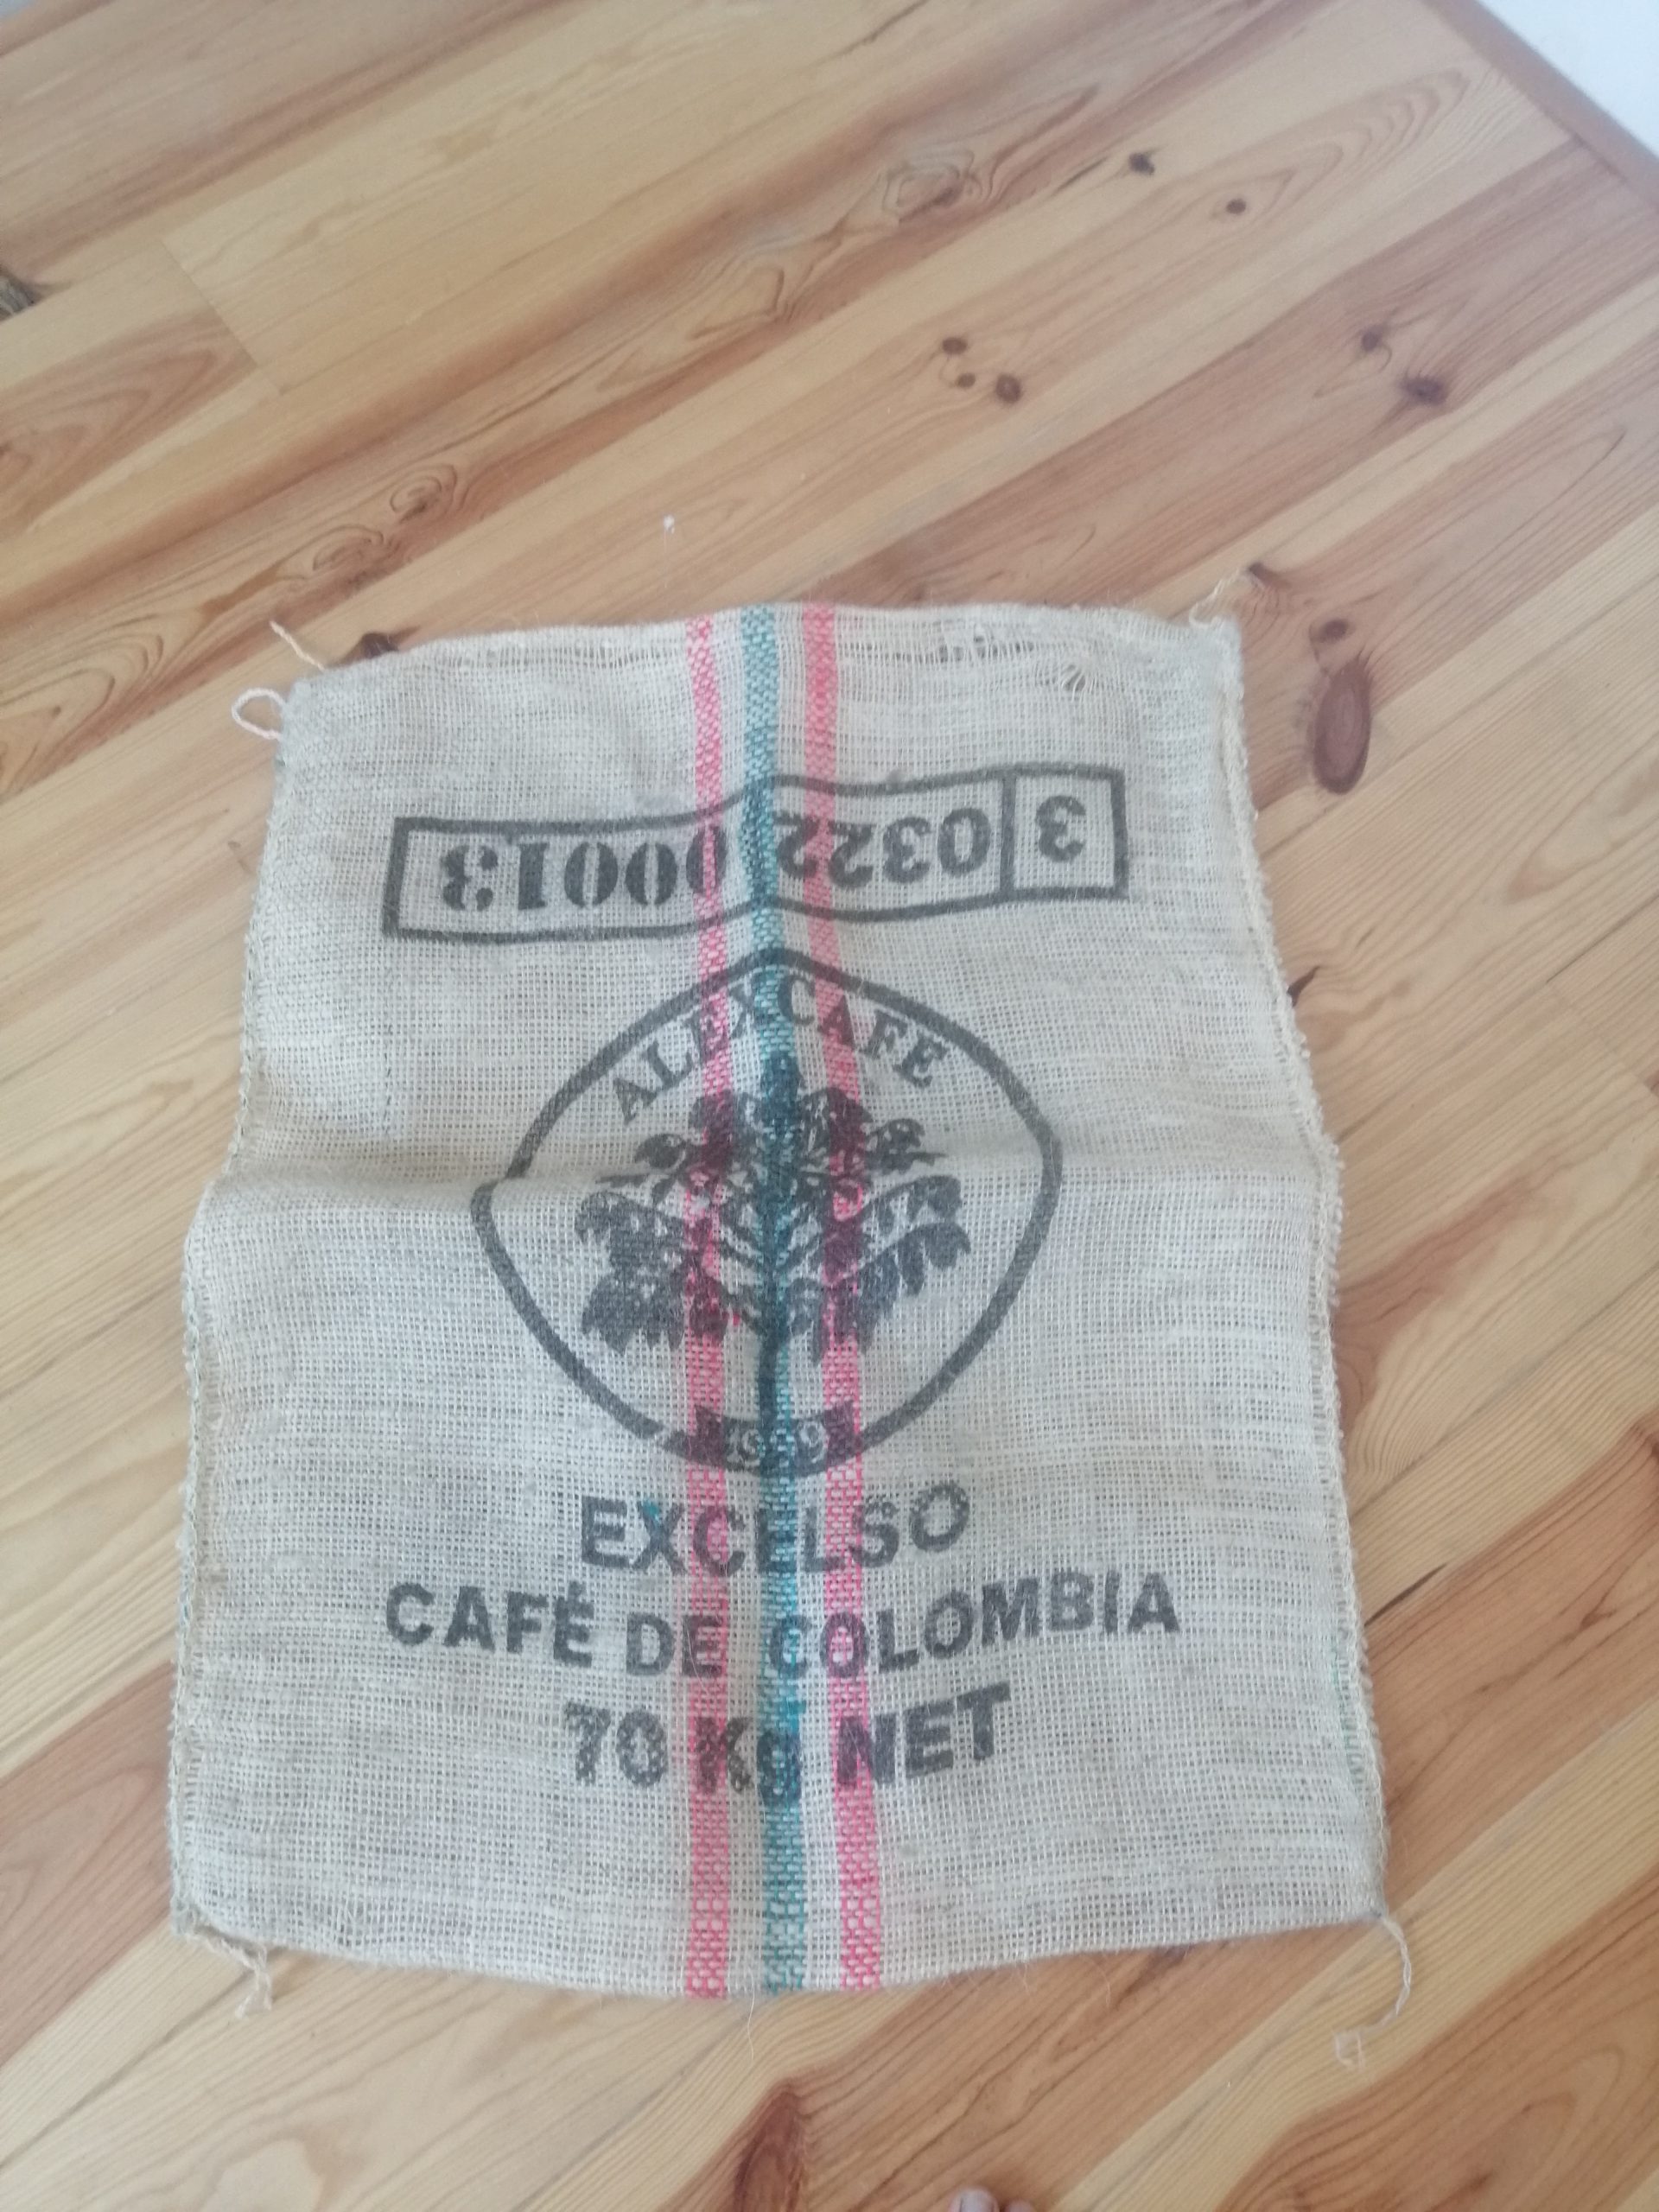
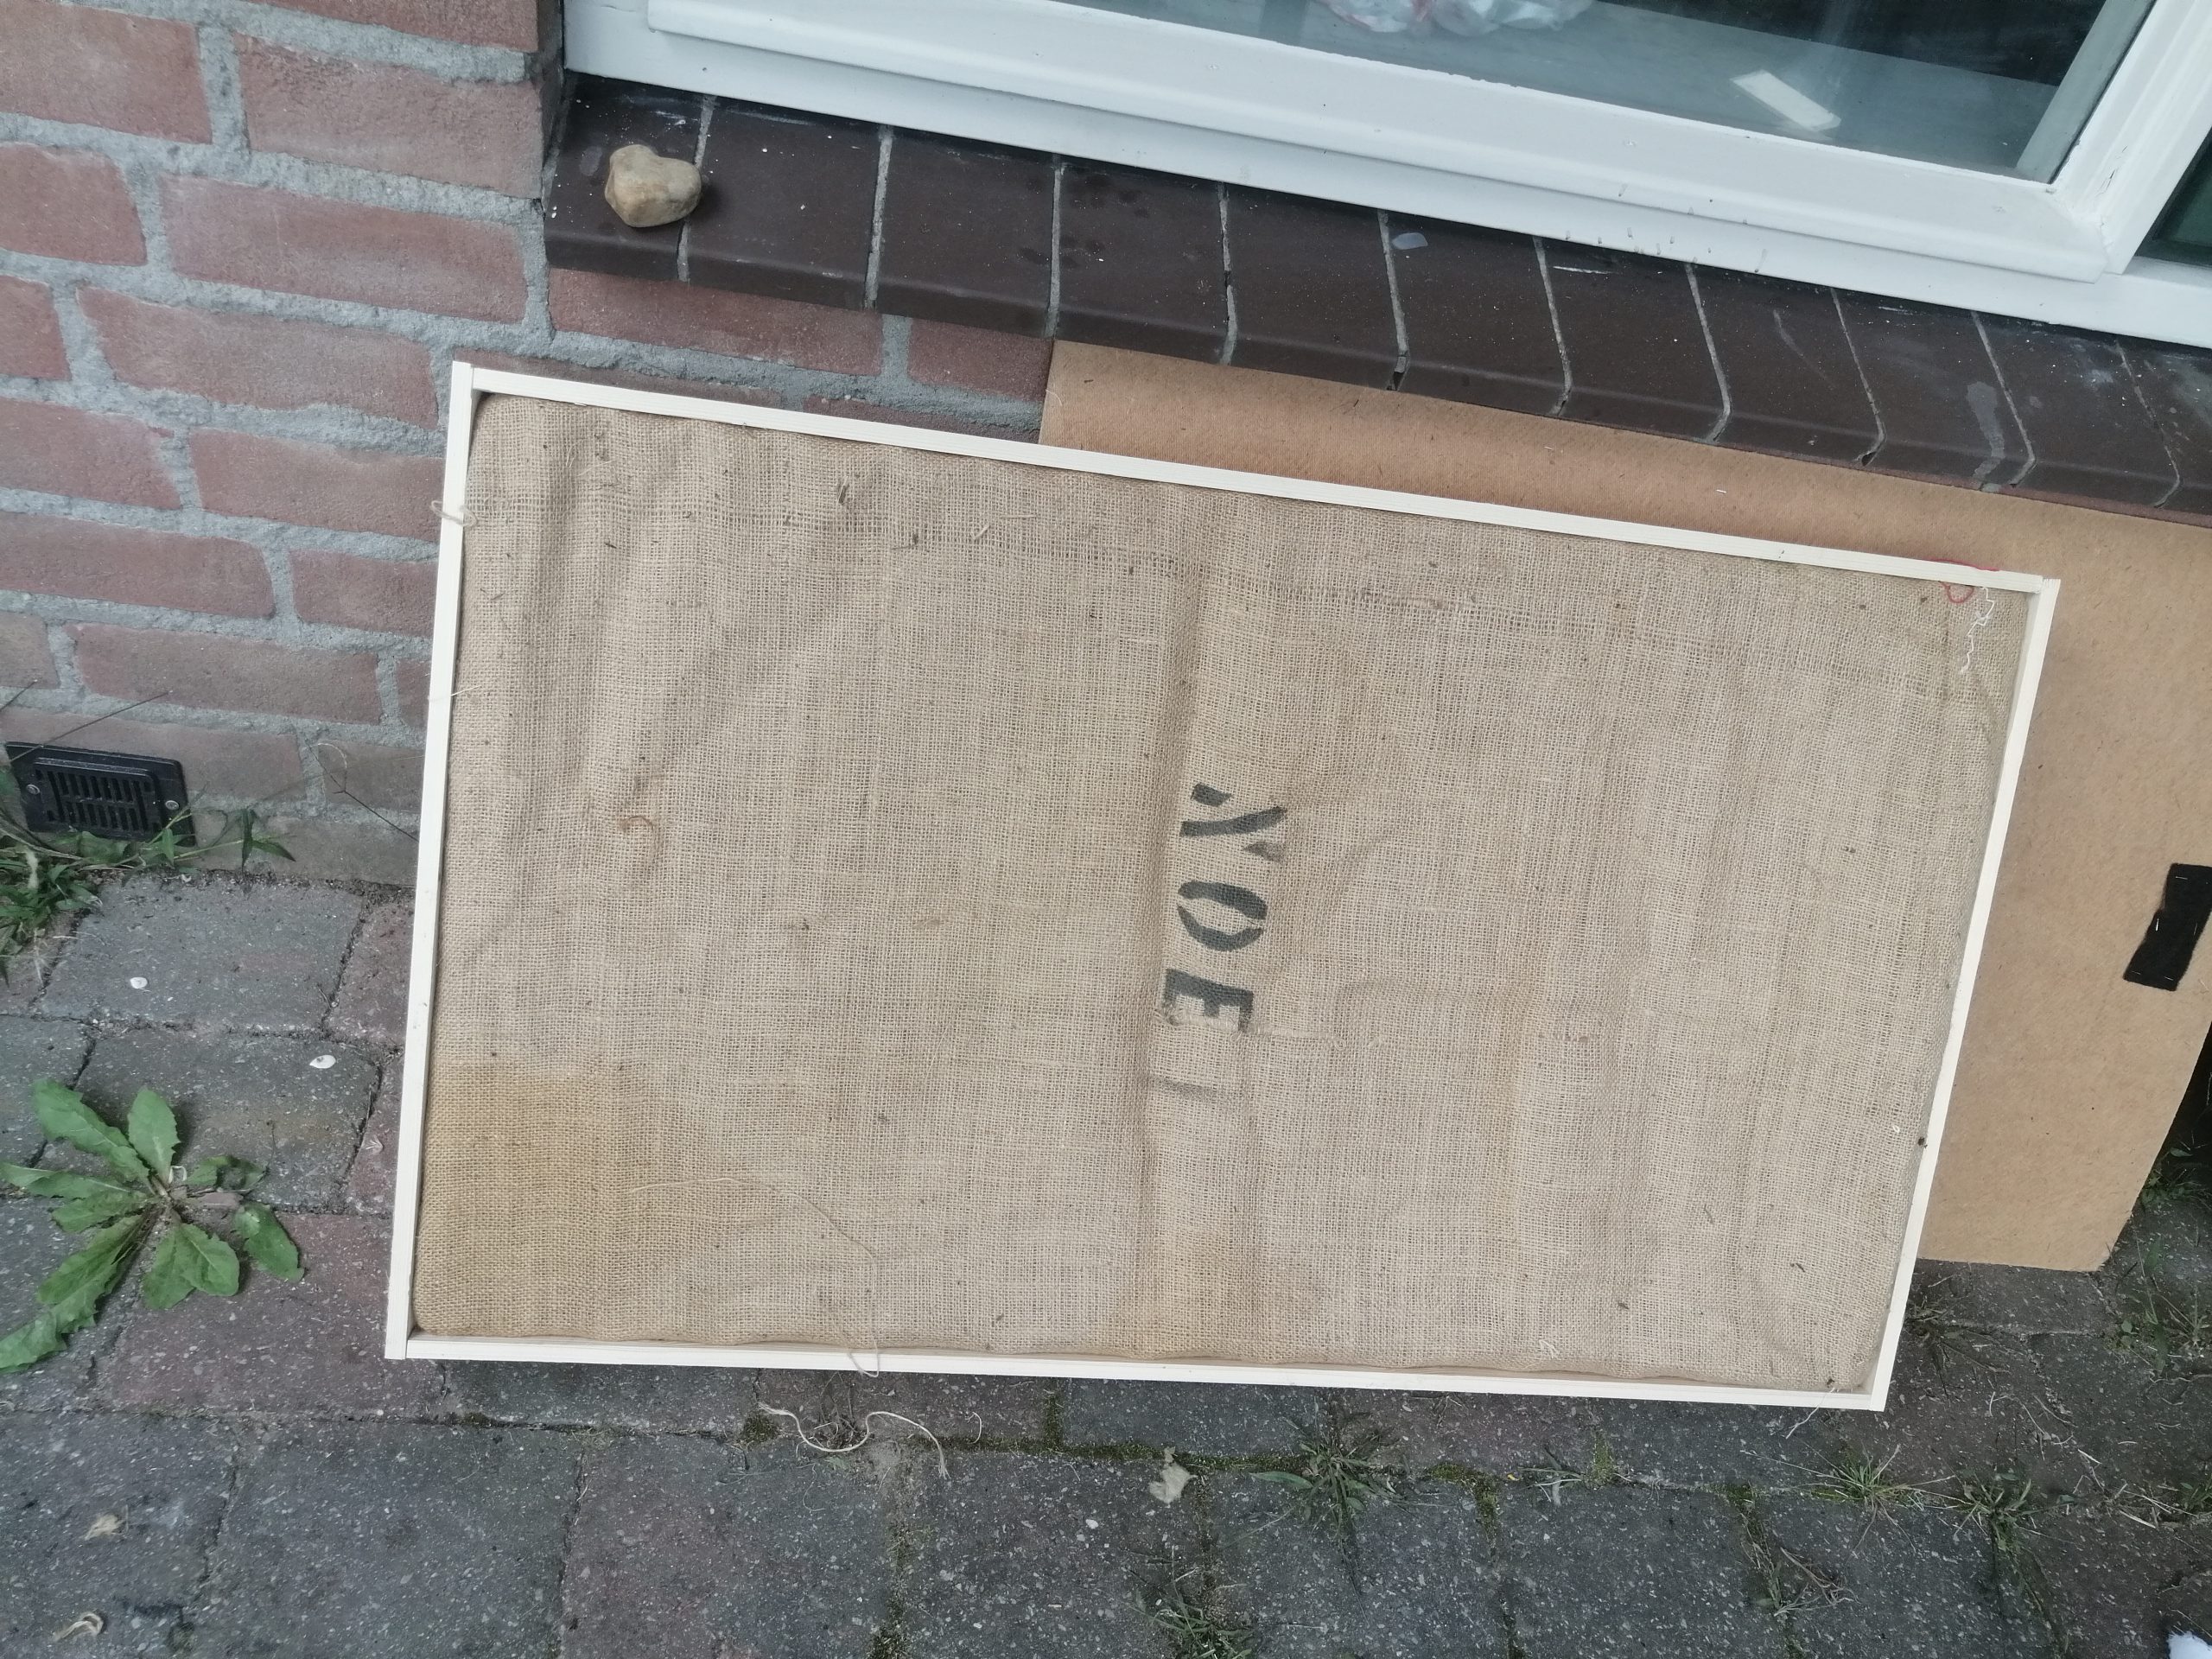
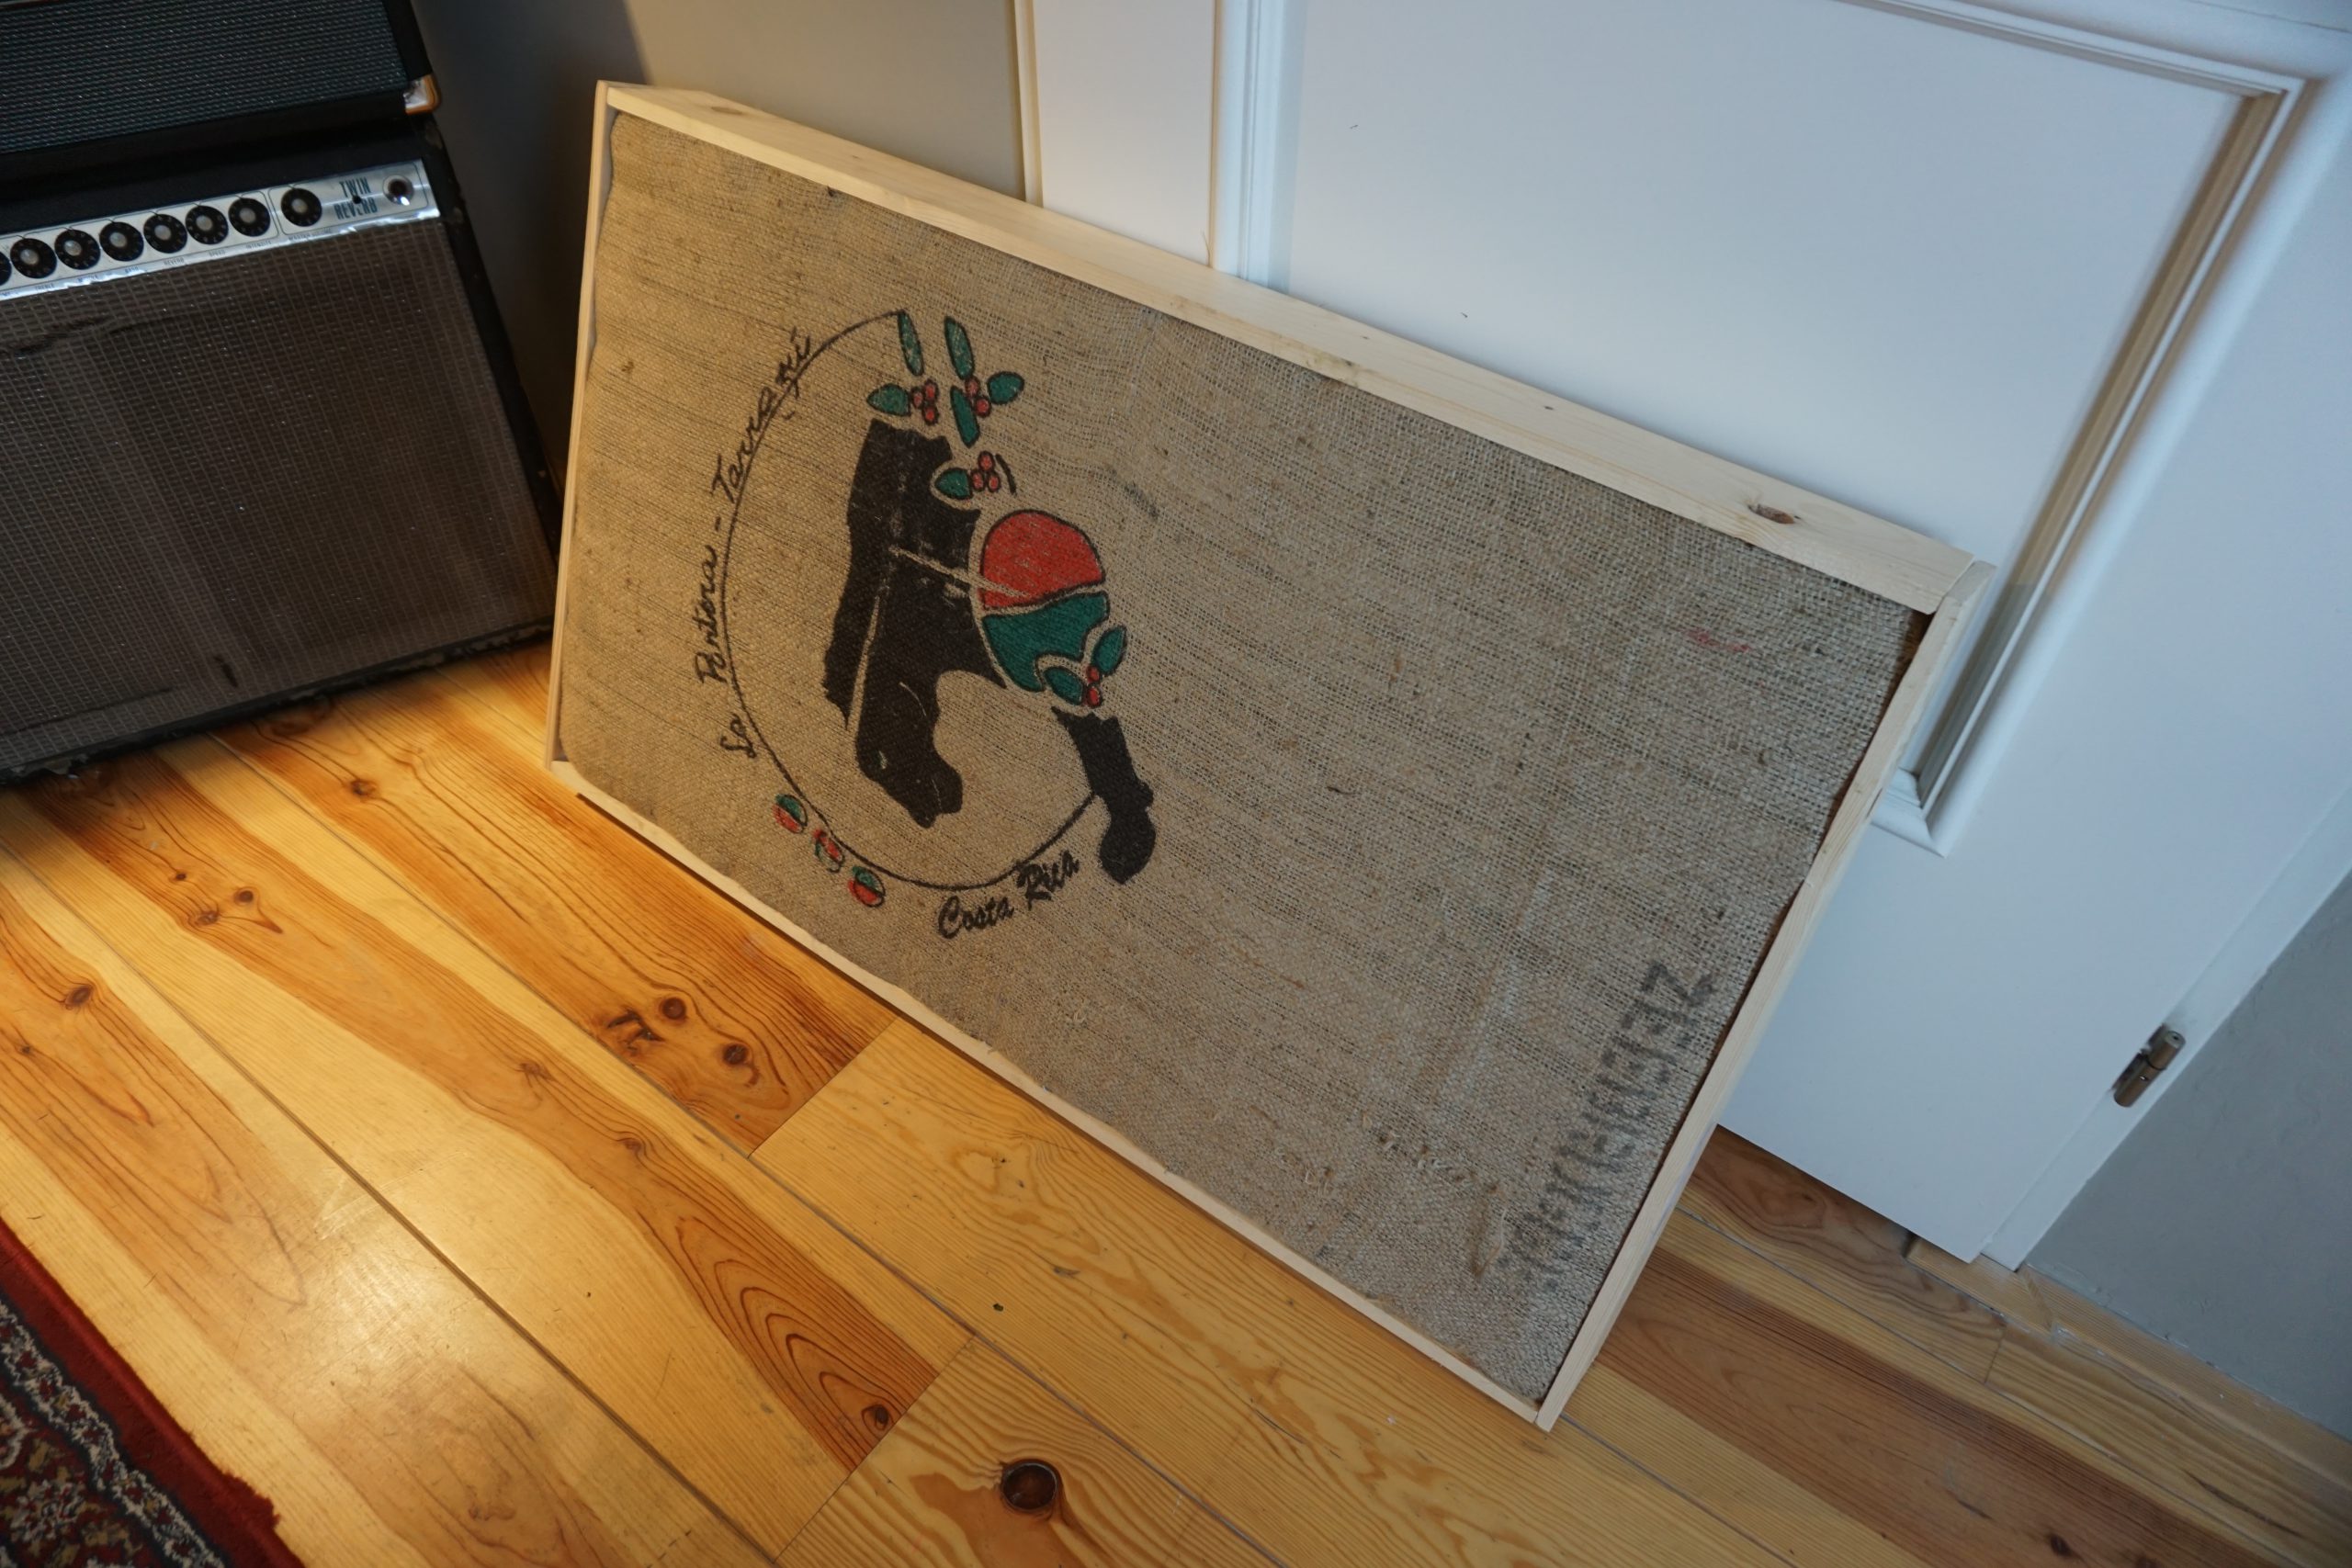
Step 3. The CoffeeBAGS!
A while ago I imagined my new studio with this material as fronts on the new to be made acoustic panels. Voilá! The universe responded by finding these online and they are perfect for this purpose! Old coffeebags, different brands and sizes so I had to be creative, a little.
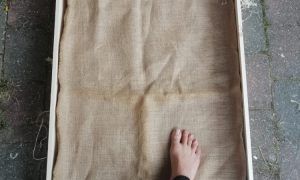
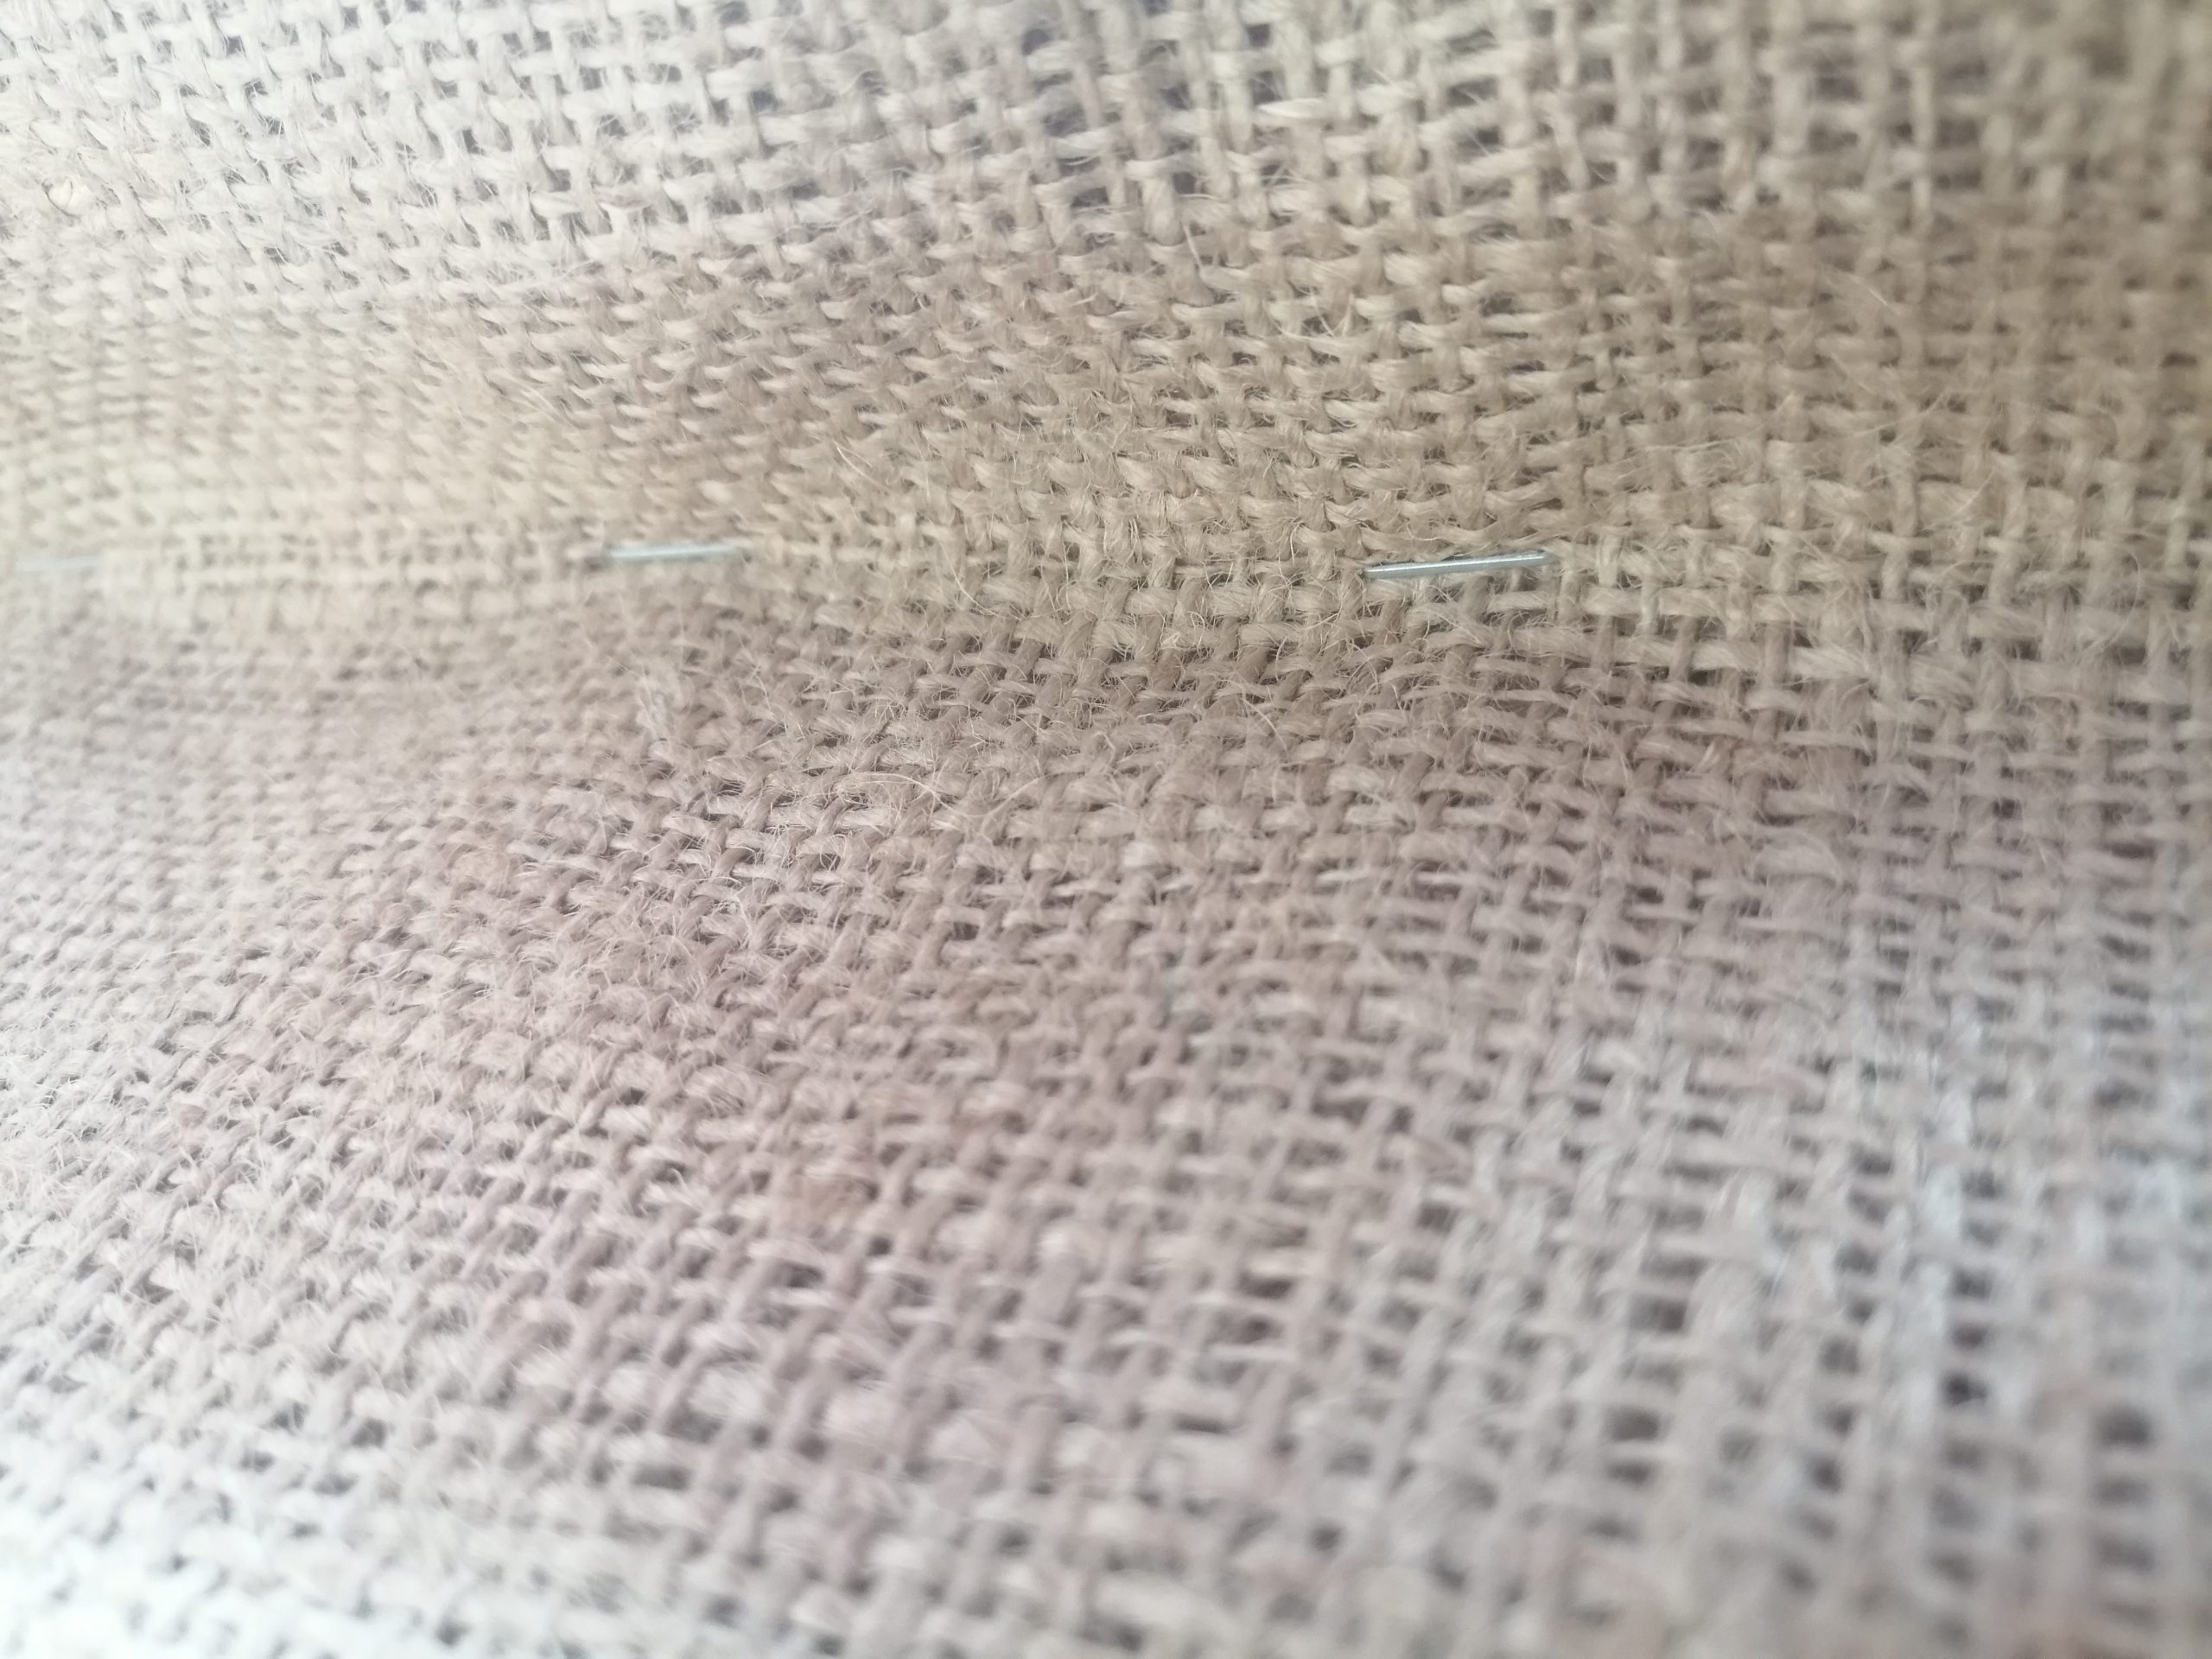
I wanted to keep the frame visible and only have a bag-front so I stapled the bag to the outside front of the frame. Some bags had to be cut open or mounted on the side but that doesn’t matter too much.
As with many of these builds, you need a lot of stapling. Stapling, stretching, stapling, stretching. Untill you have something that looks like a square shaped front and is strong enough to hold the rockwool in place.
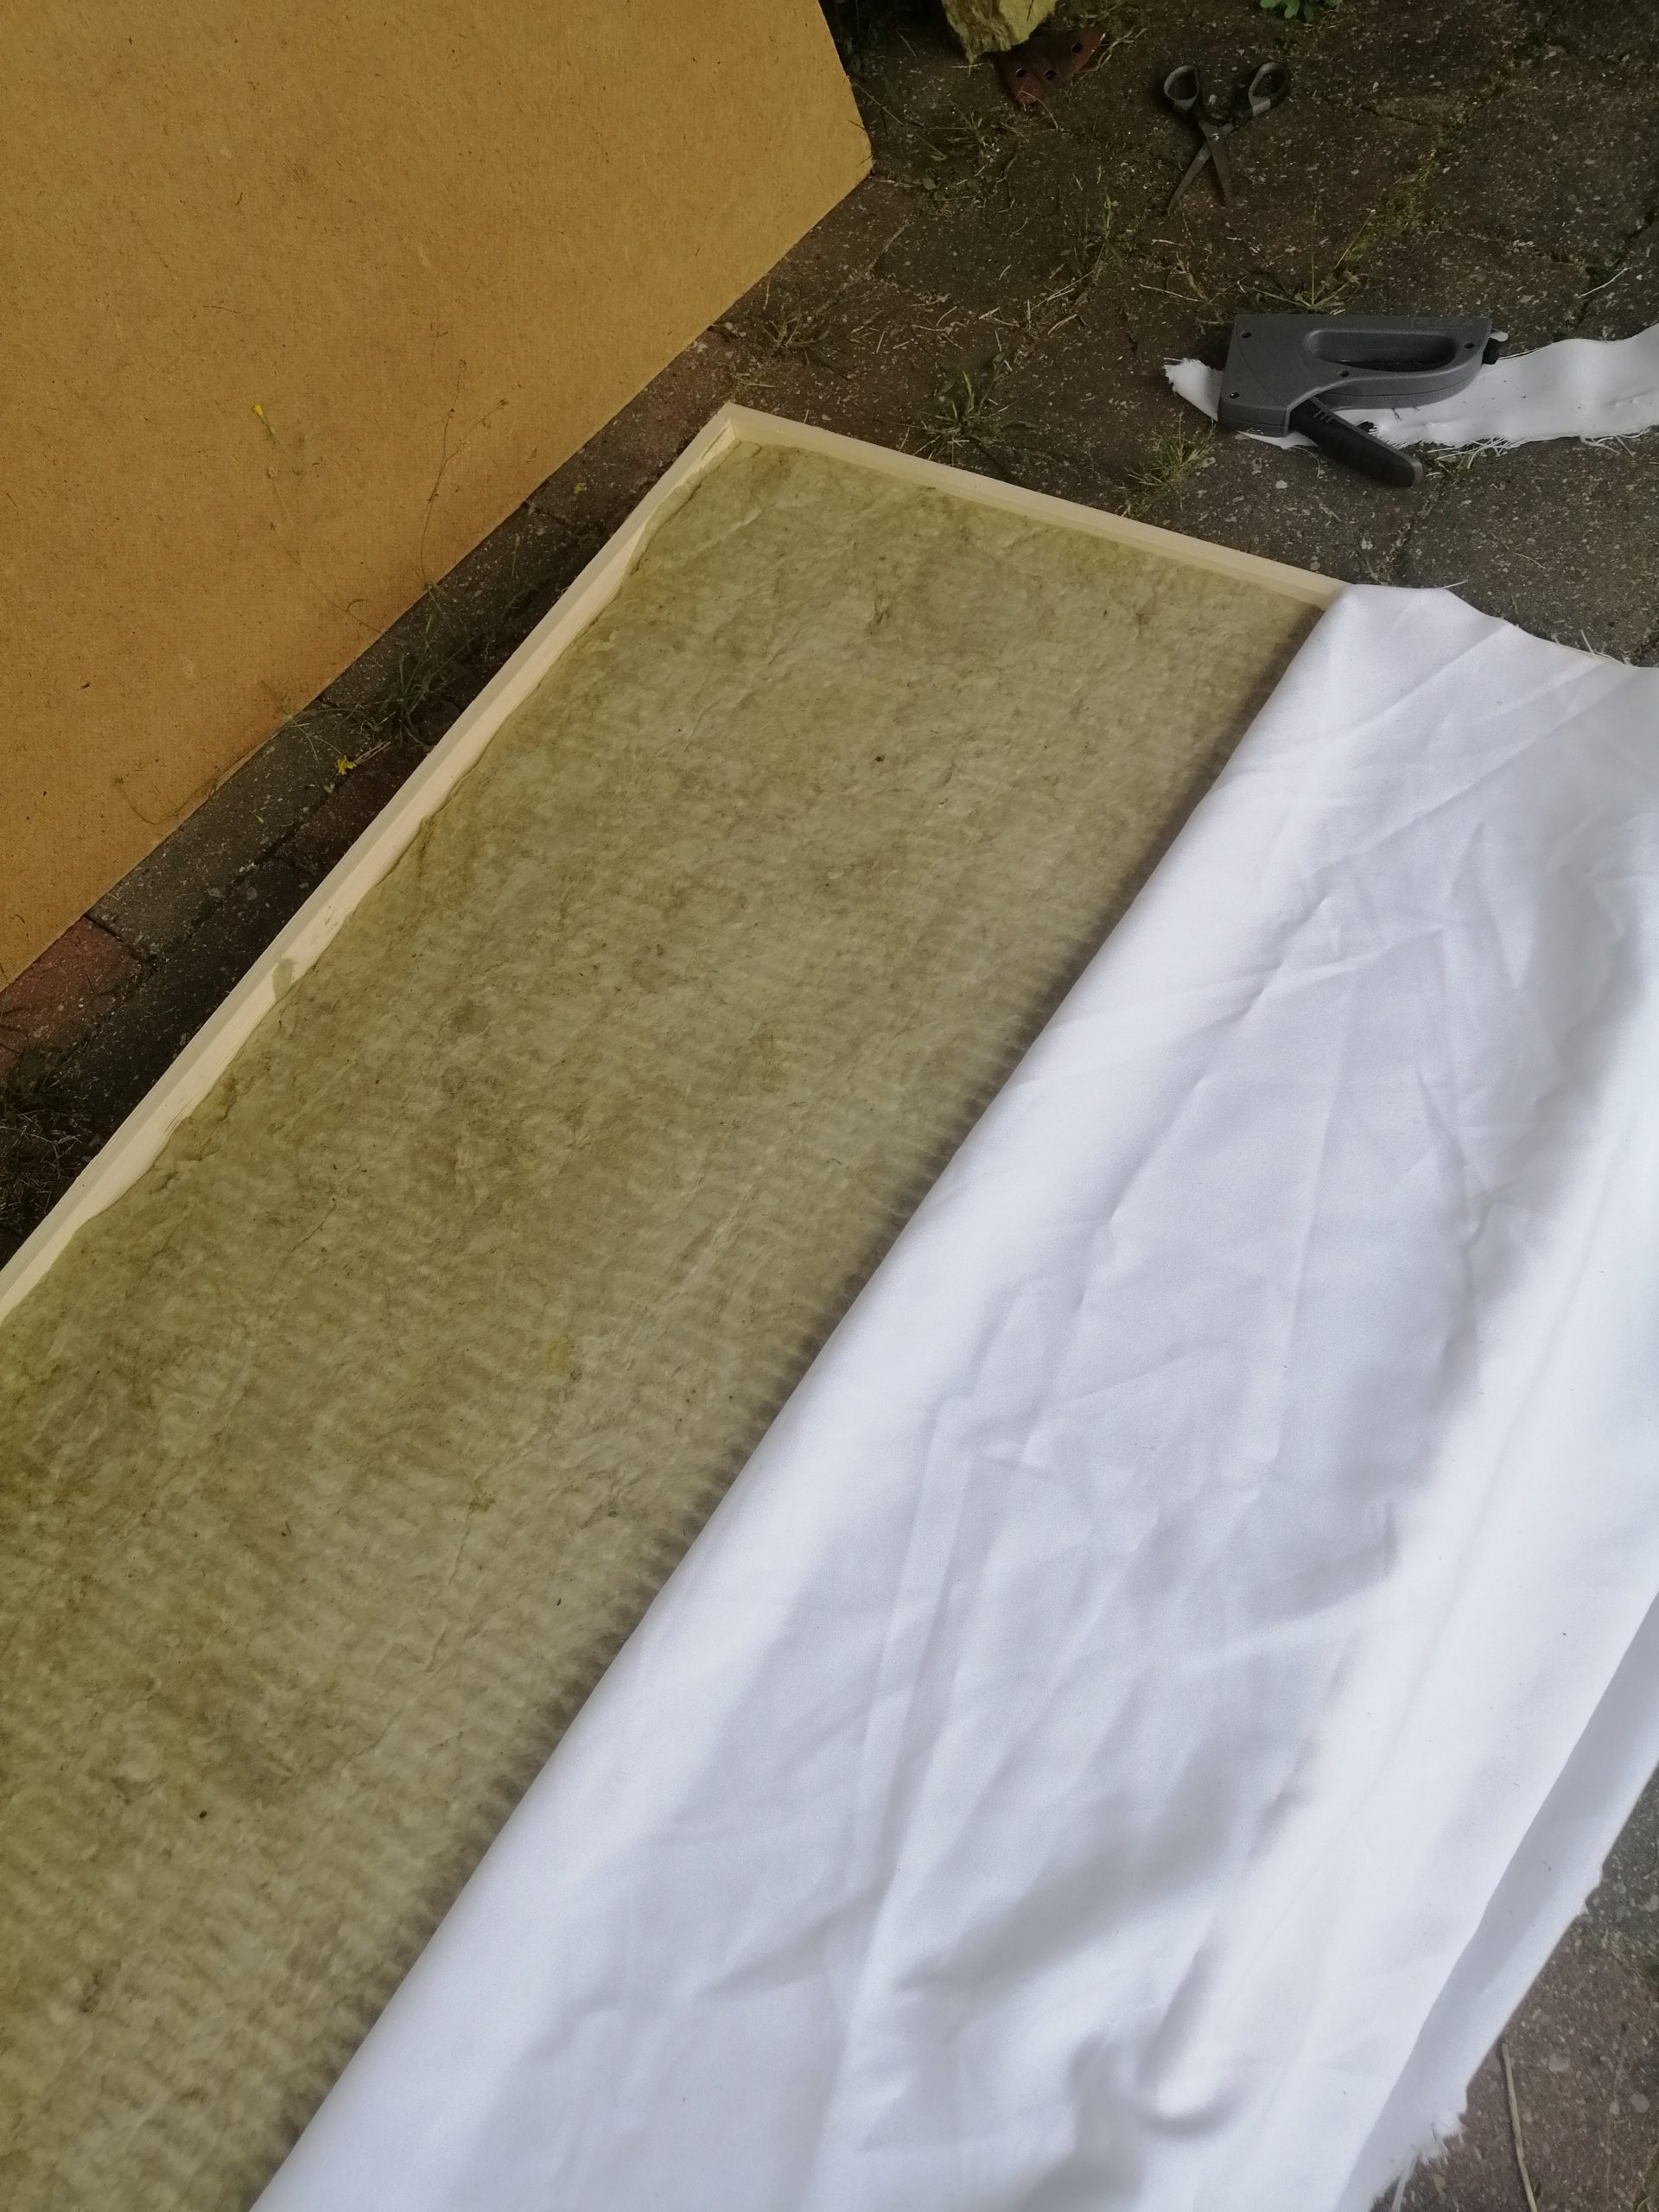
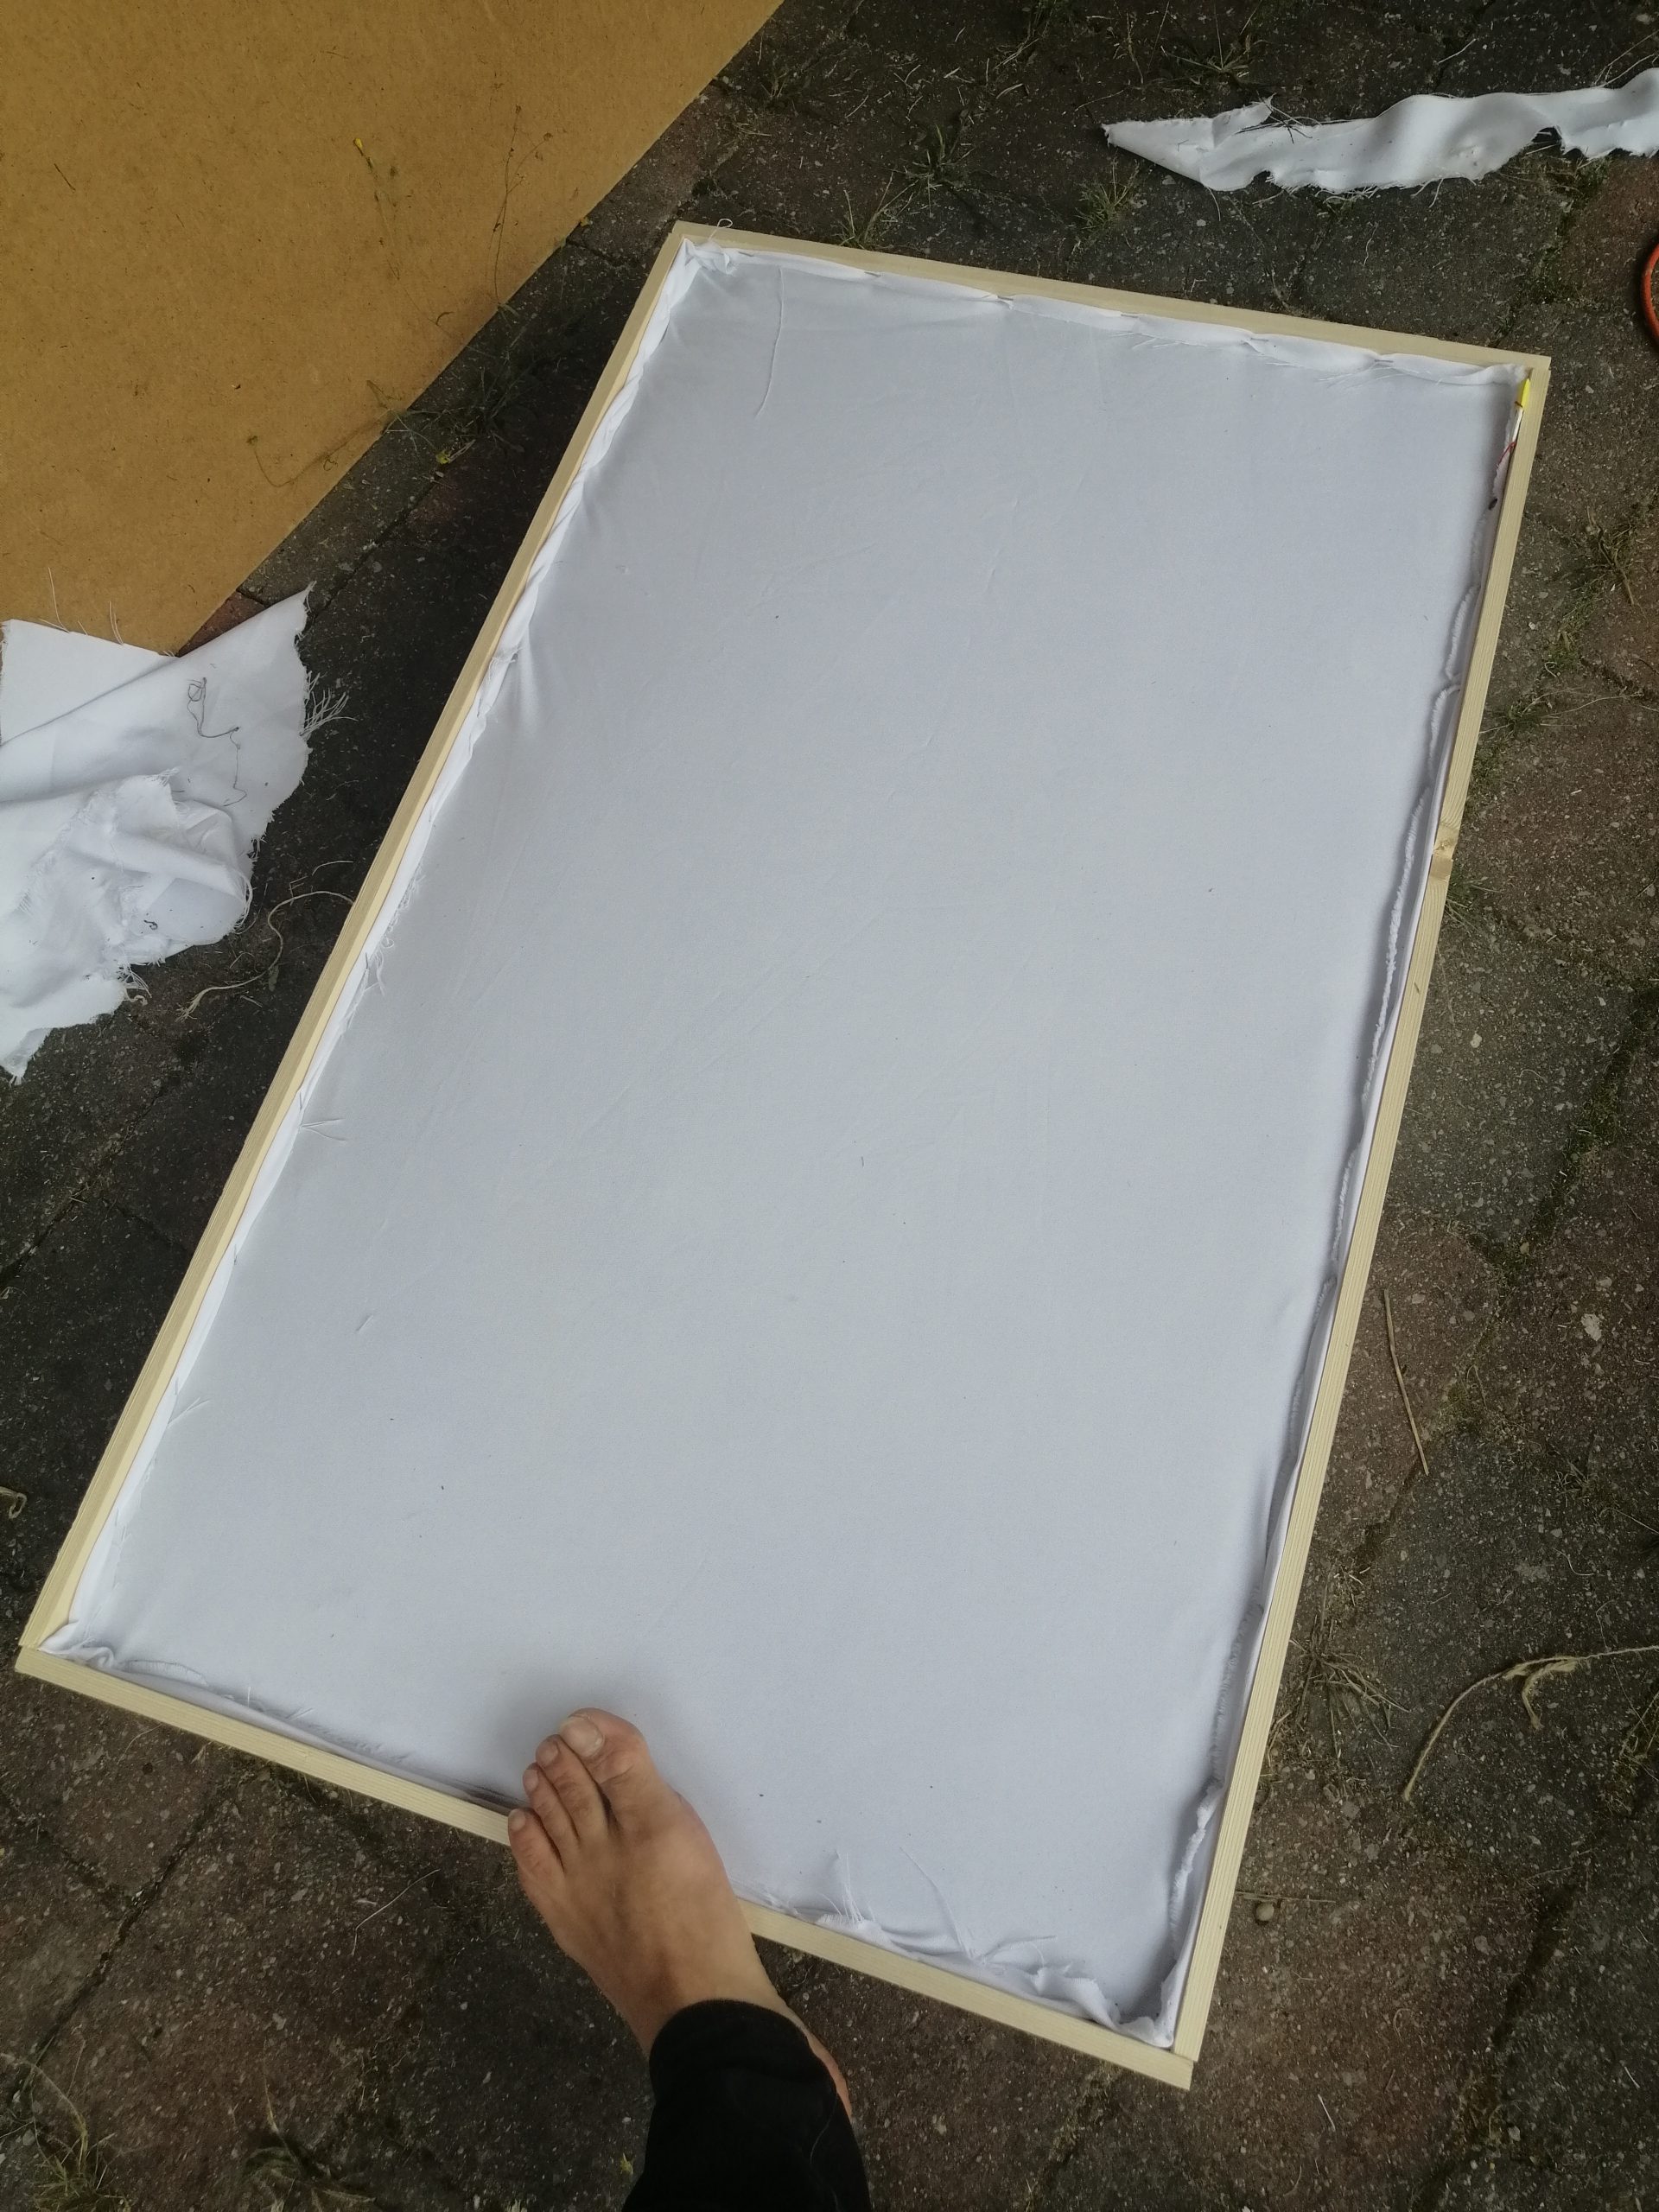
Step 4. Filling The Panels With Rockwool
The frames fit 2 100×60 rockwool panels nicely. I chose to cover the back with some fabric left over from my previous panels. Again, stapling the @#$ out of it to get a nice and tight result.
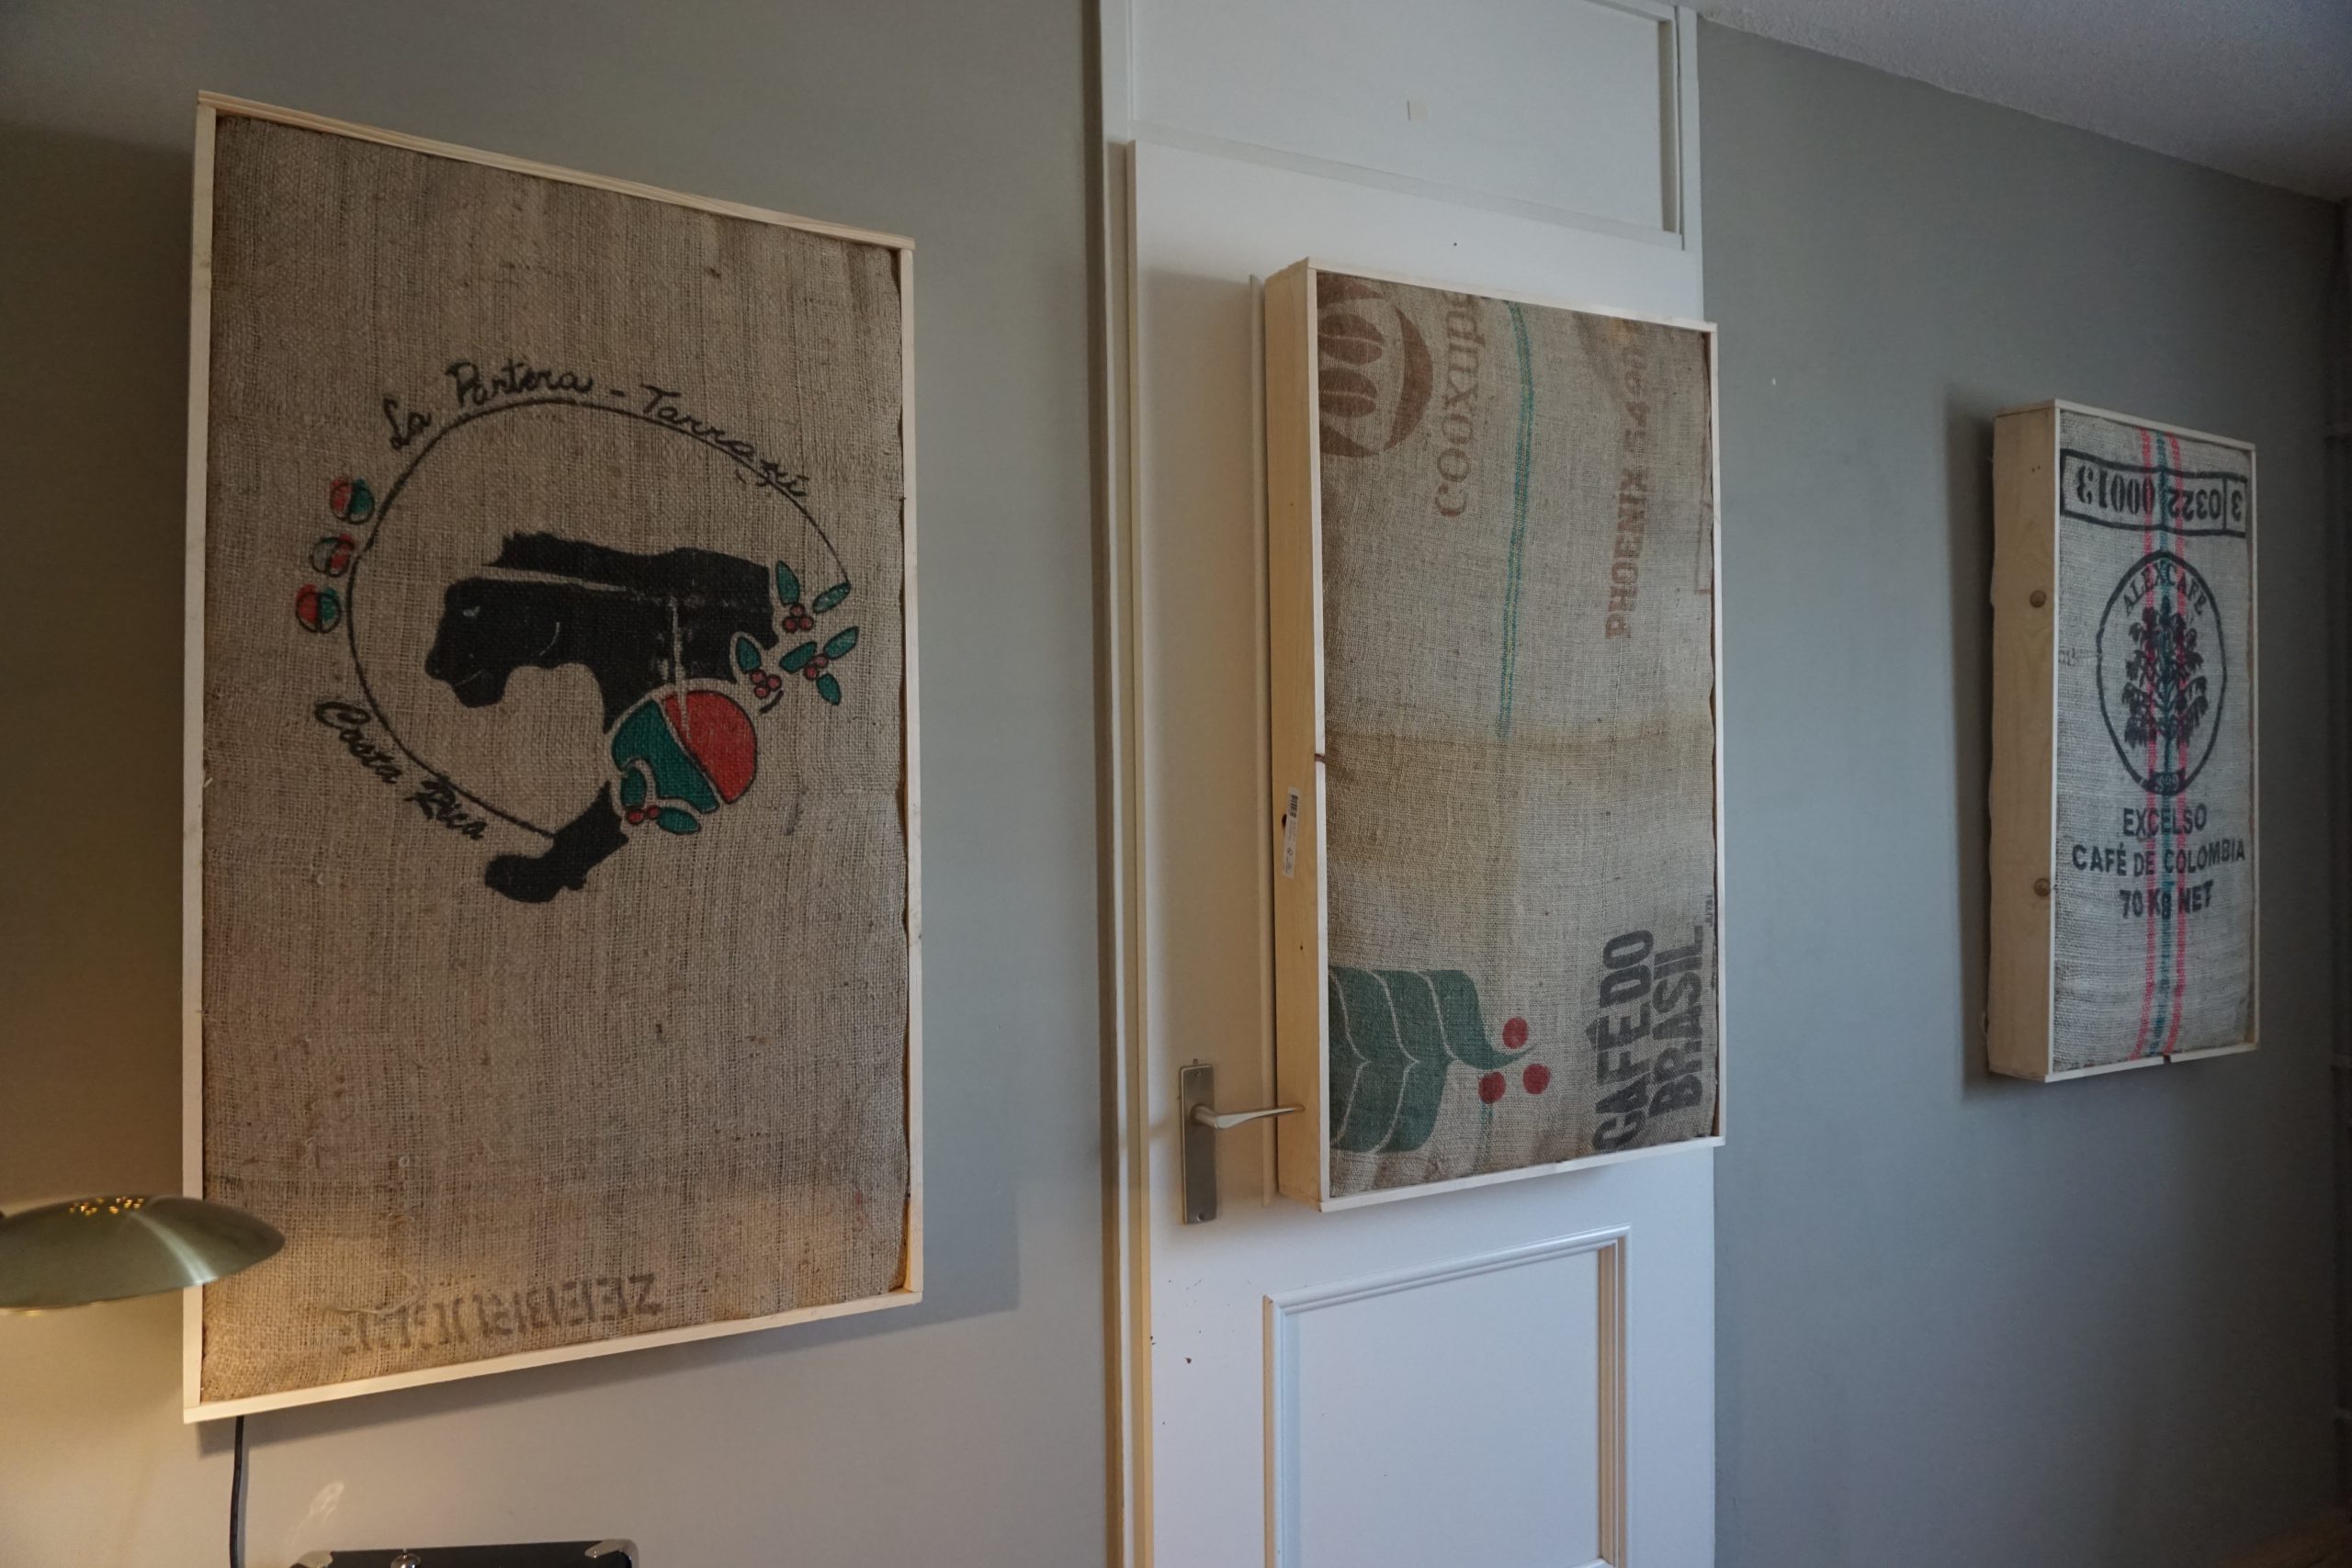
Step 5. MOunting and enjoy!
I chose a very simple method. These panels don’t weigh too much anyway. 1 hook on the panel, 1 hook drilled into the wall.
The hook in the wall is opened by slightly bending it, creating an open top side. The hook on the panel, in 90 degrees, just folds over it, giving a nice and clean look!
Done, Coffeetime! Maybe in the future I might stain the frames for a more amber look, and experiment with different sizes. Perhaps a thinner one as a cloud, or more tiny square ones to create different kind of diffusion surfaces.