The cabinet…in this part we will try to restore it to it’s former glory.
Question
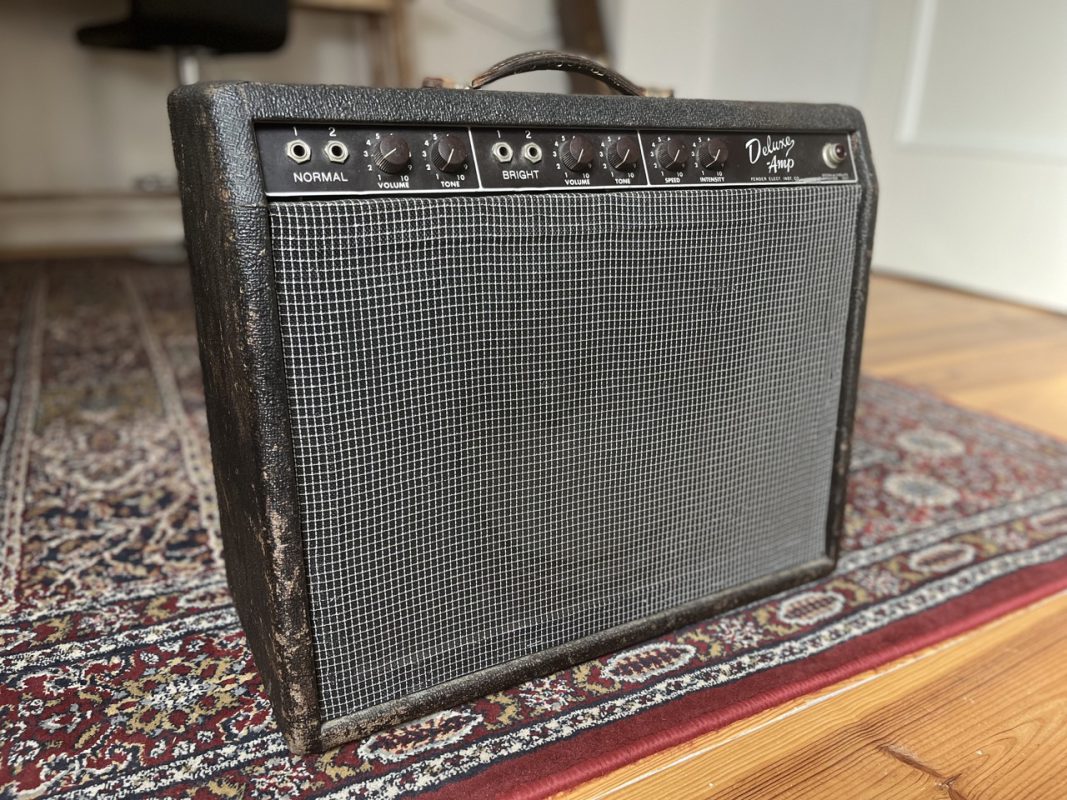
But the question is, what the hell is that? Former glory. If you look at any brownface that made it through, many of them carry a shabby look. Tolex glue coming undone is not uncommon, but grill-cloth frequently is worn and it all looks great. A brand new one also looks great but with the given circumstances, this is probably not realistic as it will show. This is due to former dirt and residue paint stains that have become the color of the tolex…Anyway. Let’s dig in!
For those who are new to the series, here’s aplaylistto the other parts on youtube.
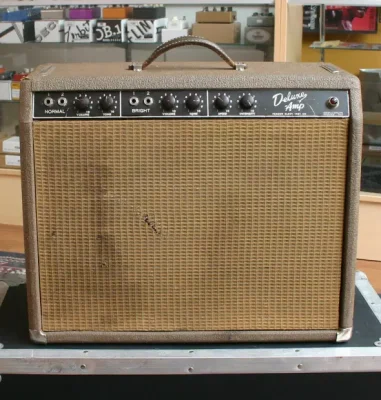
Our Amp
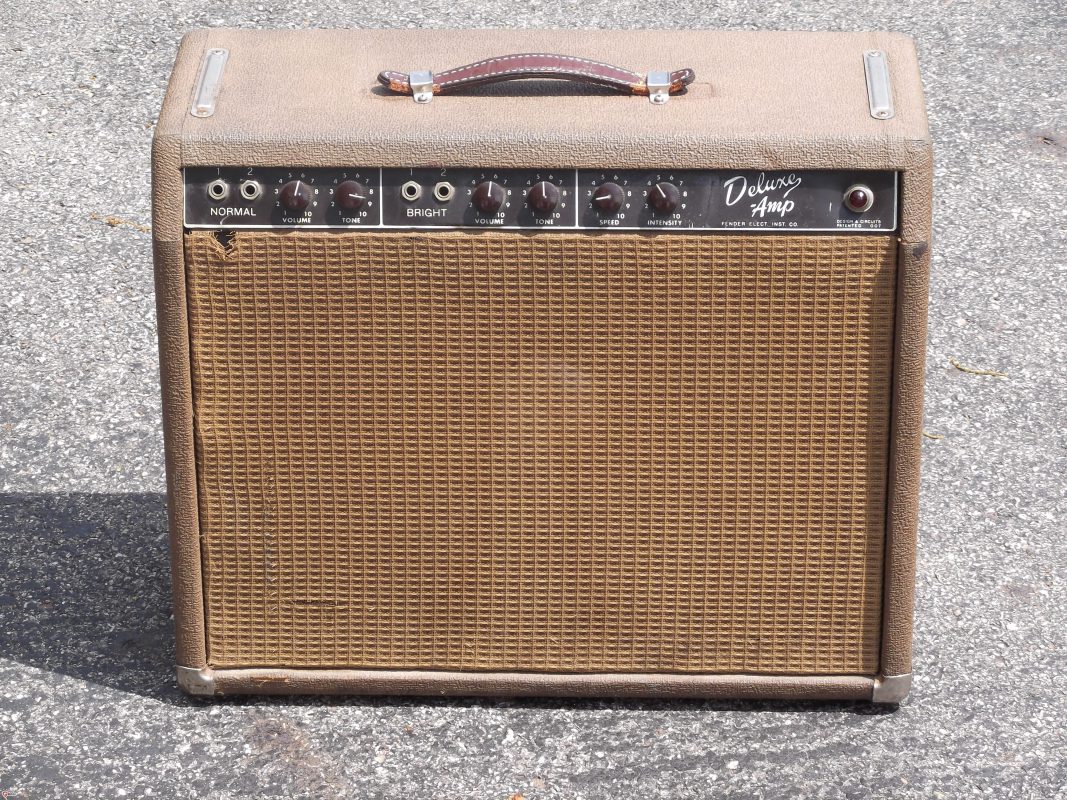
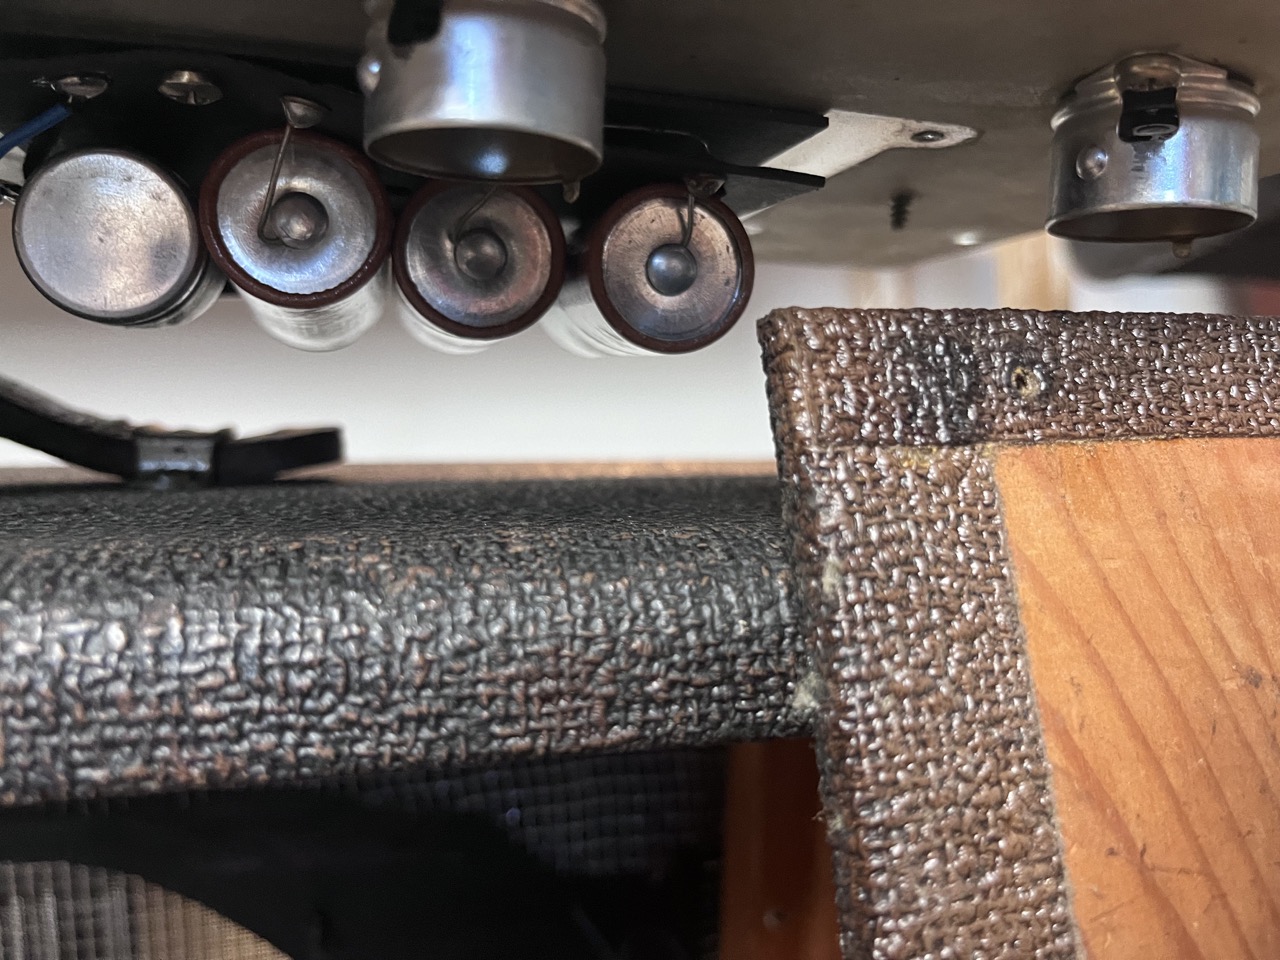
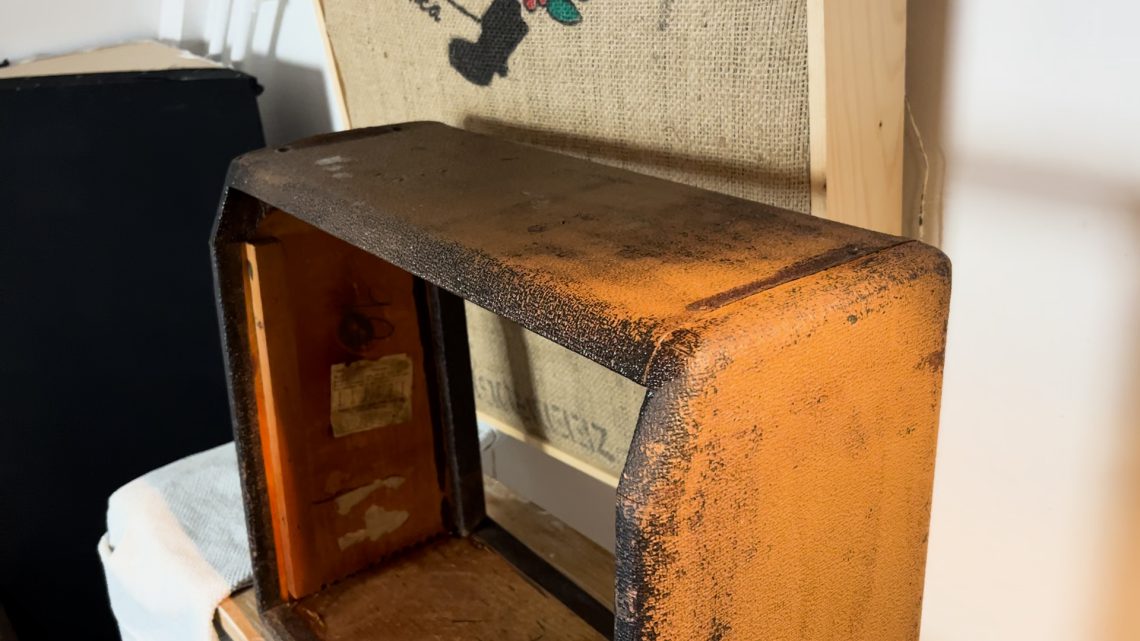
So, we have a painted over 1963. The cabinet is in a good shape and the tolex shows promising brown under the paint. The fact that is has been painted over sucks but might be a blessing in disguise as this was done relatively early in the amp’s lifetime. It has therefor also protected the original tolex a bit from getting beat up.
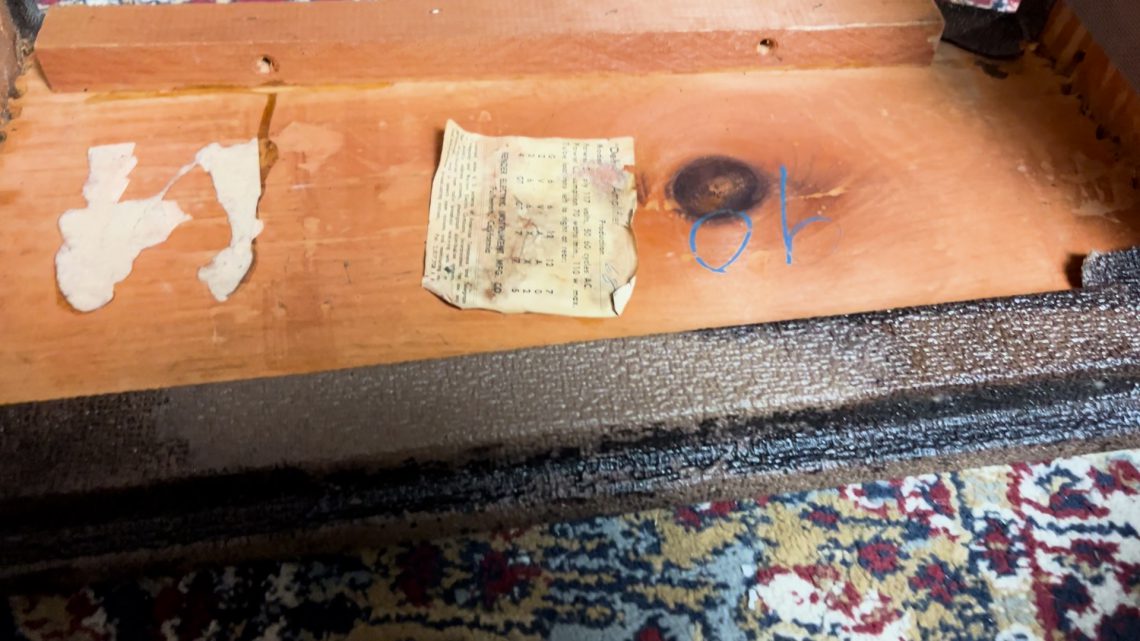
On the backside of the back-panels you can see color separation between the original color and the painted over.
The methods tried and used
So, from gentle to coarse…turtle wax, buffing compound, white spirit, naptha (washing benzine as we call it), lacquer thinner, paint stripper…
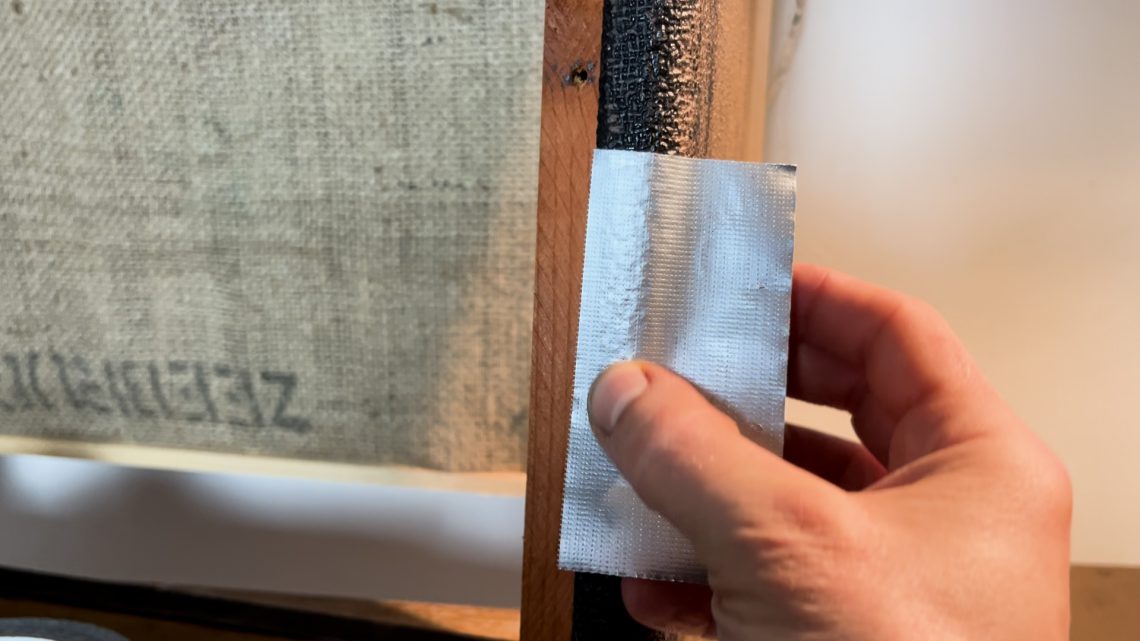
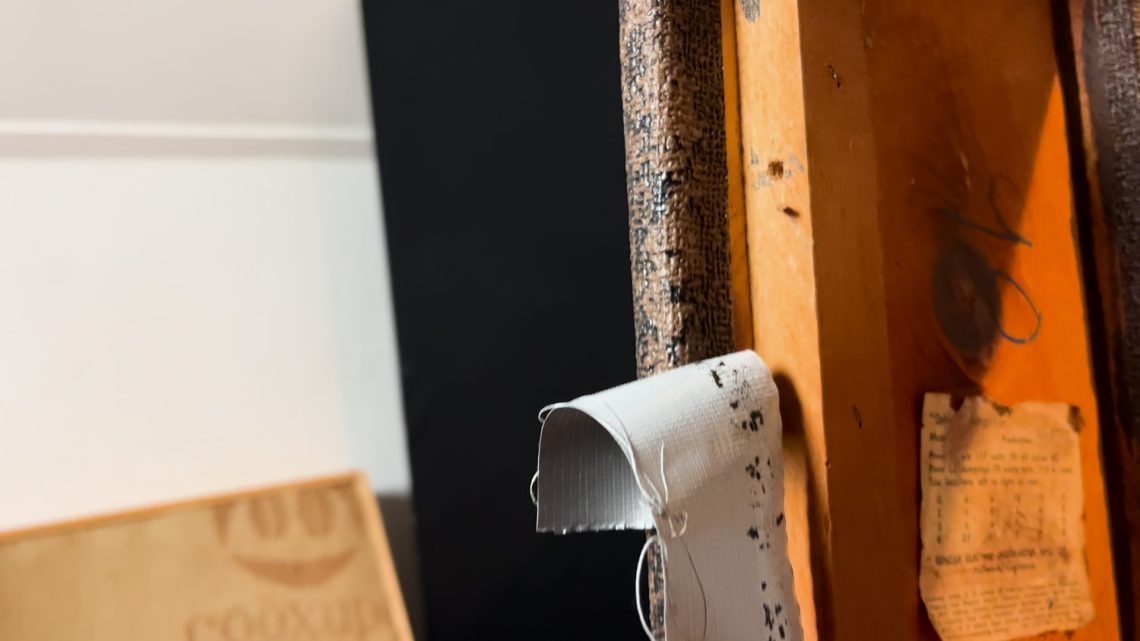
Now, the latter 2 will eat through the tolex itself so I’ve left that. On the facebook page ‘Fender Vintage Amplifiers’ I’ve got the tip of using gaffa or ducktape to pull the paint out and that worked quite well. But these brownface amps have the rough type of tolex and it’s ditches are leaving paint in. However, this is a non-damaging method and heating up the tape a little and just accepting that it takes time gets pretty good results.
This is the method I’ll use to get de details right, but I’ve used a nasty method for the broad removal…
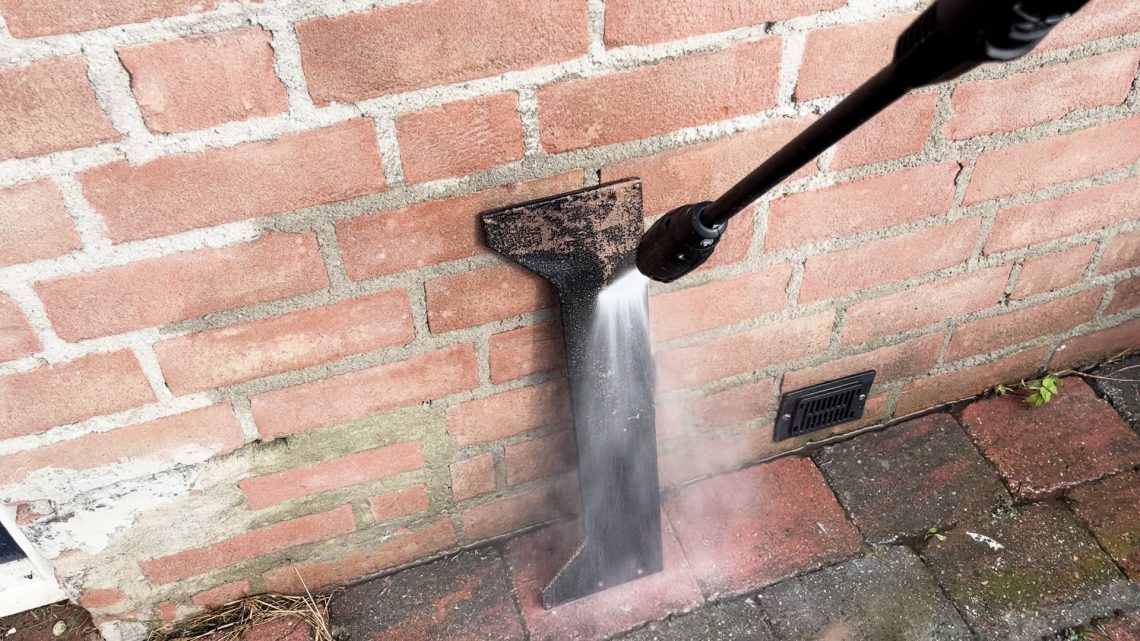
Dark Secret
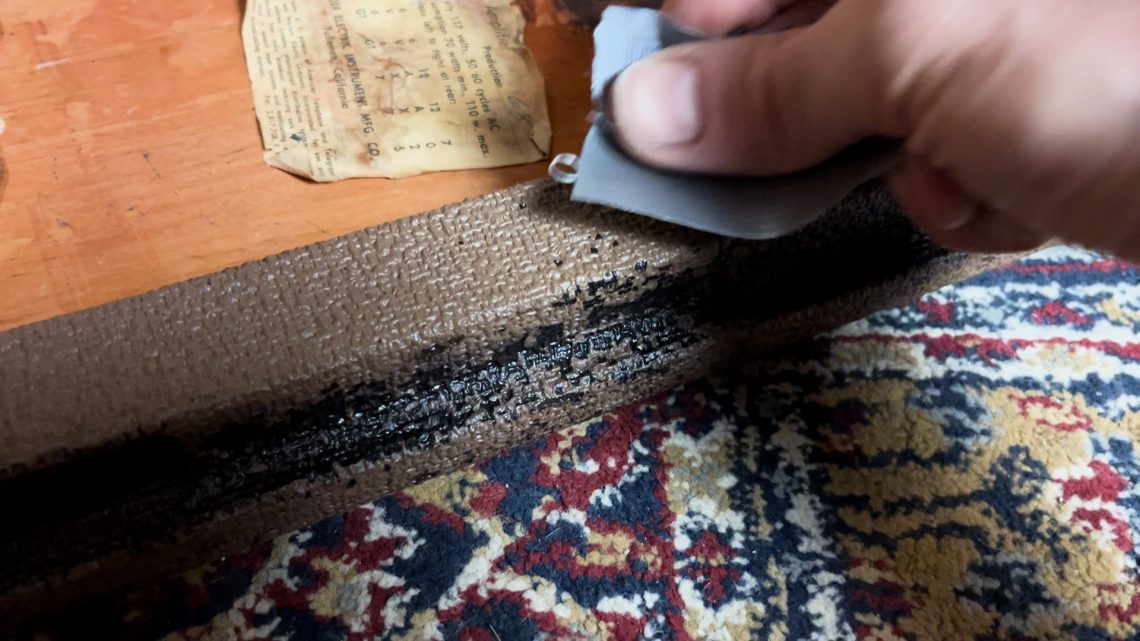
…I’ve used a pressure washer on it
So, after realizing that force is key, I’ve tried the pressure washer on a back panel. And that worked very well. Of course drying it immediately is quite important but I went ahead and did the back-panels and after masking up the cabinet I just went for it. This was now a pretty good situation to work from to continue working with the tape method.
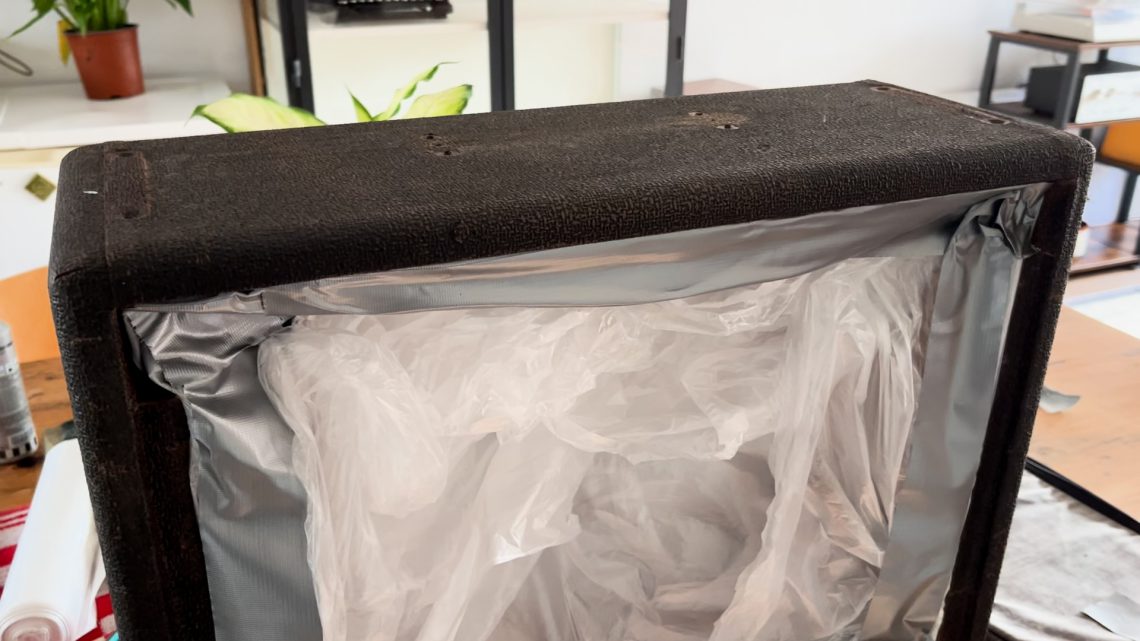
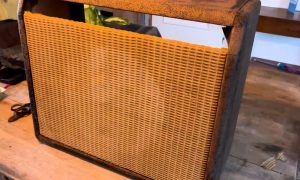
The Grillcloth
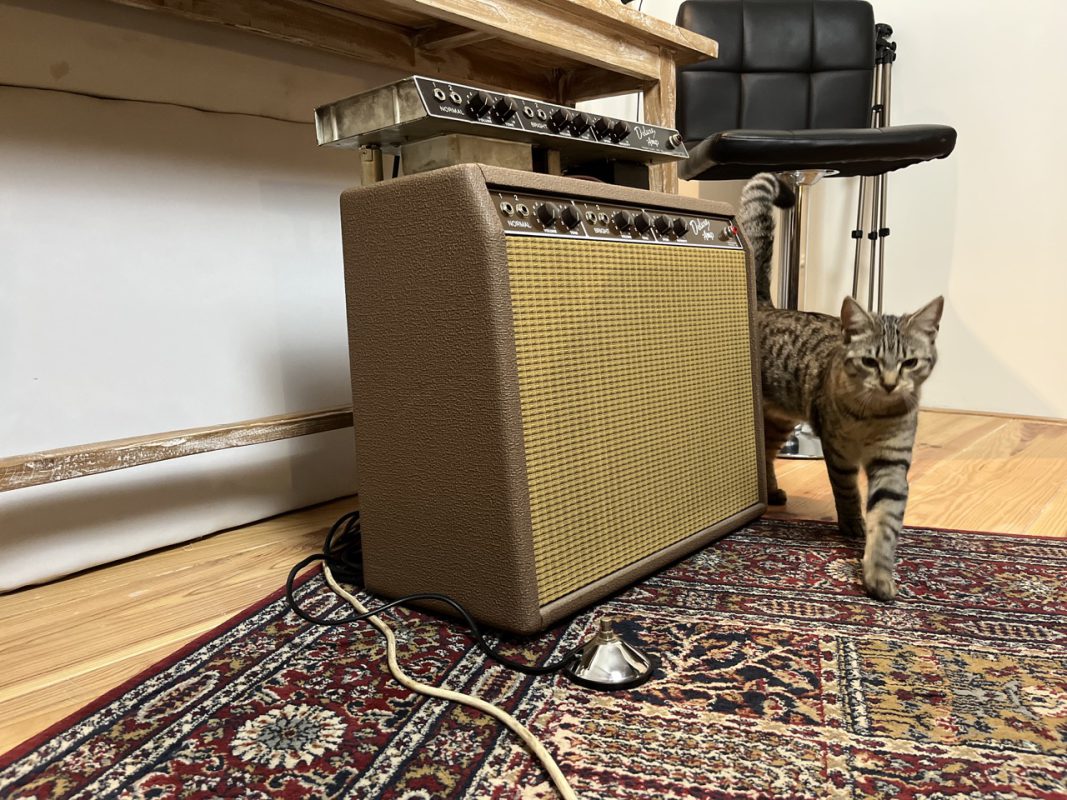
Luckily there’s a good quality reproduction grillcloth available and I got a truckload of it. For the record, the replica amp I have looks like this, and Viola the cat doesn’t quite approve it’s looks. And can you imagine what a super spotless clean grillcloth looks like on our vintage amp…not good…we have to get dirty.
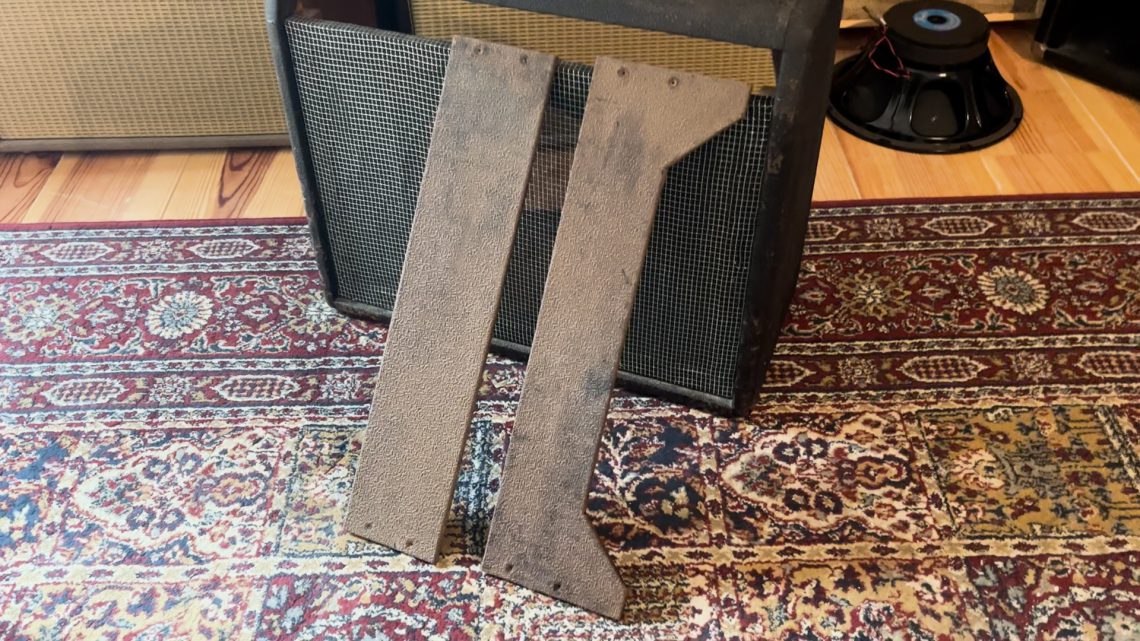
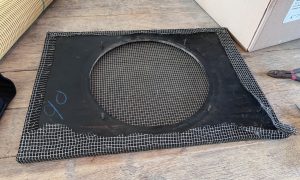
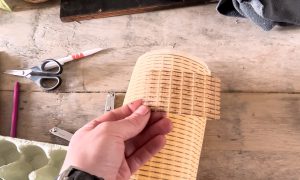
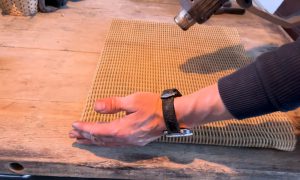
Cutting using the old as a template
So we carefully removed the staples and used this horrible piece of grillcloth as a template to cut a piece of the new material.
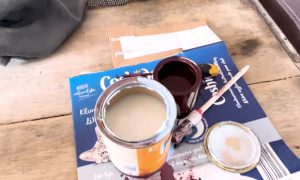
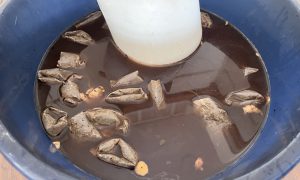
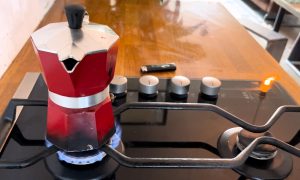
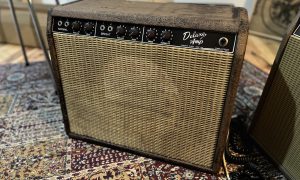
Coffee or tea?
The Lot
I’ve tried a few things to get the new yellow looking fabric to get closer to this ‘cardboardy’ look a vintage grillcloth has. Difficult but I got it somewhere in the end. After no luck with color staining, I’ve used coffee and tea in a pretty disgusting mix with a little dirt. It was a mess.
Moving On
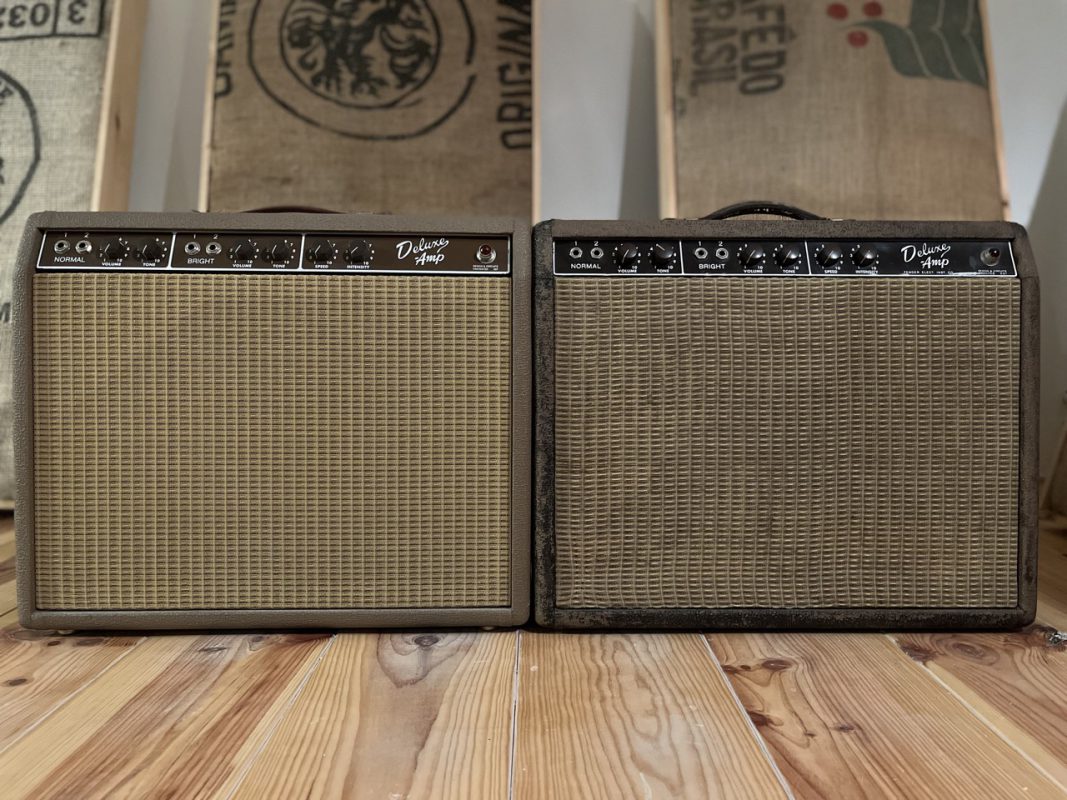
Of course I was impatient and assembled the amp a bit as a test fit. Then I went on a little with more assembly to ‘test play’ the grillcloth. And then it hit me…maybe it’s finished. I mean, it’s not. But the question is, how much should we go on with restoring this cabinet, when it looks as cool as it does at this point?
Maybe we should, but maybe we can also cherish this exact look. It’s a brownface, it shows, and it shows that it has been in the streets a little. But it’s technically solid, era correct looking and ready to rock and roll.
Decision making turmoil. You decide what you think I should do while I’ll play the guitar.
Here’s the video of the proces described here above. In the next and last part we’ll do some actual rocking out on this. That’s were the real fun begins!
Up next: SOUND! The Magic Of The 6G3 Circuit
2 thoughts on “1963 Fender Brownface Deluxe – Restoration Pt.4”
Rob
Nice work!
I don’t think the Deluxe’s are very common in the UK, they look a good size but I’ve never seen one, only a lot of Twin reverbs.
Probably using a very stiff brush to beat & stretch the warmed gaffa tape into the tolex paint puddles might improve paint cleaning. Naptha is horrible, or at least stuff we used to have in the workshop – excellent as a black stain on timber (& everything else if spilt!) but I’m sure that type of stain was banned here as a toxic carcinogen. Probably depends on the exact chemical structure it is; I think Naptha is one of those words meaning slightly different things depending on where you are. Anyway, the high pressure washer looked a good solution to bulk removal at least.
I was interested to see you went for the 5Y3 rectifier – is this also a tweed era spec? 5U4GB are pretty common in amps but they seem to be 3 wire which may not be compatible. Also there are 5R4 & 5V4 options if the valves are available. Funnily I thought that GZ34 were not recommended but I can’t recall why & I’m no electronics boffin either. Mostly I’ve read about Pro Reverbs & Princetons so there are no doubt differences.
Yep the 5Y3 is what tweed deluxes are operating on. It might sag a little more, but this is up until now the only way I could reduce the voltage closer to original spec, even now it’s above. I’m planning to make the last of the series soon and soundcheck it properly. 😉